How To – Baking Perfect Cookie Tips!
As an Amazon Associate, I earn from qualifying purchases. Read the full disclosure here.
Here are some awesome Best How To – Baking Perfect Cookie Tips to help inspire you and give you more confidence in the kitchen to help improve your baking cookie skills whether you are a beginner, moderate or just need a refresher!
Some of our favorite cookie recipes include our Perfect Chocolate Chip Cookies, these Super Soft Lemon Glazed Sugar Cookies, these Double Chocolate Peanut Butter Chocolate Chip Cookies, these Soft and Chewy Ginger Spiced Molasses Cookies and these delish Soft Sugar Cookies!
Baking cookies is so much fun, but it’s also a science! But like anything you do, to be good at it, you may need some guidance along the way to get to a comfortable level of confidence when you bake cookies of all kinds. And we love baking up the best cookie recipes for indulging, right? YES! Plus, I added in some of my favorite cookie recipes that are easy to make and never last long!
WANT TO SAVE THIS RECIPE?
Best Perfect Cookie Tips
Best Baking Cookie Tip #1
Read Through the Entire Cookie Recipe Before You Begin
- That way, you’ll know exactly what you’re getting yourself in for. When baking, you need to have all the ingredients, baking tools and time involved, so it’s very important that you are familiar with the recipe and tools needed before beginning.
- You might want to read it through the recipe two or three times more, just to make sure it all makes sense, flows well and you have everything you need as far as ingredients and tools. Sometimes you may be missing an ingredient, so you may have to find a substitute as well, which can leave you in a fine pickle without a backup plan. Every time I don’t read the recipe and instructions before-hand, it usually comes back to bite me in the buttocks!
- Joy The Baker has this article on Baking 101: How to Read a Recipe to understand it all better!
Best Baking Cookie Tip #2
Use Good Utensils and Tools
- Here’s 21 Essential Baking Tools Every Home Cook Needs (Plus 16 That Are Nice to Have). Baking doesn’t have to be a complicated affair. With the proper baking tools and utensils, you can make the baking process easier by being organized and having the right equipment.
- Also, round up all the bowls, baking pans, measuring utensils, hand or stand mixer, food processor, rolling pin, wooden spoons, spatulas and so on you will need ahead of time and place on your worktop before starting. This definitely makes life better.

Best Baking Cookie Tip #3
Use High Quality Ingredients When Baking Cookies
- The better quality the baking ingredients you use, in turn gets you higher quality baked goods. That’s not to say you can’t get excellent baked goods from lower-quality ingredients, but by doing so, you get a so-so baked good that could have been so much better!
- From the quality of butter, sugar, flour, chocolate, spices, extracts, eggs, sugars, fats, leaveners, etc…they all can definitely change the outcome of the your cookies!
- Check out Basic Cookie Ingredients @ Crafty Baking to find out why more in depth how the best cookie baking tips for ingredients can affect your cookie outcome!
Best Baking Cookie Tip #4
Bring Ingredients to Room Temperature for Best Results
Cookie dough made with room temperature ingredients will yield better baked good. Room temperature ingredients mix better, while cold ingredients are more difficult to mix together, sometimes causing a curdled or lumpy mixture.
- Ingredients like butter, shortening and eggs need to come to room temperature. Store them on the counter several hours prior to making the recipe.
- Also, some recipes using yogurt, cream cheese and buttermilk are sometimes required to be room temperature as well. If you don’t have time to wait, you can always nuke them in the microwave for 10-15 seconds to give them a head-start.
- Room temperature ingredients will mix better with dry ingredients, like flour and sugar and helps the cookies hold it’s shape as your cookies bake. Unless your recipe calls for chilled, very softened or melted butter, stick with room temperature.
- The fastest way to get butter to room temperature is to cut it into pieces or grate it and let it sit on a plate for approximately 30 minutes at a minimum, while you get the other ingredients ready. I usually put mine out an hour or two. Butter should be 65 degrees F and give slightly when pressed with a fingertip, cold to the touch but warm enough to spread. Otherwise, if it gets warmer, the butter melts and it gets greasy, possibly leaving you with unflattering, flat and greasy cookies.
- Find out more about Baking with Room Temperature Ingredients @ Always Eat Dessert!
Best Baking Cookie Tip #5
Butter Tips
- Butter makes everything better! Use unsalted or salted depending on what the recipe calls out. When baking, if it’s not called out, use unsalted butter, but do not skip the extra salt in the recipe, because it balances out the flavors and sweetness.
- Butter is an emulsion of water, fat, and dairy solids, so the trick to successfully using butter in baking is keeping the emulsion intact and to contribute to the texture of baked goods through the aeration process.
- Microwave Tips – Never use a microwave as it will melt it, even though it will look solid. You want pliable butter for beating, not almost melting butter, unless the recipe calls for it, like these Soft Batch Chocolate Chip Cookies! Pure Nirvana!
- Room Temperature Butter – This butter will leave a finger indentation when pressed. It is pliable but easily picked up and moved. Allow cold butter to sit out of the refrigerator for at least one hour to achieve this butter texture and temperature.
- Softened Butter – This type of butter is softer than room temperature butter, more greasy feeling. You will still be able to move it with your hands.
- Soft Butter –This type is too soft to move with your hands, but it will not be fully melted.
- Melted Butter – If your cookie recipe uses melted butter or browned butter, in order to achieve fully melted butter, you can use the microwave or use a stovetop pan. It’s best to let it cool unless the recipe says differently.
- Check out Grandma’s Best Tricks for Baking with Butter @ Taste of Home for more Butter Tricks!
Best Baking Cookie Tip #6
Creaming Butter and Sugar Tips
- “Creaming” is basically mixing softened butter and sugars (granulated and/or brown sugar) together on a moderately high speed until well blended, fluffy and pale yellow. It’s often the first step in a cookie recipe and forms the base to which other ingredients are added.
- To properly cream butter and sugar, you’re creating tiny pockets of air (aerating) that will puff up once the cookies hit the oven. When not done properly, your cookies will end up dense and flat.
- For softened butter, mix the butter and sugar at a moderate speed for 2 to 3 minutes. Be sure to stop once your butter becomes light and fluffy, because you can also overmix and the butter will separate out of the mixture and it will be grainy and soupy. Undermixed butter and sugar will look gritty and chunky which can lead to dense cookies.
- Stand mixers are ideal for creaming butter and sugar, but hand mixers work well, too. You can also gently mash sugar into your softened butter with the tines of a fork. Next, grab a wooden spoon and stir the mixture until it is light and fluffy. It’s an arm workout for sure, if you don’t have a mixer.
- Here’s how to How to Cream Butter and Sugar Perfectly Every Time @ Nellie’s Free Range for more Tips!
Best Baking Cookie Tip #7
Add Eggs One at a Time
- Each time you add an egg to your butter and sugar mixture, make sure you mix it so that it’s fully incorporated before adding the next.
- If it’s a little curdled, that is fine, just keep mixing, most likely the eggs are cold mixed with the butter. Taking the extra time to do this will help ensure a consistent texture throughout the cookie. Make this step even easier by using room-temperature eggs.
Best Baking Cookie Tip #8
Don’t Overmix Your Cookie Dough
- After you add your dry ingredients to the wet ingredients, mix your cookie dough just until it starts to come together. Overmixing your cookie dough will develop excess gluten and make your cookies tough, when you’re expecting a tender cookie. No one wants that!!
Best Baking Cookie Tip #9
Whisk your Dry Ingredients Well
- Most cookie recipes instruct you to mix your dry ingredients, like all-purpose flour or flour of choice, salt, baking powder, and baking soda, before adding them to your wet mixture of butter, sugar, and eggs. Whisking them all together works very well and helps the ingredients to spread out more evenly in your dough.
- Make sure you’ve whisked these ingredients together well especially when using baking powder and baking soda. It will help your cookies will leaven and rise more evenly if these ingredients are well incorporated. Whisking helps break up clumps in the flour that can create dry pockets within the cookies as well.
Best Baking Cookie Tip #10
Measure Your Flour Correctly
- Most important tip for any baker for flour measuring, is if you add too much flour, it will make your baked goodies crumbly, dried out and possibly hard. When in doubt, it is always better to use a little less flour at first and see how your dough is coming along. Most times, I will subtract a couple of tablespoons of flour and add it back in after seeing what my dough looks like according to what the recipe calls out it should look like.
- Always be sure to not overwork the dough and incorporate all the ingredients together just until the flour disappears.
- Using dry measuring cups are the best tools for measuring flour.
- To measure correctly with measuring cups, first stir your flour in case it is packed tightly into its container. Then, use a spoon and lightly spoon the flour into your measuring cup. Use a flat straight edge (like the straight back of a knife) to level off the top of the flour. Repeat until you have a smooth floured surface.
- For certain precision, weigh your ingredients with a digital scale.
- Dipping the measuring cup into the flour will cause the flour to be packed down and will result in too much flour in your recipe.
- You’ll love reading How to Measure Flour Correctly @ AllRecipes to get the real scoop!
FAQS – More Perfect Baking Cookie Tips
Oven Temperature Tips
- Always preheat your oven 10-15 minutes before you begin baking your cookies. Preheating an oven is especially important with baking when you use yeast, baking soda and baking powder as leavenings react to heat. It has a major impact on the final results.
- By putting the cookies in before your oven reaches full temperature, they’ll take longer to bake. This gives the butter in the cookie dough more time to melt and spread out, and you could end up with thin, flat cookies.
- You can purchase an oven thermometer to check your oven to make sure it is operating at the right temperature. Cooking times can throw off the texture and appearance of your cookies if your oven isn’t heating properly, which makes the difference of awesomely baked cookies versus the opposite.
Don’t Over-Bake Your Cookies!
- The best cookie recipes will tell you what your finished cookies should look like when you remove them from the oven. On the first batch, check the cookie time closely, setting your timer at the lowest time setting per the recipe instructions and go from there for the rest of the batches and your oven has had time to pre-heat effectively.
- Cookies can be all sizes, so your timing could be different. If you’re still unsure, look for a light golden-brown color around the edges of your cookies. If the edges start to brown too much, the cookies will be dry and over-baked throughout.
What Baking Sheets Should I use?
- Be sure to use a baking sheet without sides or with very low sides.
- Use parchment paper to line pans or lightly grease pan before using. Too much grease will cause the dough to spread and edges will be crisp and thin out and sometimes burn. Cookies spread more on greased sheets so parchment paper is preferred.
- When baking, bake on one cookie sheet at a time, on the center rack of the oven, providing proper heat circulation. Let the cookies cool on the pans for a few minutes before transferring to a baking wire rack or cooling rack or cookies could break apart when removing from the cookie sheet because they are still setting up.
- Also, when adding a new batch of cookies to your baking sheet, make sure the baking sheet is either cool or at room temperature, otherwise, your cookies will melt, flatten and the appearance would not be very attractive, ya know?
Cooling Cookies Properly
- For most cookies, unless otherwise instructed, wait a full two minutes before moving the cookies from your baking sheet.
- A few extra minutes on the baking sheet helps ensure that the centers are cooked through and gives the cookie time to firm up some before you attempt to move it. After two minutes, move the cookies to a wire rack to continue cooling.
Baking The Best Perfect Cookies
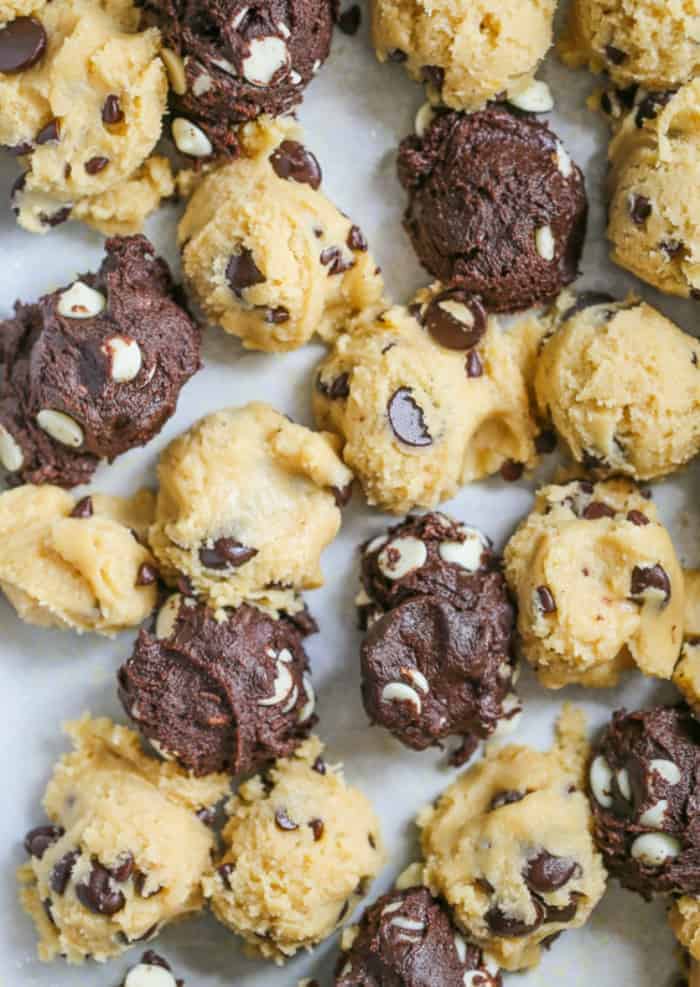
- Use a cookie scoop or ice cream scoop to get those picture-perfect cookies to all look the same. Sometimes I like to piggy back my cookie dough ball scoop on top of another cookie dough ball scoop, to get even thicker, fudgier cookies instead of one big cookie ball scoop for each cookie.
- Leave 2 inches between cookies. If cookies are large, then adjust for more space. If it spreads too much try chilling the dough or adding a little more flour to the dough.
- When baking the cookies, I always set my timer, and check my first batch of cookies 2 – 3 minutes before the cookies are meant to be done, and then adjust how long I want to set my timer for the remainder of the cookies left to bake.
- Timing correctly can mean the difference between a great cookie and a ruined cookie.
- Remove baked cookies from the cookie sheet to the wire rack immediately to prevent further baking, unless the recipe directs otherwise. That way the cookies aren’t hard to remove and won’t break or tear apart.
- To get cookies to hold their shape and edge, chill or freeze the dough before baking.
Chilling the Dough Before Baking & Thicker Best Baking Cookie Tips
I love cookie recipes that I don’t have to chill the dough, because I don’t like waiting around. I want cookies now! However, sometimes I will chill the dough for a 10-15 minutes, while I’m waiting for the oven to preheat. You can chill it either put it in the fridge or freezer. Sometimes, the dough can become a little warm, and when that happens the cookies will spread out more. (more tips below for freezer/fridge).
- If you want thicker cookies, adding some add-ins also helps thicken cookies, like nuts, chocolate chips or dried fruits.
- A low proportion of sugar relative to flour reduces spread, also keeps the cookies thick.
- A lot of recipes required chilling of the dough because it improves the flavor and allows the dough to relax a bit, hydrating the flour. It helps them from flattening out and helps them hold there shape better.
- Roll or scoop your cookie dough into tall balls or 2 scoops on top of each other, instead of perfectly round balls. Taller balls or scoops of cookie dough definitely ensure thicker cookies. Cookies may require an extra minute or 2 of baking.
- Line your baking sheet. Use a silicone baking mat or parchment paper. Coating your baking sheet with nonstick cooking spray or butter creates an overly greasy foundation, causing the cookies to spread.
- Never place cookie dough balls onto hot baking sheets. Always use cool or room temperature baking sheets.
- Freeze your cookie dough balls or scoops for 10-15 minutes before baking. I love this tip! After you roll the cookie dough into scoops or balls, freeze them for 10-15 minutes. Place the balls on a plate or cookie sheet and put in the freezer, while your oven is preheating.
- Result: The colder the dough, the thicker the cookie. It’s better to scoop or roll the dough balls, instead of placing the whole bowl of cookie dough in the fridge and then trying to scoop them. Because, once the dough gets cold, it is hard to scoop, like a rock hard ice cream does. You may break your cookie dough scoop! I know this, because it happened to me.
- If you notice your cookies over-spreading, remove your baking sheet from the oven. Use a spoon or knife to push the edges back towards the center of the cookie. It can reshape your over-spreading cookies. Place back in the oven. Repeat during bake time if necessary, then repeat one more time when the cookies have finished baking.
Freezing Cookie Dough Tips
- Making and freezing dough ahead of time is a great time saver. It also improves the texture of the cookies. ‘Icebox’ cookies or ‘Slice & Bake‘ cookies are shaped into a log and wrapped and then either chilled or frozen until it’s time to bake.
- You can also form drop cookie dough into balls and freeze. When ready to bake, place on your baking sheet frozen, adding a few minutes to the baking time. This also lets you make a lot of different cookie dough(s) in any given day.
- Then take another day for the best part: The baking, decorating and eating!
- Here’s more info for Storing and Freezing Cookies.
How Do You Prefer Your Cookies Baked?
Do you prefer yours chewy or crispy, with chocolate chunks or chips, with dark chocolate, milk chocolate or semi-sweet chocolate? If you like thin and crispy, you’ll love these Perfect Thin & Crispy Chocolate Chip Cookies!
If you love cashews and milk chocolate, you gotta try these OMG! Ultimate Milk Chocolate Cashew Cookies and these Cookie Dough Brownie Cookies when you’re craving brownies and cookie dough! The options of add-ins are endless if you want to change it up! Mini Cupcake Golden Oreo Cookie Balls are cookies made into truffles!
Types of Chocolate Chip Cookies & Tips, Here’s a few for you!
- Handle the Heat has the cookie scoop! She has The Ultimate Guide to Chocolate Chip Cookies. She even has the Ultimate Cookie Troubleshooting Guide! How cool is that!?
- You can also check out The Baking ChocolaTess’s (that’s me!) How – To! Baking Perfect Cookie Tips! Because what’s better than Perfect Chocolate Chip Cookies? <—Seriously, did you see them, you’ll see why they are so perfect!
- Pinch of Yum has a good read and talks on ‘Tips for Perfect Chocolate Chip Cookies’ and these best cookie tips are winners for sure!
Mini Cupcake Golden Oreo Cookie Balls are fun using store-bought or already made cookies! Check these cookie truffles out when you want a no-bake treat!
Now that you’re all schooled on tips how to bake cookies, there are plenty of recipes right here on the blog! Just search ‘cookies’ and or go the category selection and find all the cookies your little heart could desire!
If you make the full recipe, tag me on Pinterest, Instagram and Facebook.
Some of Our Favorite Cookies We LOVE Baking!
- S’more Chocolate Chip Gooey Bliss Cookies
- Holiday Oreo Cream Cheese Cookies
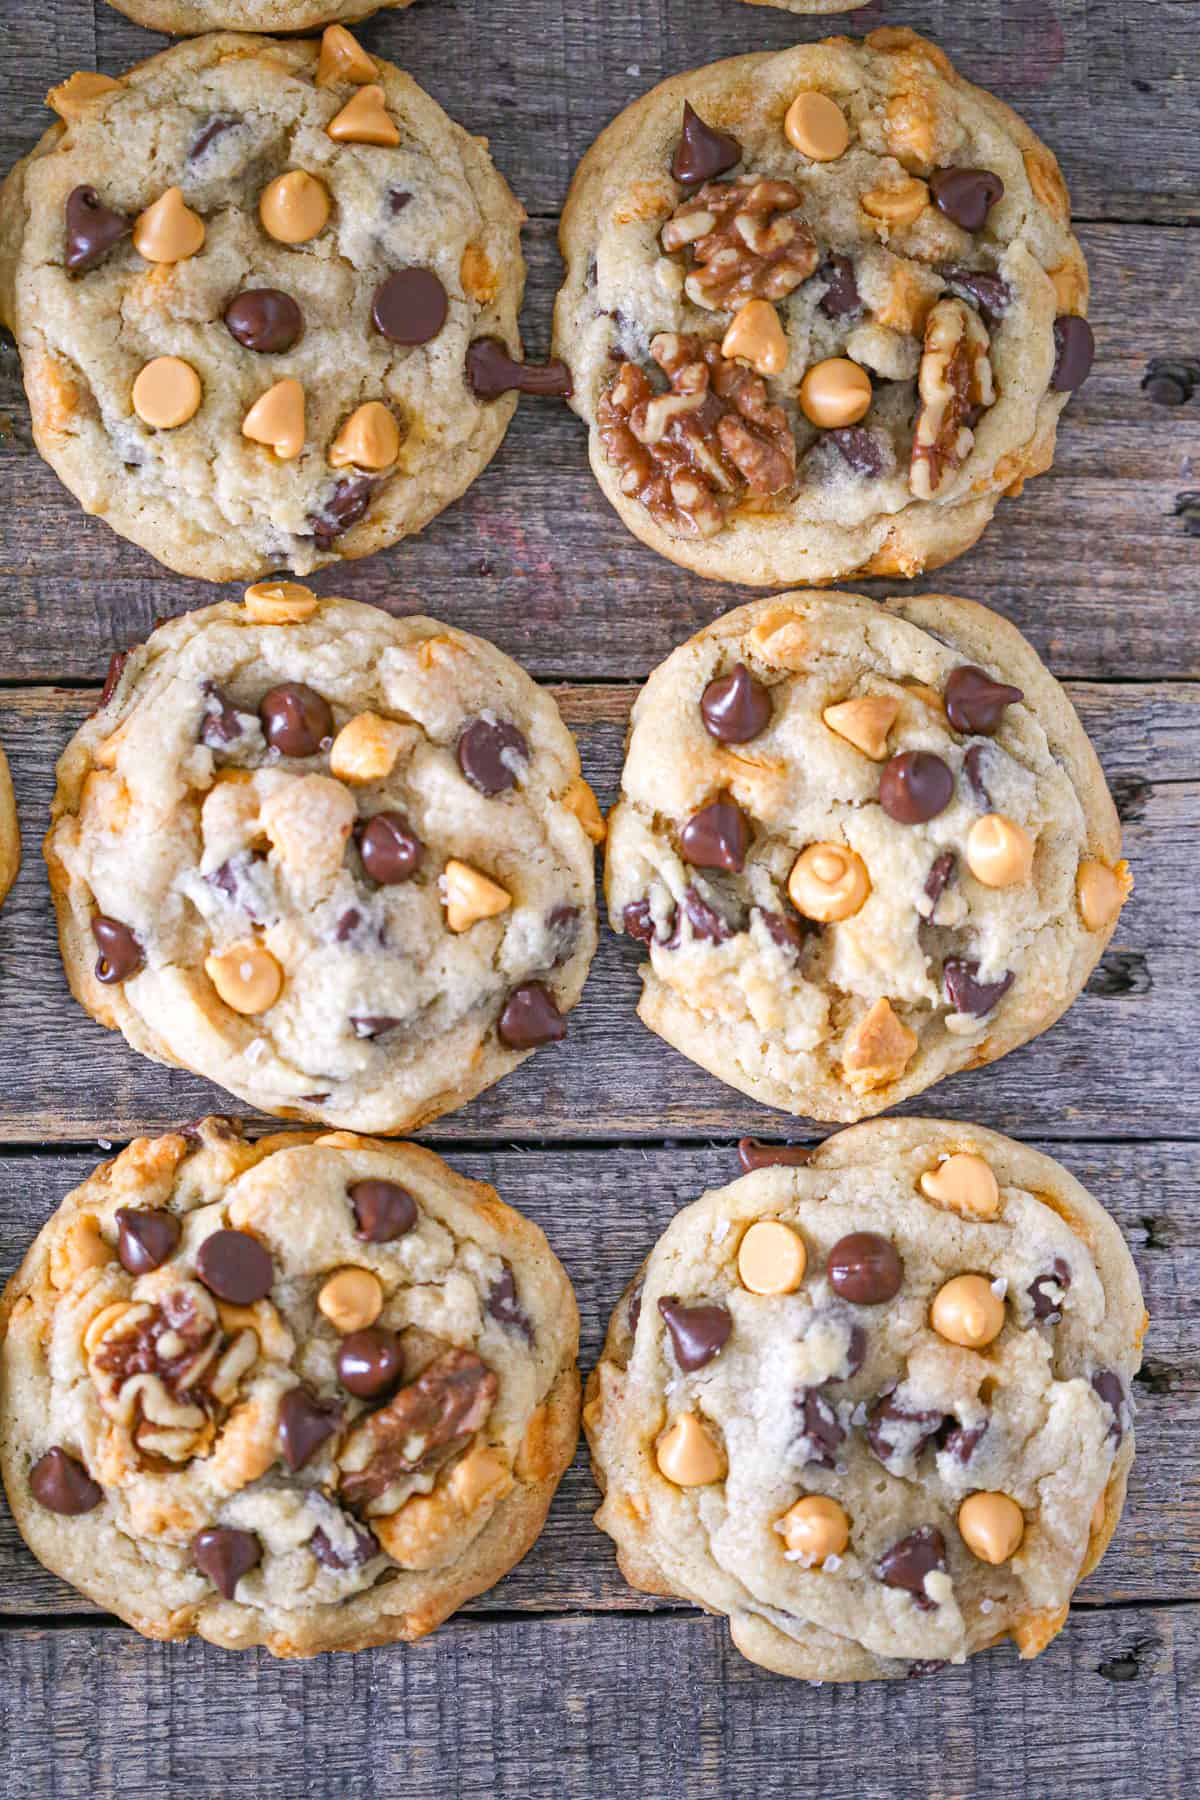
- Ultimate Dark Chocolate Chip Toffee Walnut Cookies
- ‘Thick ‘n Fudgy’ Chocolate Explosion Cookies
- 3 Ingredient Peanut Butter Cookies
- Soft-Batch Oatmeal Raisin Cookies
- “Phenomenal” Milk Chocolate Chip Peanut Butter Cookies
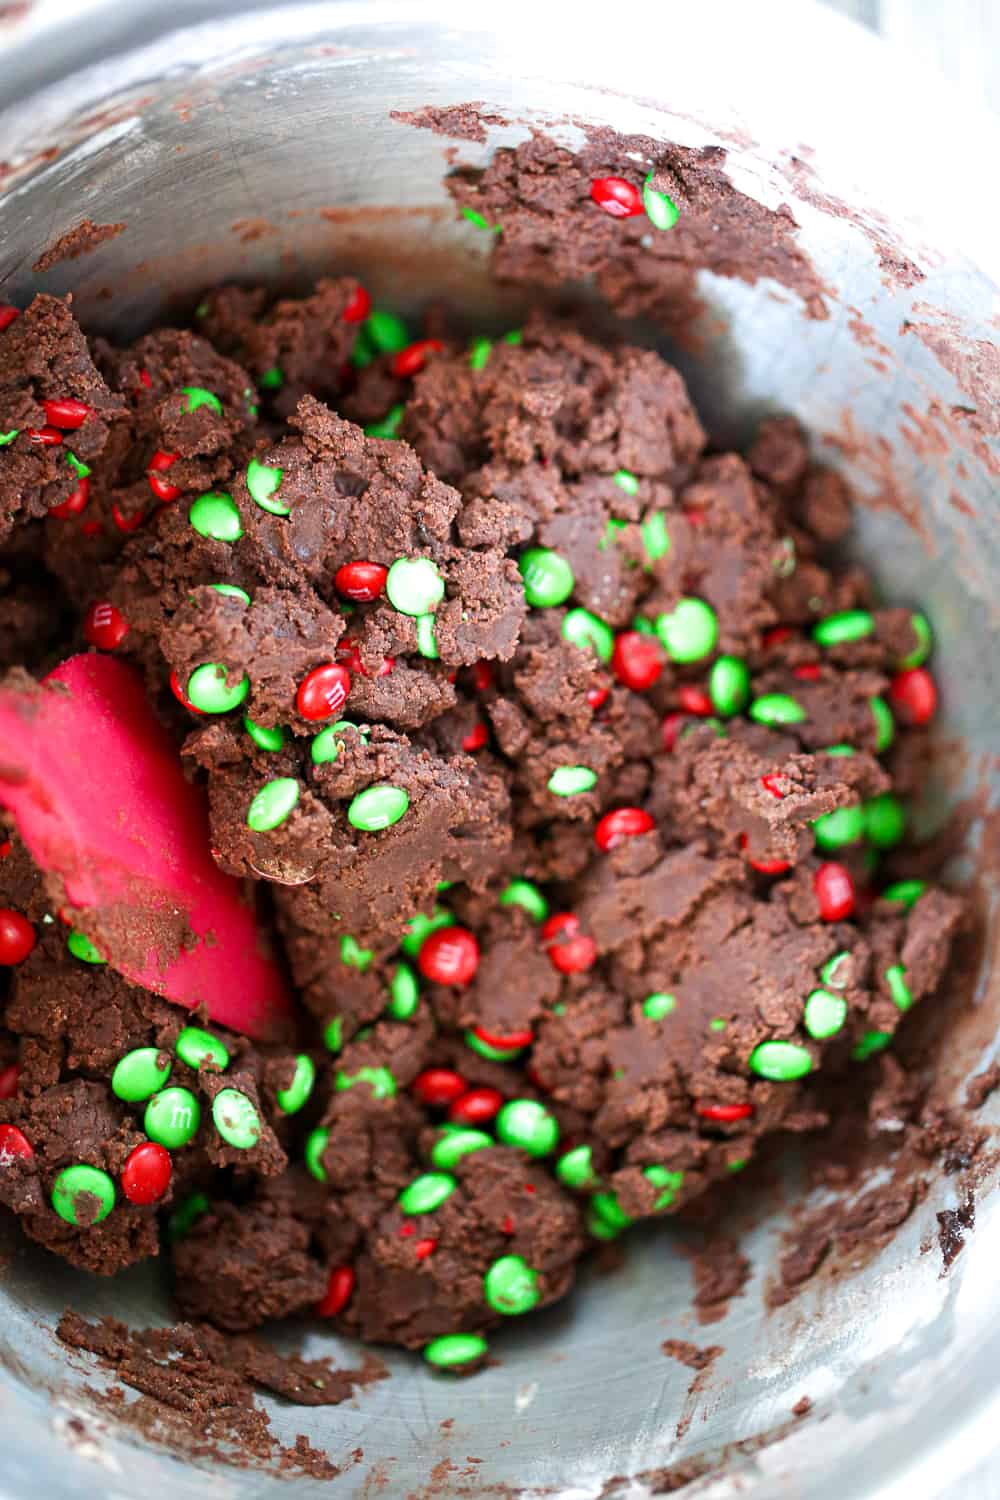
- Thick & Chewy Chocolate M&M Cookies
- Best-Ever White Chocolate Macadamia Nut Cookies
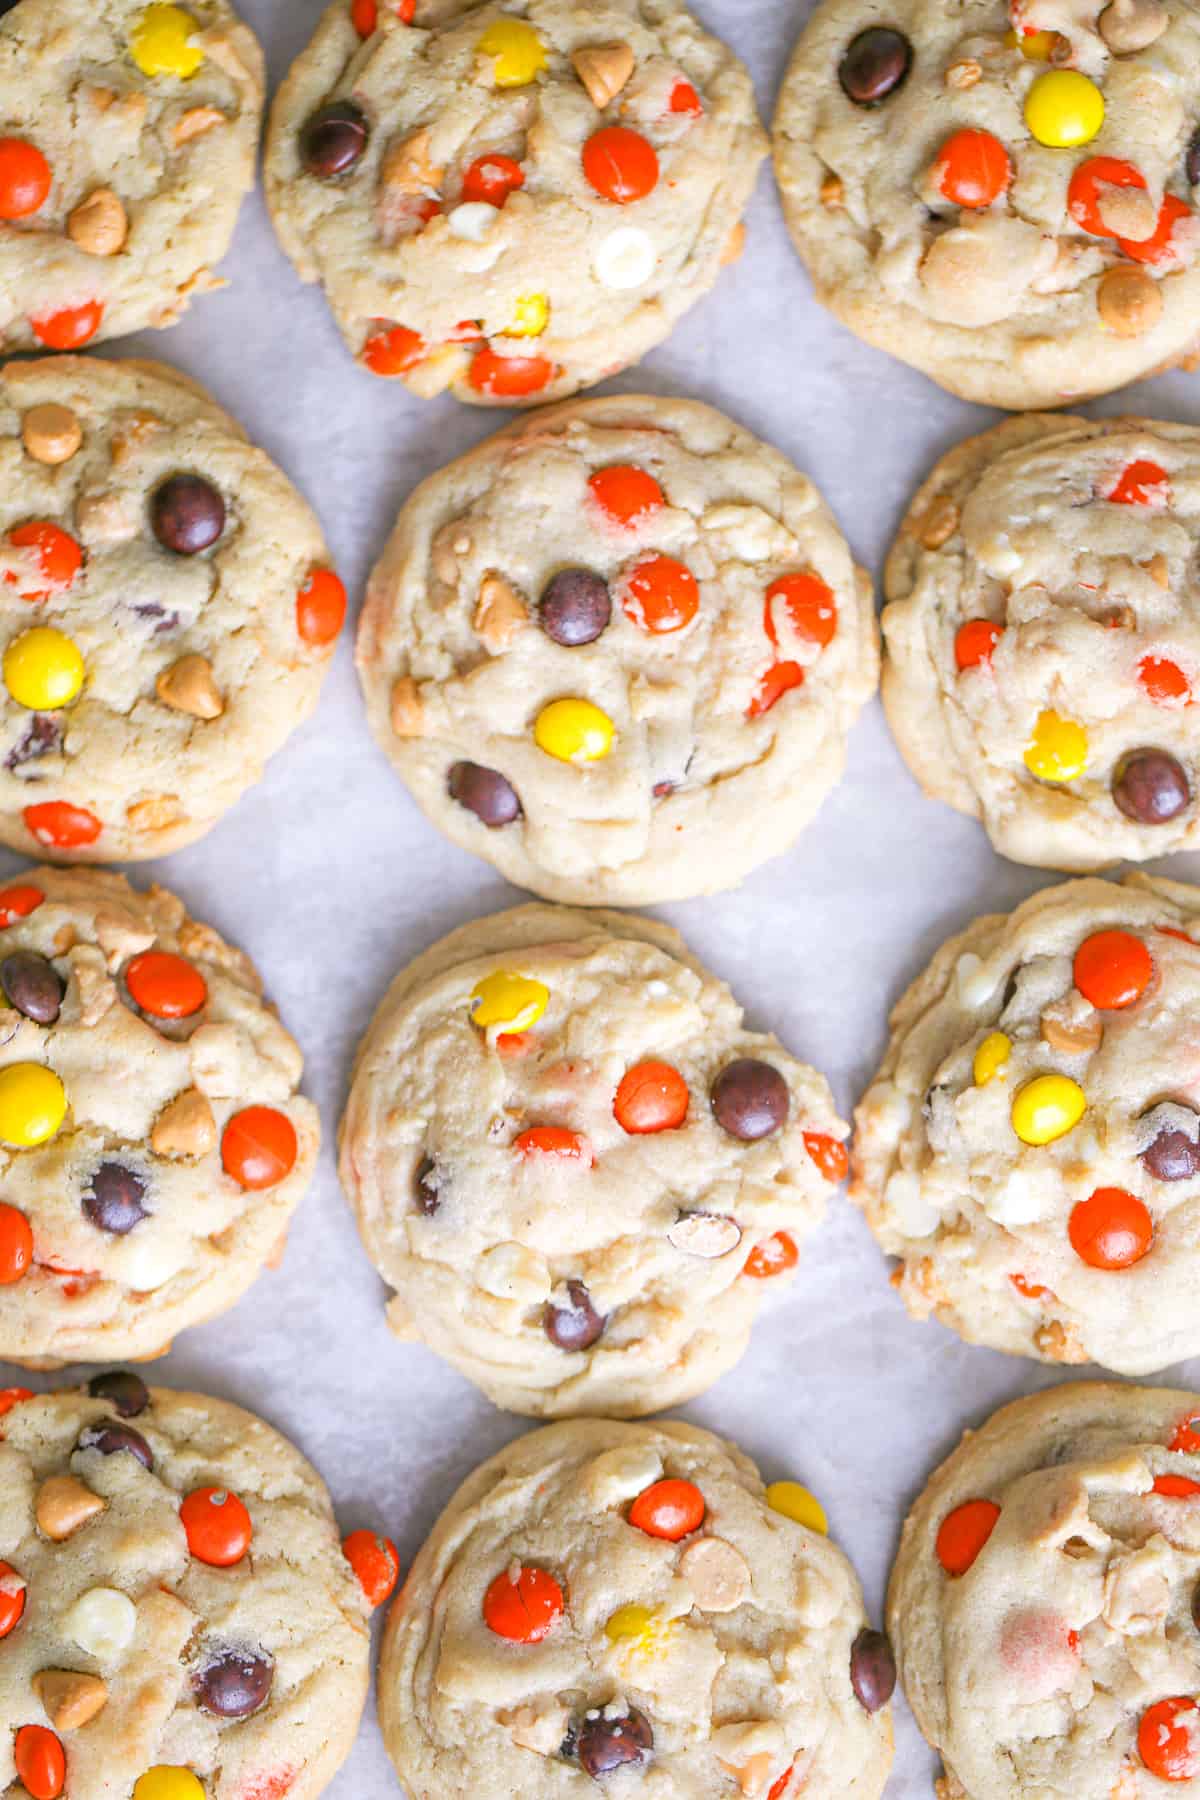
- Reese’s Peanut Butter Cup Chocolate Chip Oatmeal Cookies
- M&M Chocolate Chip Candy Cookies
Tips You’ll Love!
- The Perfect Cheesecake Experience
- Top Baking Tips for Quick Breads
- Easy Pie Crust Tips
- Conversion Charts & Kitchen Tips
- 16 hacks to make your boxed cake taste better @ MSN (My #9 hack is featured!)
- 5 Expert Tips How to Tell Your Cake Is Done
- Essential Tips for Perfect Muffin Baking!
- Quickest Ways to Soften Butter
- Freezing & Thawing Bananas