
White Chocolate Caramel Brownie Squares
As an Amazon Associate, I earn from qualifying purchases. Read the full disclosure here.
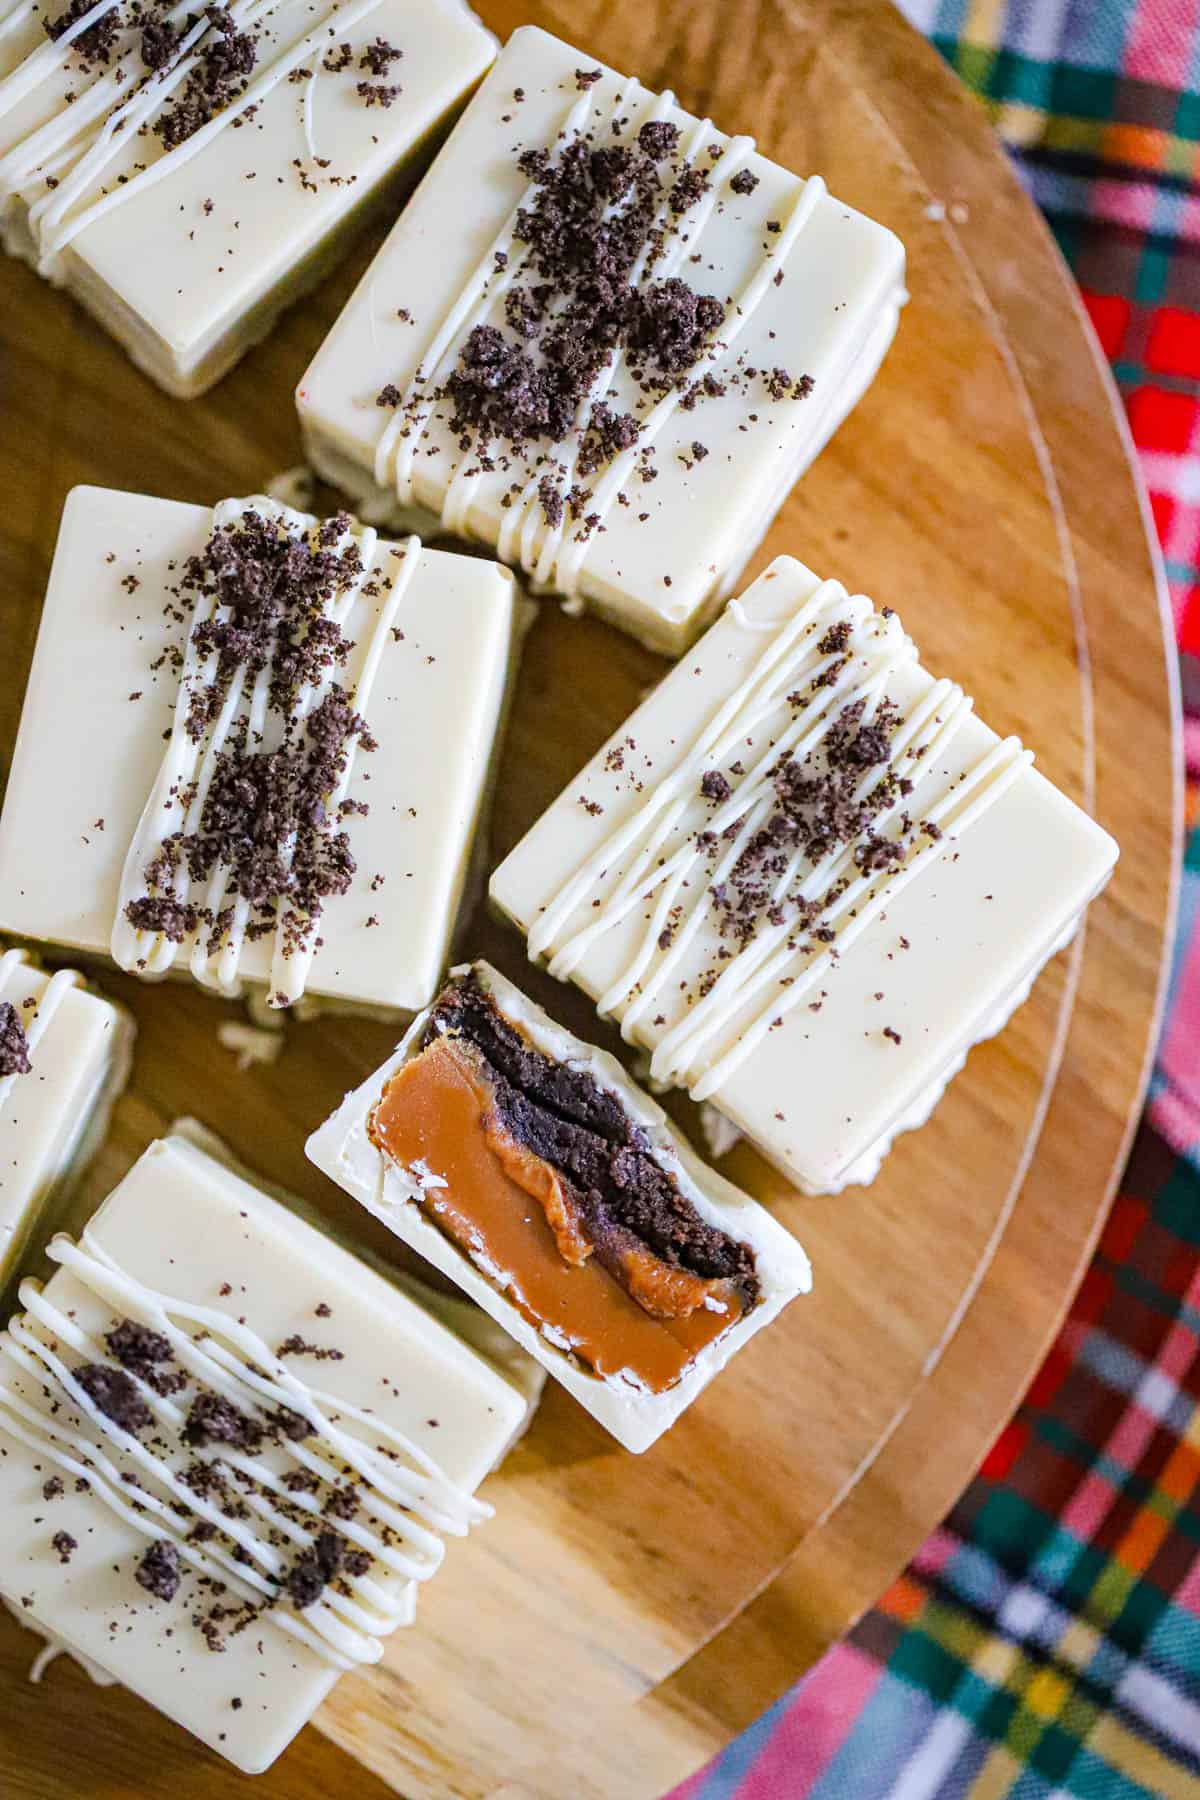
These no bake Bakery Style White Chocolate Candy Squares look beautiful on dessert trays and holiday cookie platters. With layers of white chocolate, caramel, and brownie, this Gourmet Caramel Brownie Candy Recipe delivers rich flavor in every bite. If you’re looking for a crowd-pleaser, these White Chocolate Caramel Brownie Squares are sure to stand out.
They also make wonderful Holiday Chocolate Caramel Gifts for friends, neighbors, and holiday gatherings. If you love White Chocolate Caramel Treats, these easy candy squares are sure to be a favorite.
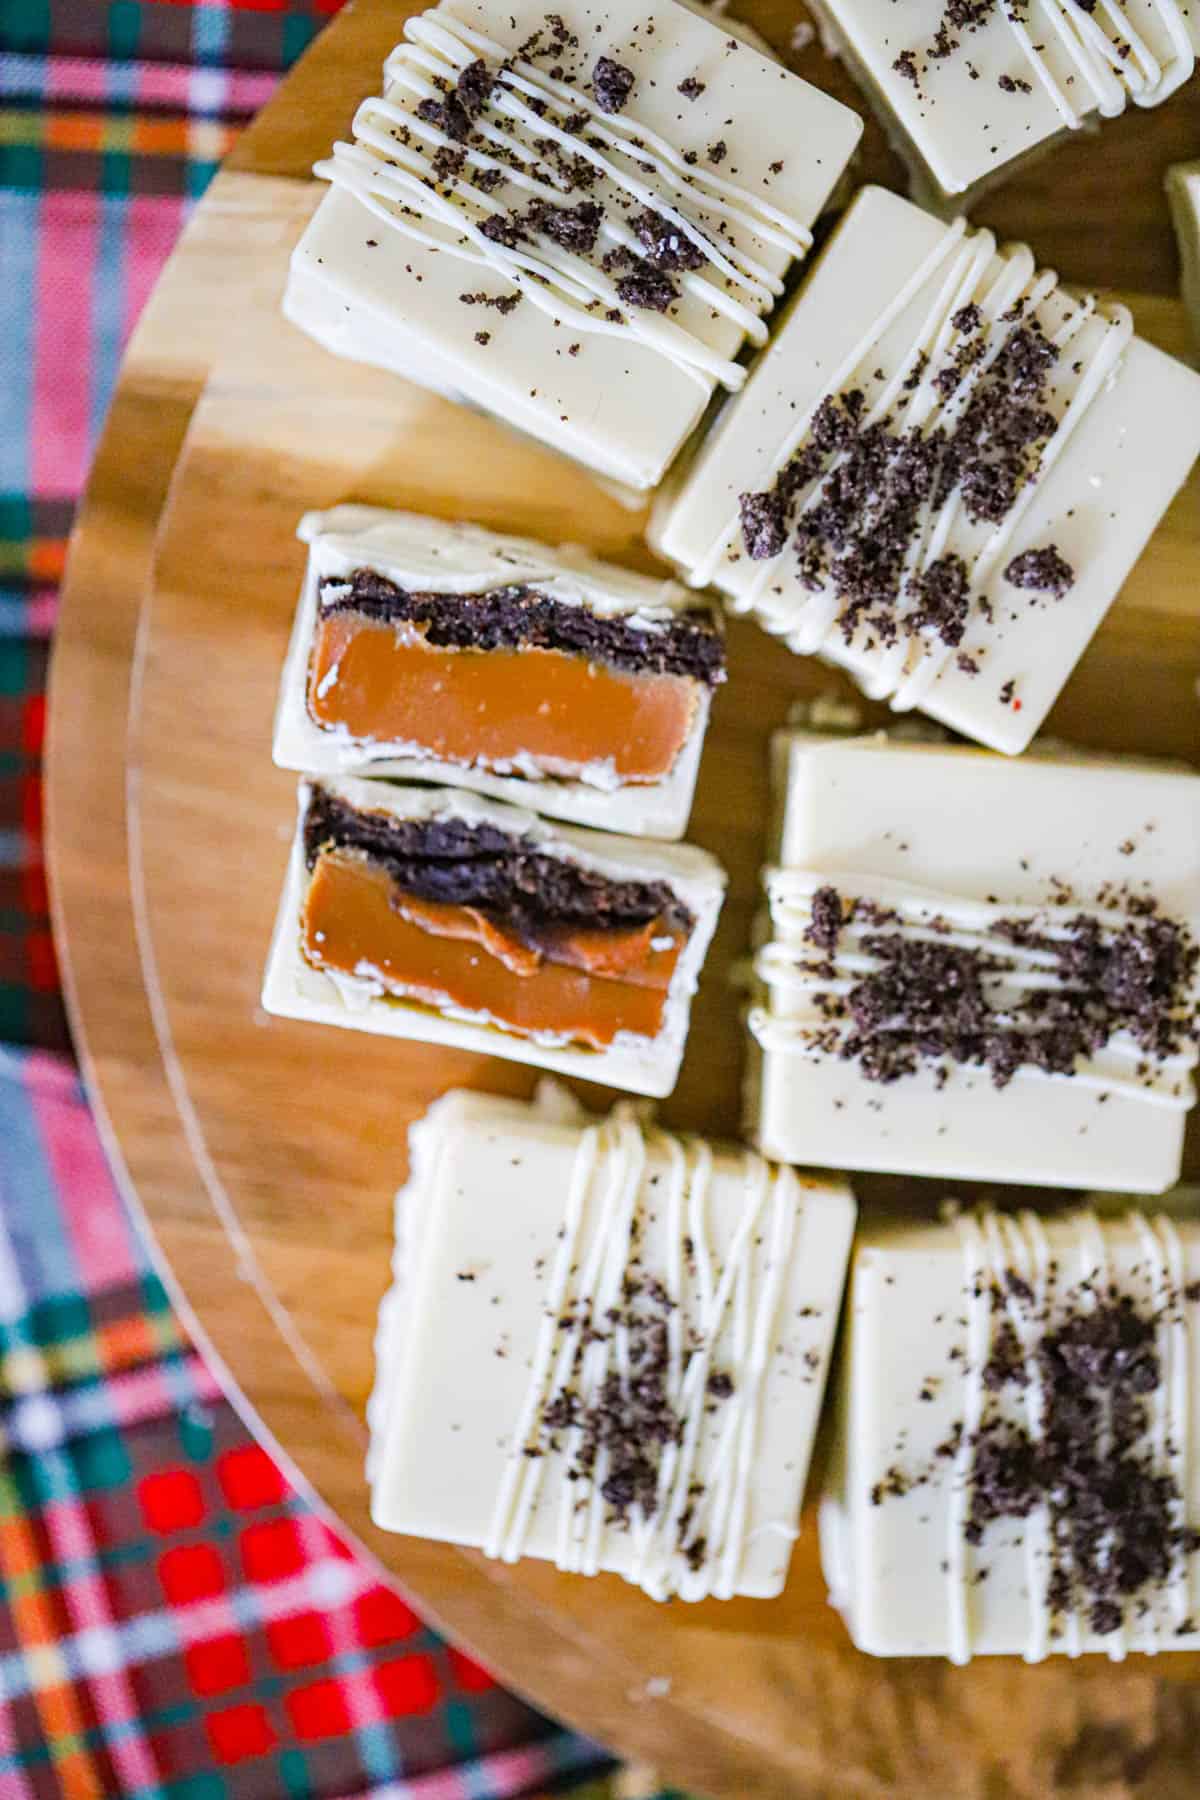
Why You’ll Love These No Bake White Chocolate Caramel Brownie Squares
- Each of these Bakery Style White Chocolate Candy Squares has three generous layers, so you get creamy white chocolate, chewy caramel, and dark brownie together.
- Leftover brownies get a delicious second turn here. Plus, bakery brownies work when you want to start with the candy making.
-
This gourmet caramel brownie candy recipe comes together with simple ingredients and no baking required when using prepared brownies.
- Silicone molds give the candies tidy edges, while a thin drizzle and cookie crumbs dress up the tops.
-
These bars look elegant enough for parties, gifting, and special occasions.
- The batch makes 12 squares, so you can tuck a few into a little box and save the rest for dessert!
For a rounded candy with the same rich pairing, try these small-batch caramel stuffed brownie truffles. Here, however, the mold keeps the brownie and caramel in neat, separate layers.
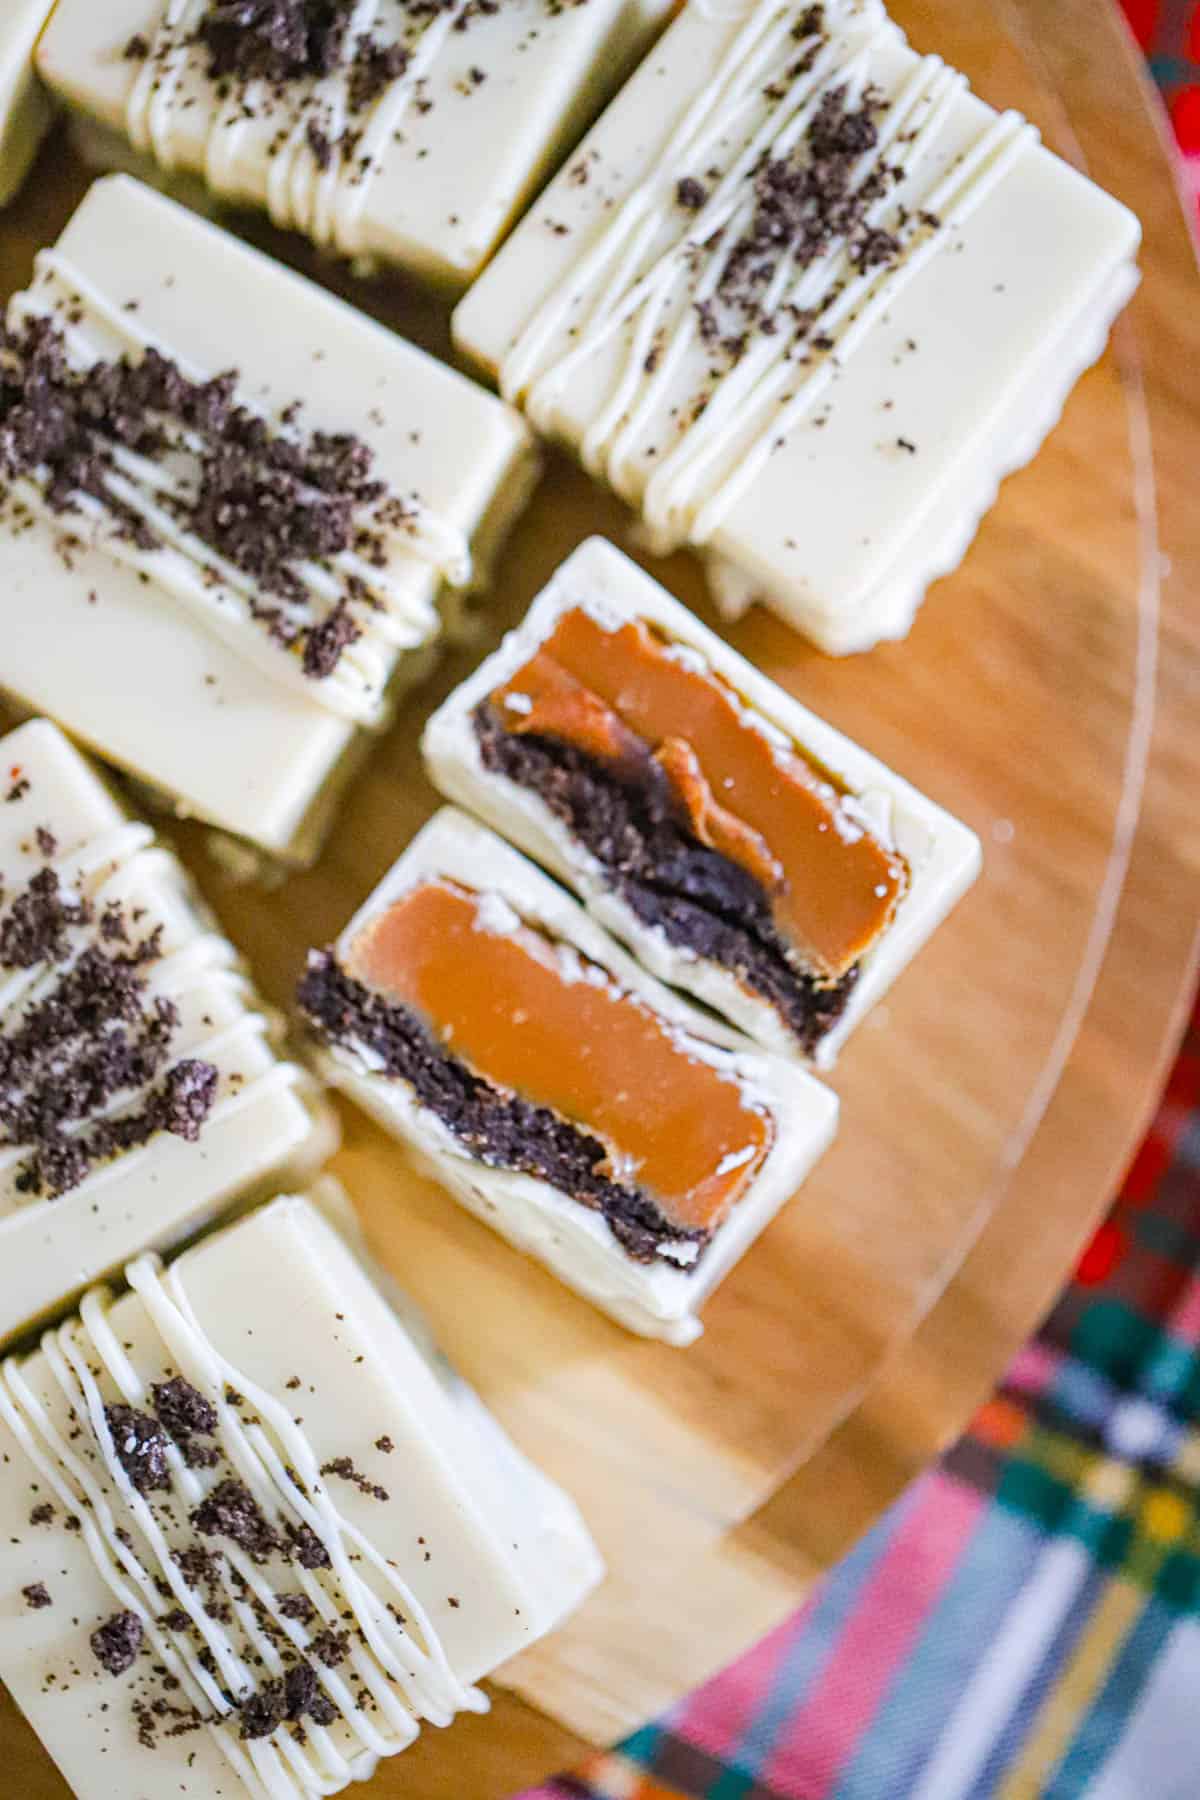
Ingredients for White Chocolate Caramel Brownie Squares
You’ll need white chocolate or white melting wafers, soft caramel, and fully baked, cooled brownies. Choose dense, fudgy brownies because their soft crumbs press together beautifully. Also, trim off any especially dry edges before crumbling.
- 1½–2 cups white chocolate chips or white melting wafers, divided after melting
- 1 cup soft caramel loaf pieces, or 1 cup caramel bits
- 2 tablespoons heavy cream, only when melting caramel bits
- 1½ cups finely crumbled, fully baked fudgy brownies
- 1–2 teaspoons milk, optional, only if the brownie crumbs feel dry
- ¼ cup melted white chocolate reserved from the main batch, optional for drizzling
- 2–3 tablespoons finely crushed Oreo cookies, optional
Soft caramel loaf gives you a chewy layer without melting. Meanwhile, caramel bits need the cream to become spoonable; let that mixture cool before filling the shells. Skip pourable ice cream caramel sauce, which can leak when you bite into the candy.
Choosing the Shell for Your Brownie Caramel Squares
White melting wafers are the easiest choice for a shell that sets without tempering. Real white chocolate with cocoa butter has a lovely creamy flavor, but a shiny, crisp finish at room temperature requires tempering. Simply melted white chocolate still works for refrigerated treats; expect a less predictable finish.
I favor melting wafers for tidy gift boxes. However, chips can melt thicker, so stir patiently and follow their package directions. More heat won’t rescue scorched chocolate. Also, keep every bowl and spoon completely dry!
How to Make No Bake White Chocolate Caramel Brownie Squares
Coat the molds first, then add caramel, brownie, and a final chocolate seal. Set two 6-cavity silicone square molds on a baking sheet so they stay level. Because cavity sizes vary, keep the fillings below the rim and save enough chocolate to close every square.
- Melt 1½–2 cups white chocolate or melting wafers in a dry microwave-safe bowl, following the package directions. Otherwise, use 15–20-second bursts at reduced power, stirring each time. Stop when only small pieces remain, then stir smooth. Reserve ¼ cup for optional drizzle. Use the upper end of the 1½–2 cups for deeper molds or a thicker shell.
- Spoon some of the remaining melted chocolate into each of the 12 cavities. Coat the bottoms and sides evenly, then refrigerate for 5–10 minutes until firm. Patch any thin spots with a little more chocolate and chill again, keeping the rest for sealing.
- Divide 1 cup soft caramel loaf pieces among the 12 shells and gently press level. Alternatively, microwave 1 cup caramel bits with 2 tablespoons heavy cream in 15–20-second bursts, stirring until smooth. Cool until barely warm, divide among the 12 shells, then chill for 10–15 minutes until firm enough to layer.
Add the Brownie and Finish the Tops
- Mix 1½ cups brownie crumbs with 1 teaspoon milk only if they won’t hold together when squeezed. Add the second teaspoon only if needed. Divide among the 12 cavities and press gently over the caramel, leaving space below the rims for chocolate. Chill for 5 minutes.
- Rewarm the remaining coating in 5–10-second bursts, stirring until fluid. Spread it over all 12 brownie layers, joining the edges to the shells. Then refrigerate for 20–30 minutes, or until completely firm.
- Gently peel the silicone away from all 12 squares and place them smooth-side up on parchment. Rewarm the reserved ¼ cup white chocolate briefly if using, then drizzle over the tops. Sprinkle with 2–3 tablespoons crushed Oreos before the drizzle sets, and chill for about 5 minutes.
White Chocolate Caramel Brownie Squares: Tips for Neat Layers
Keep the caramel barely warm and the shell fully set before adding the filling. Hot caramel can melt through your beautiful coating, so give it a few minutes to cool.
- First, check the corners when coating the molds. Bare corners can crack during unmolding.
- Next, press the brownie firmly enough to hold together without pushing hard against the shell.
- If the molds are shallow, use less filling rather than piling it above the rims. Save any extra brownie crumbs for a sundae!
- Finally, let the squares firm up fully before peeling back the silicone. The molds should release without tugging on the candies.
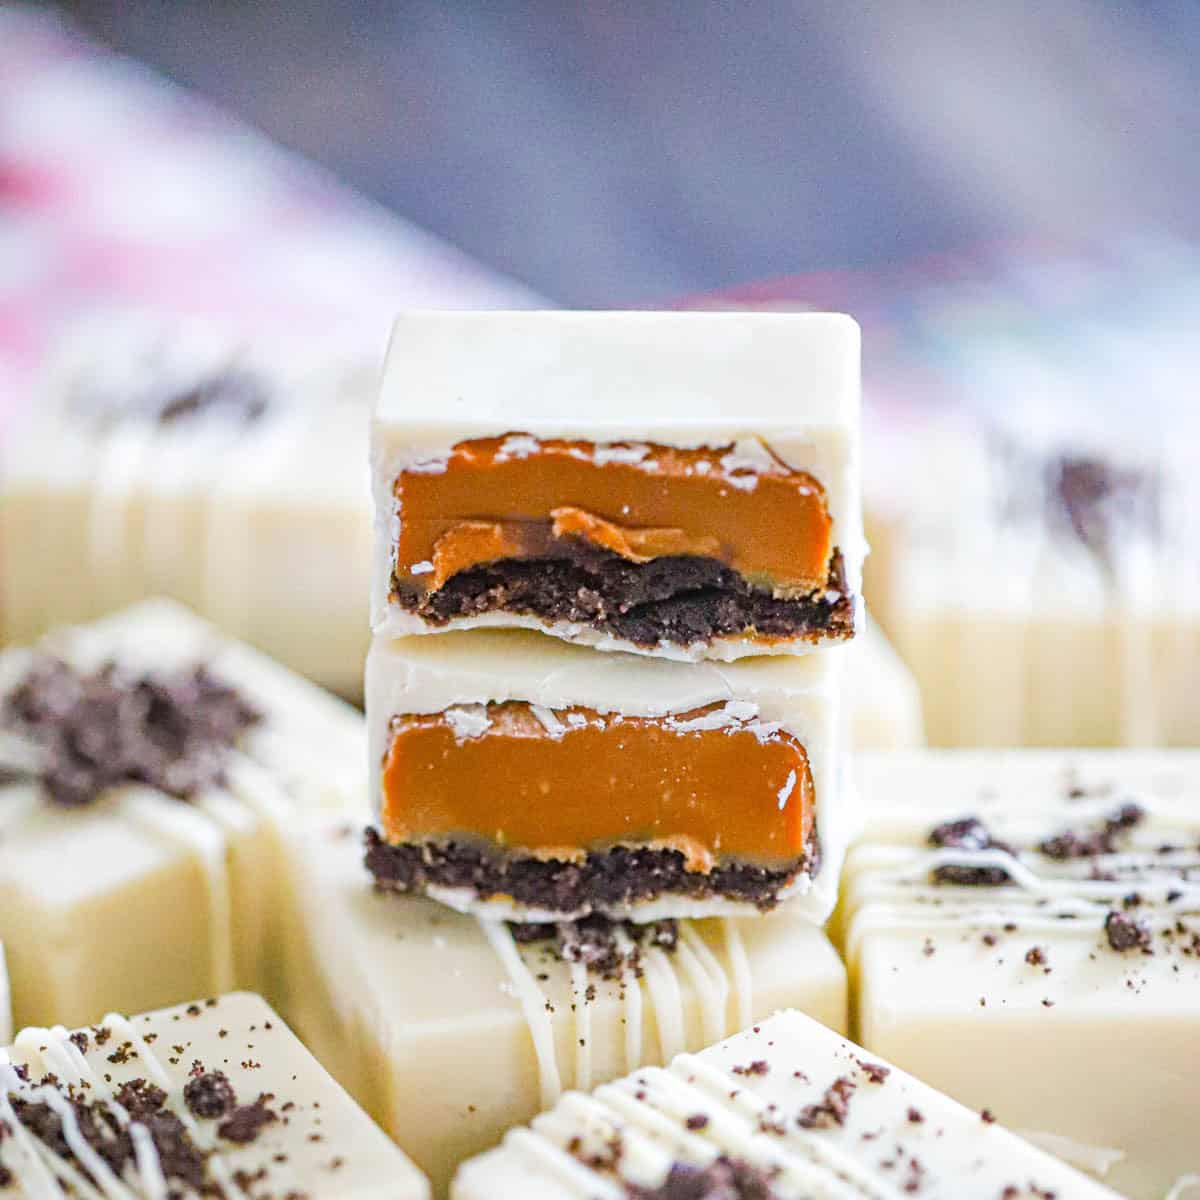
Storing and Gifting White Chocolate Caramel Brownie Squares
Refrigerate the squares in an airtight container for up to 4 days, with parchment between layers. Also, use fresh brownies and count any time they’ve already spent stored toward their usual storage limit. Let a square stand for about 10 minutes before serving so the caramel softens a little.
For longer storage, freeze the candies airtight for up to 2 months. Then thaw them covered in the refrigerator before opening the container to help limit condensation on the coating.
- These Holiday Chocolate Caramel Gifts are perfect for Christmas cookie trays, neighbor gifts, and homemade food gifts.
- Add a note to keep them refrigerated, and transport them with a cold pack.
- Meanwhile, for a dessert board, arrange a few squares beside berries and plain butter cookies; the rich caramel and brownie need only a small serving.Homemade White Chocolate Caramel Treats like these are always a welcome addition to holiday dessert boxes.
Variations for White Chocolate Brownie Caramel Squares
- For a salty finish, add a tiny pinch of flaky sea salt to each caramel layer before the brownie. I like this best when the coating is especially sweet!
- For nutty crunch, scatter 2 tablespoons finely chopped toasted pecans across the caramel layers. However, keep them inside the shells so the edges seal.
- Instead of Oreos, finish the drizzle with 2 tablespoons chocolate sprinkles or finely crushed pretzels. Add pretzels close to serving for the best crunch.
-
These Bakery Style White Chocolate Candy Squares can also be decorated with festive sprinkles for holidays and special occasions.
For more pecans with your chocolate and caramel, these turtle caramel brownie cups have that delicious turtle-candy pairing.
White Chocolate Caramel Brownie Squares FAQs
Can I use store-bought brownies in these brownie caramel squares?
Yes. Choose fully baked, unfrosted fudgy brownies, then crumble them finely. Boxed-mix brownies work too, but bake and cool them first; dry brownie mix does not belong in this filling.
Do I need silicone molds for these brownie caramel squares?
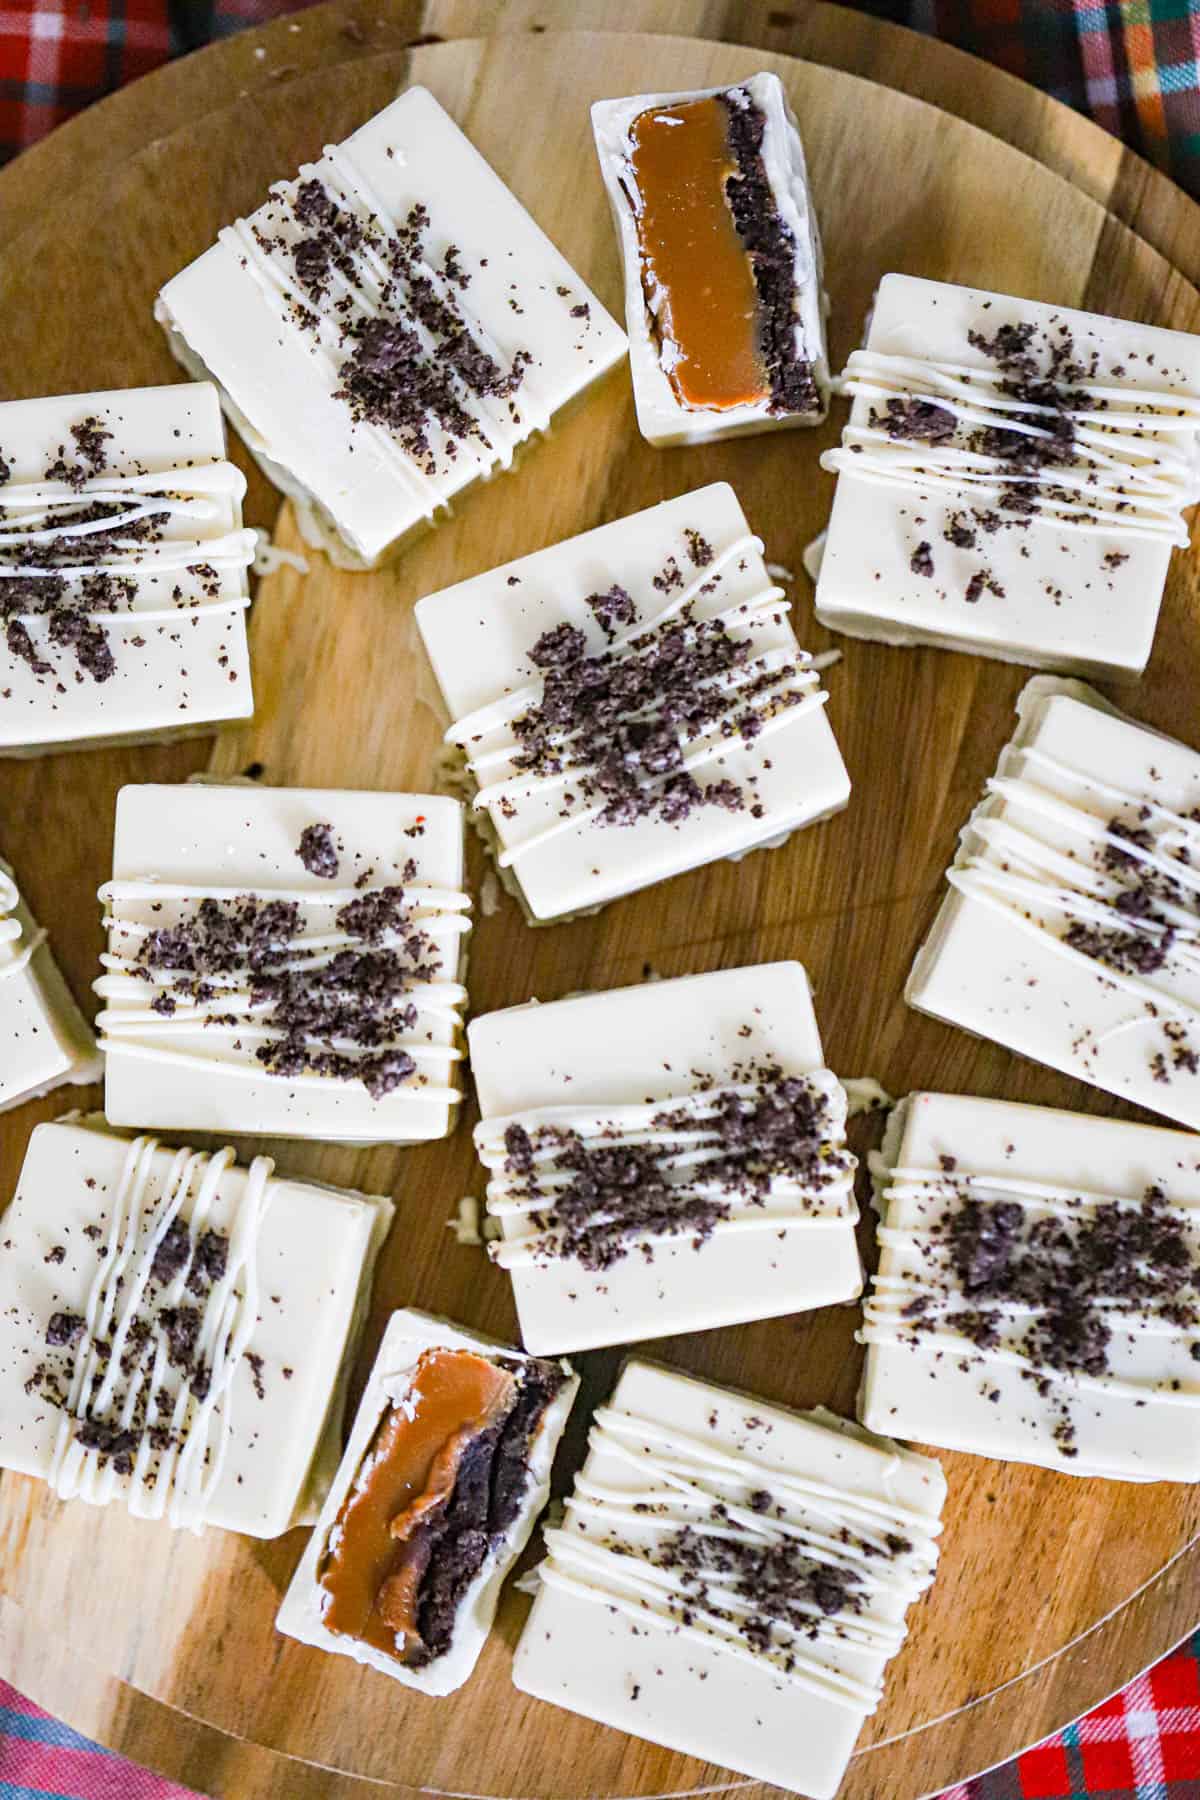
Silicone square molds give you the pictured shape and make unmolding easiest. Alternatively, use paper-lined mini muffin cups for round candies, adjusting the number to suit their size and keeping every filling below the rim.
Why won’t my white coating turn smooth?
It may need more stirring, or it may have overheated or touched water. First, stir thoroughly before reheating. If it smells scorched or stays grainy after overheating or moisture, start with a fresh batch in a clean, dry bowl.
Can I make these Holiday Chocolate Caramel Gifts ahead of time?
Yes! These Holiday Chocolate Caramel Gifts can be prepared several days in advance and stored in the refrigerator until ready to package and share.
Share your finished treats with me on Instagram, Pinterest, and Facebook. Happy candy making!
More Chocolate Treats to Try
Keep the chocolate going with white chocolate ghost truffles for a Halloween tray, or add some cereal crunch with brownie peanut butter Rice Krispie bars.
- Jumbo S’mores Cups (Bakery‑Style)
- Brown Butter Ferrero Rocher Oatmeal Cookies
- 3 Ingredient Chocolate Oreo Bark
- Chocolate Peanut Butter Crunchy Protein Bars (No Bake, High Protein)
- Jumbo Protein Peanut Butter Cups (High‑Protein, No‑Bake, Easy Homemade Reese’s)
- Best Classic S’mores Pretzel Clusters (Small Batch, No‑Bake)
White Chocolate Caramel Brownie Squares
Equipment
- Two 6-cavity silicone square candy molds 12 cavities total
- Baking sheet to support the molds
- Dry microwave-safe bowls
- Small silicone spatula
- Spoon or small food-safe brush
- Parchment paper
- Piping bag or zip-top bag for optional drizzle
Ingredients
White Chocolate Shell and Drizzle
- 1½–2 cups white chocolate chips or white melting wafers melted together; reserve ¼ cup from this amount for optional drizzle
Caramel Layer
- 1 cup soft caramel loaf pieces OR caramel bits
- 2 tablespoons heavy cream only if using caramel bits
Brownie Layer
- 1½ cups finely crumbled, fully baked and cooled fudgy brownies
- 1–2 teaspoons milk optional, only if the crumbs feel dry
Optional Topping
- 2–3 tablespoons finely crushed Oreo cookies
Instructions
Melt and Coat the Molds
- Set two 6-cavity silicone square candy molds on a baking sheet, making 12 cavities total.
- Melt 1½–2 cups white chocolate or melting wafers in a dry microwave-safe bowl, following the package directions. Otherwise, use 15–20-second bursts at reduced power, stirring each time. Stop when only small pieces remain, then stir smooth. Reserve ¼ cup for optional drizzle. Use the upper end of the 1½–2 cups for deeper molds or a thicker shell.
- Spoon some of the remaining melted chocolate into each of the 12 cavities. Coat the bottoms and sides evenly, then refrigerate for 5–10 minutes until firm. Patch any thin spots with a little more chocolate and chill again, keeping the rest for sealing.
Add the Fillings
- Divide 1 cup soft caramel loaf pieces among the 12 shells and gently press level. Alternatively, microwave 1 cup caramel bits with 2 tablespoons heavy cream in 15–20-second bursts, stirring until smooth. Cool until barely warm, divide among the 12 shells, then chill for 10–15 minutes until firm enough to layer.
- Mix 1½ cups brownie crumbs with 1 teaspoon milk only if they won't hold together when squeezed. Add the second teaspoon only if needed. Divide among the 12 cavities and press gently over the caramel, leaving space below the rims for chocolate. Chill for 5 minutes.
Seal and Decorate
- Rewarm the remaining coating in 5–10-second bursts, stirring until fluid. Spread it over all 12 brownie layers, joining the edges to the shells. Then refrigerate for 20–30 minutes, or until completely firm.
- Gently peel the silicone away from all 12 squares and place them smooth-side up on parchment. Rewarm the reserved ¼ cup white chocolate briefly if using, then drizzle over the tops. Sprinkle with 2–3 tablespoons crushed Oreos before the drizzle sets, and chill for about 5 minutes.
