
Chocolate Covered Peanut Butter Brownie Cups
As an Amazon Associate, I earn from qualifying purchases. Read the full disclosure here.
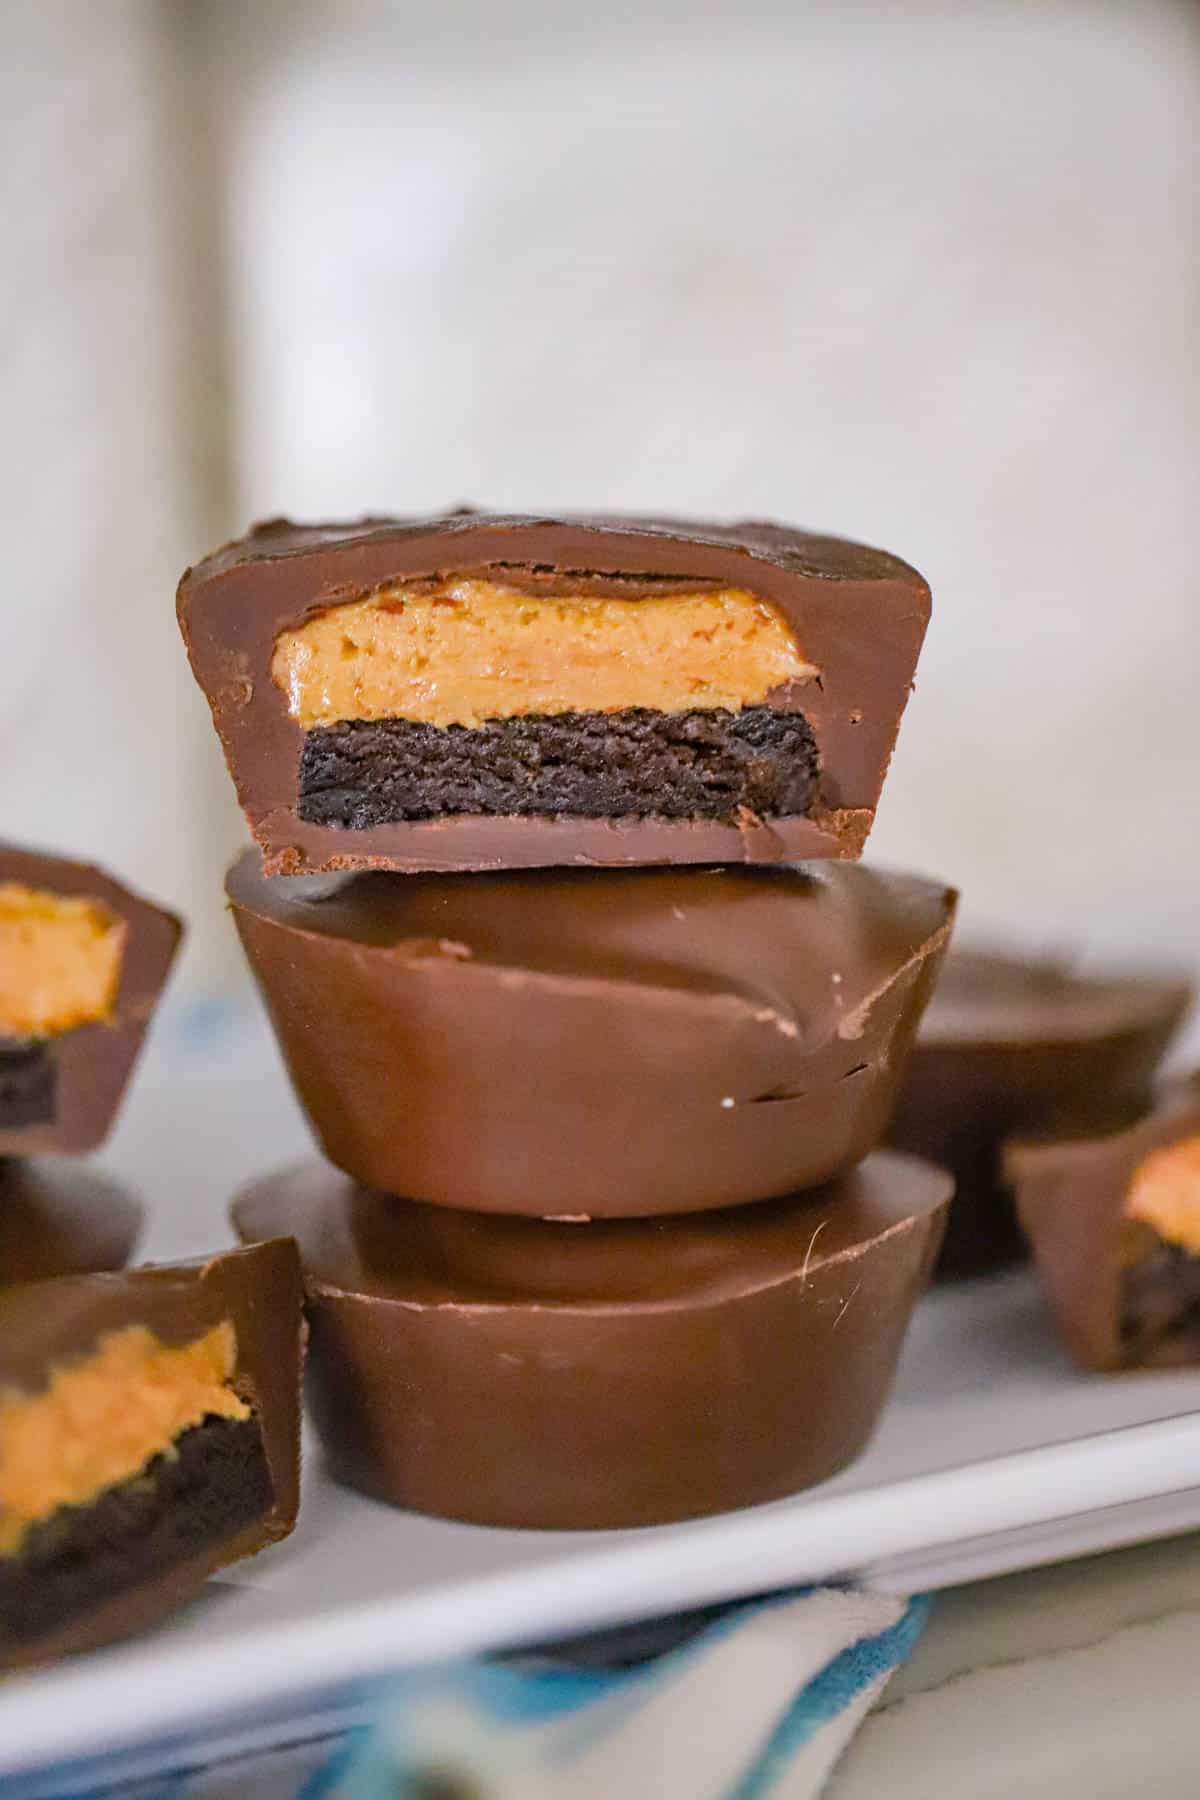
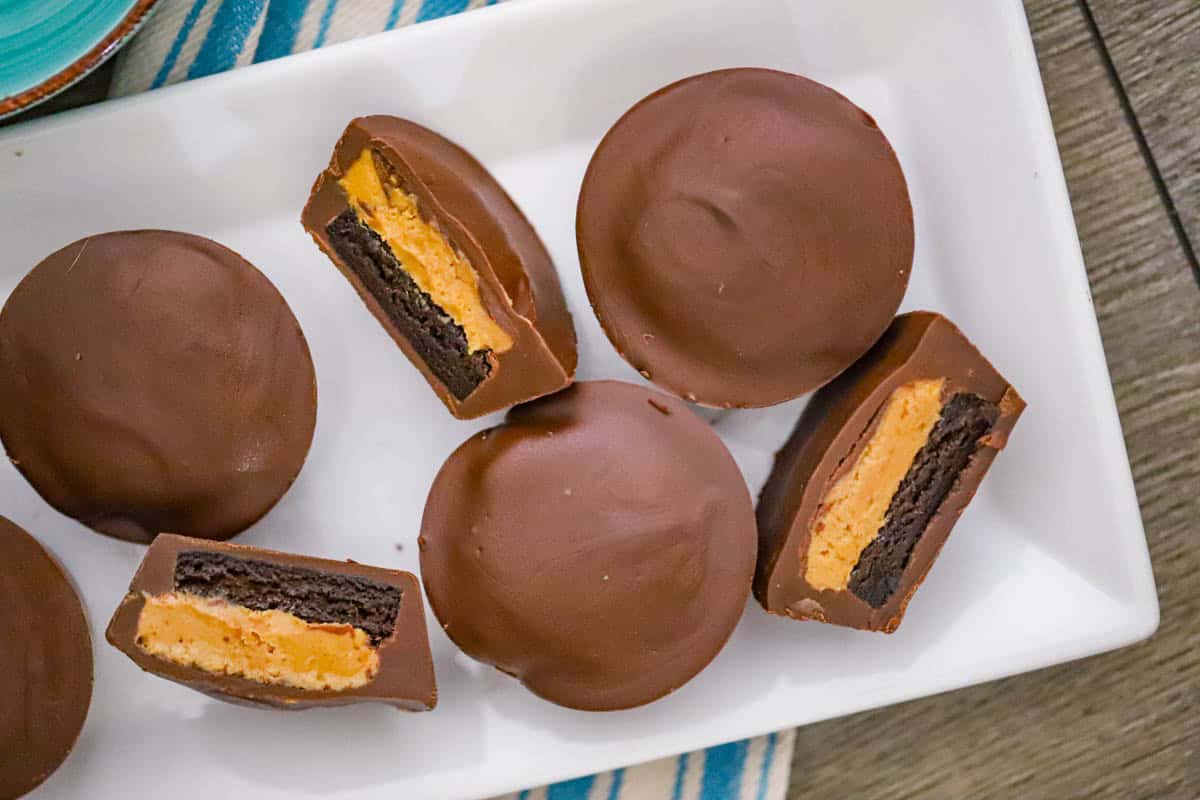
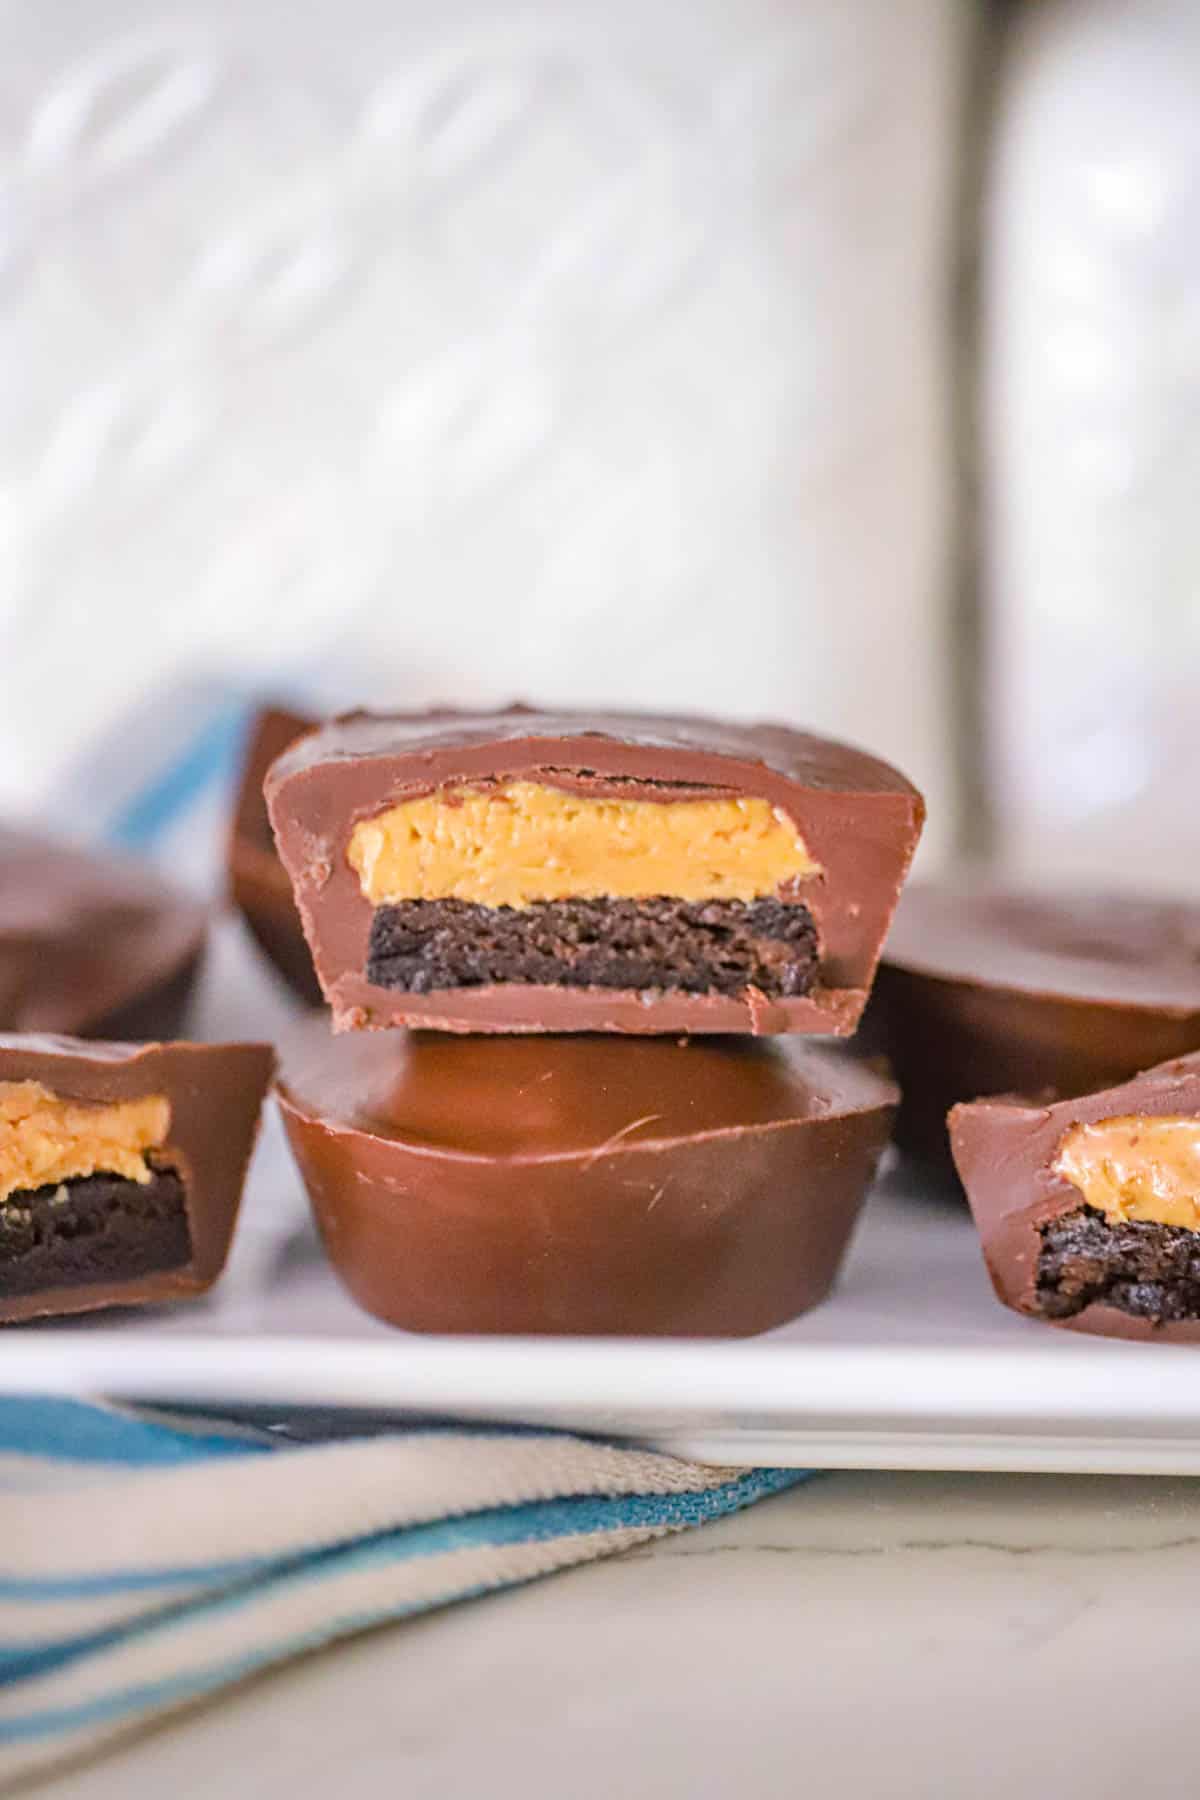
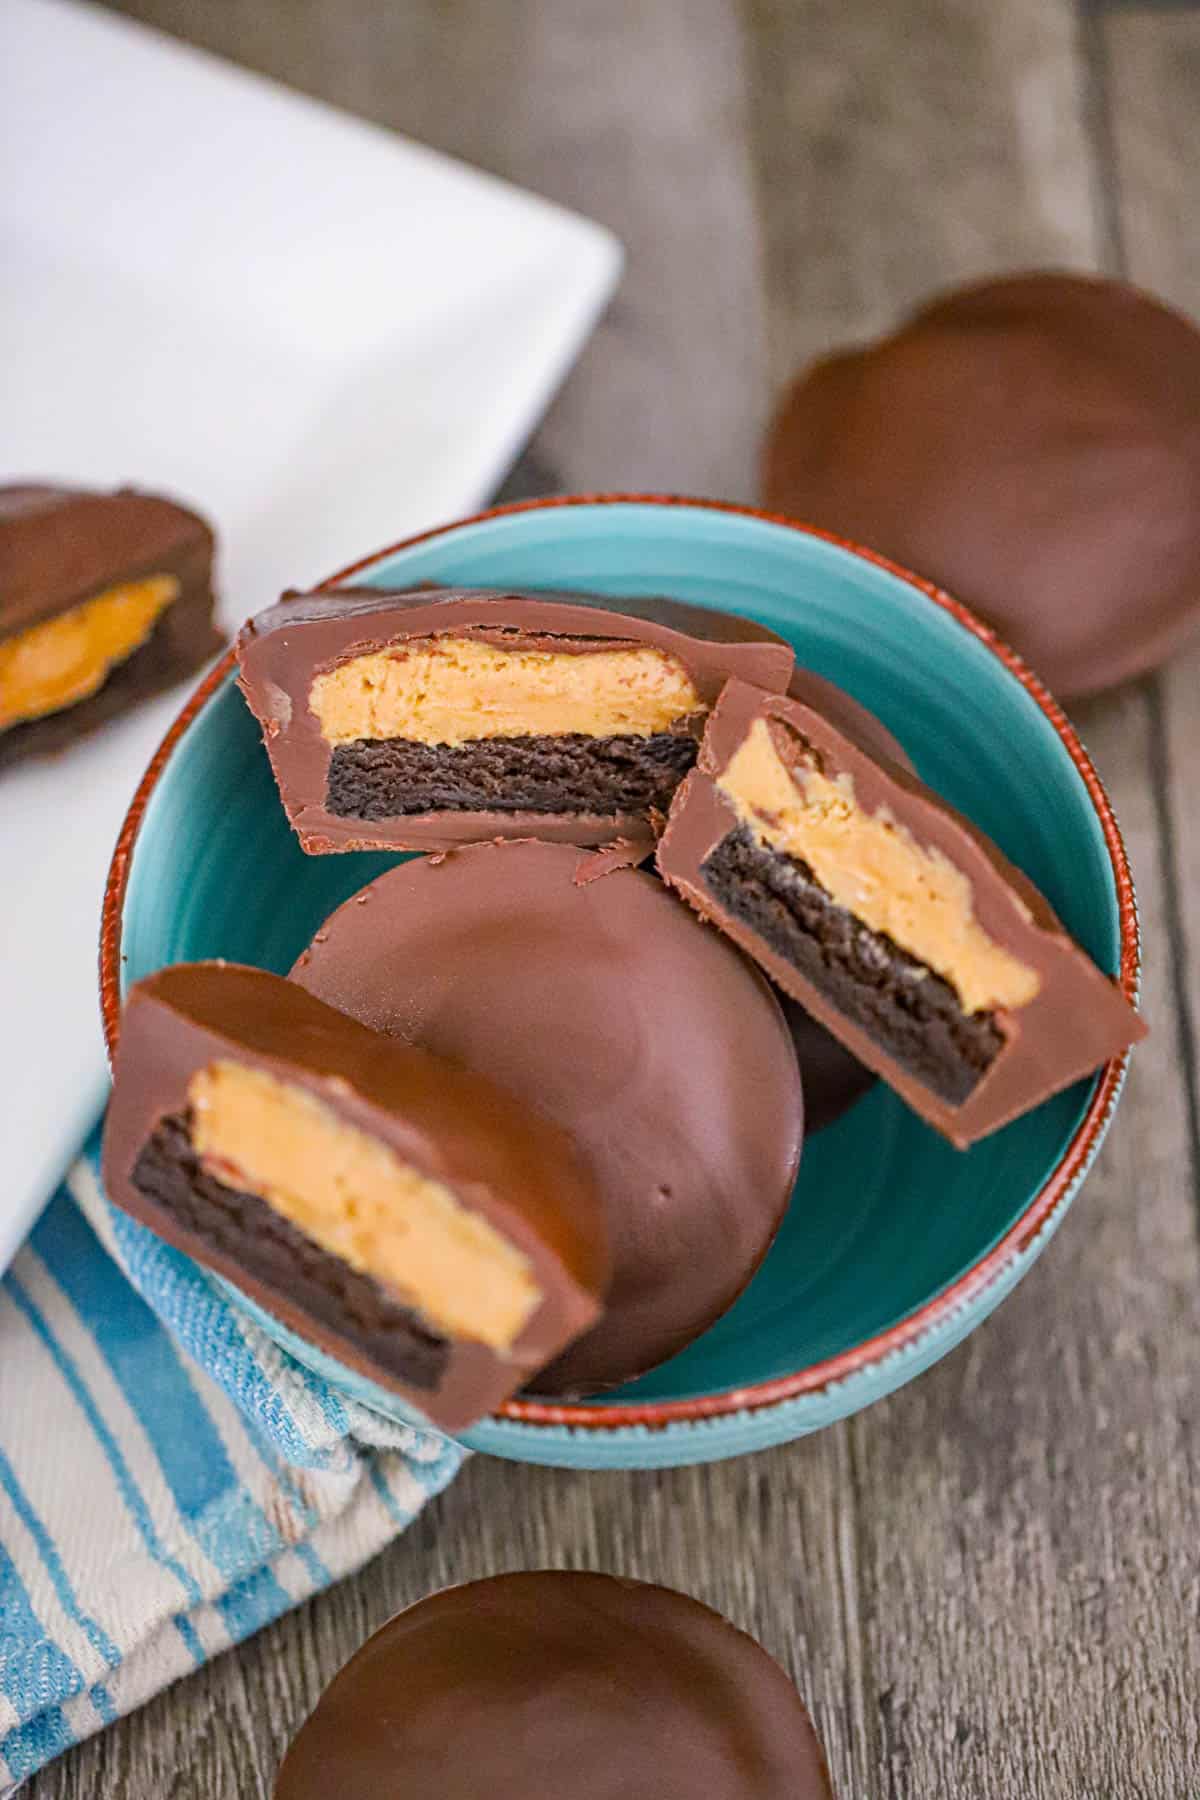
Now this is how you turn leftover brownies into something extra delicious! These Chocolate Covered Peanut Butter Brownie Cups tuck a fudgy brownie center and creamy peanut butter filling inside a glossy chocolate shell. Every chilled cup gives you that lovely snap before the soft brownie and salty-sweet filling take over. Make six for a holiday tray, bake sale box, or Valentine’s Day surprise, because brownies plus peanut butter deserve the full candy treatment!
Wrapped in all the chocolatey comfort you could want, this recipe kicks off September in my Chocolate Bliss Series, and if you’re a true chocolate lover, you’re going to want to dive all in.
WANT TO SAVE THIS RECIPE?
Why You’ll Love These Chocolate Covered Peanut Butter Brownie Cups
- Leftover brownies get a glorious second act. Cut neat rounds from an intact brownie slab, or press soft brownie crumbs into rounds. Both options bring that deep, fudgy bite!
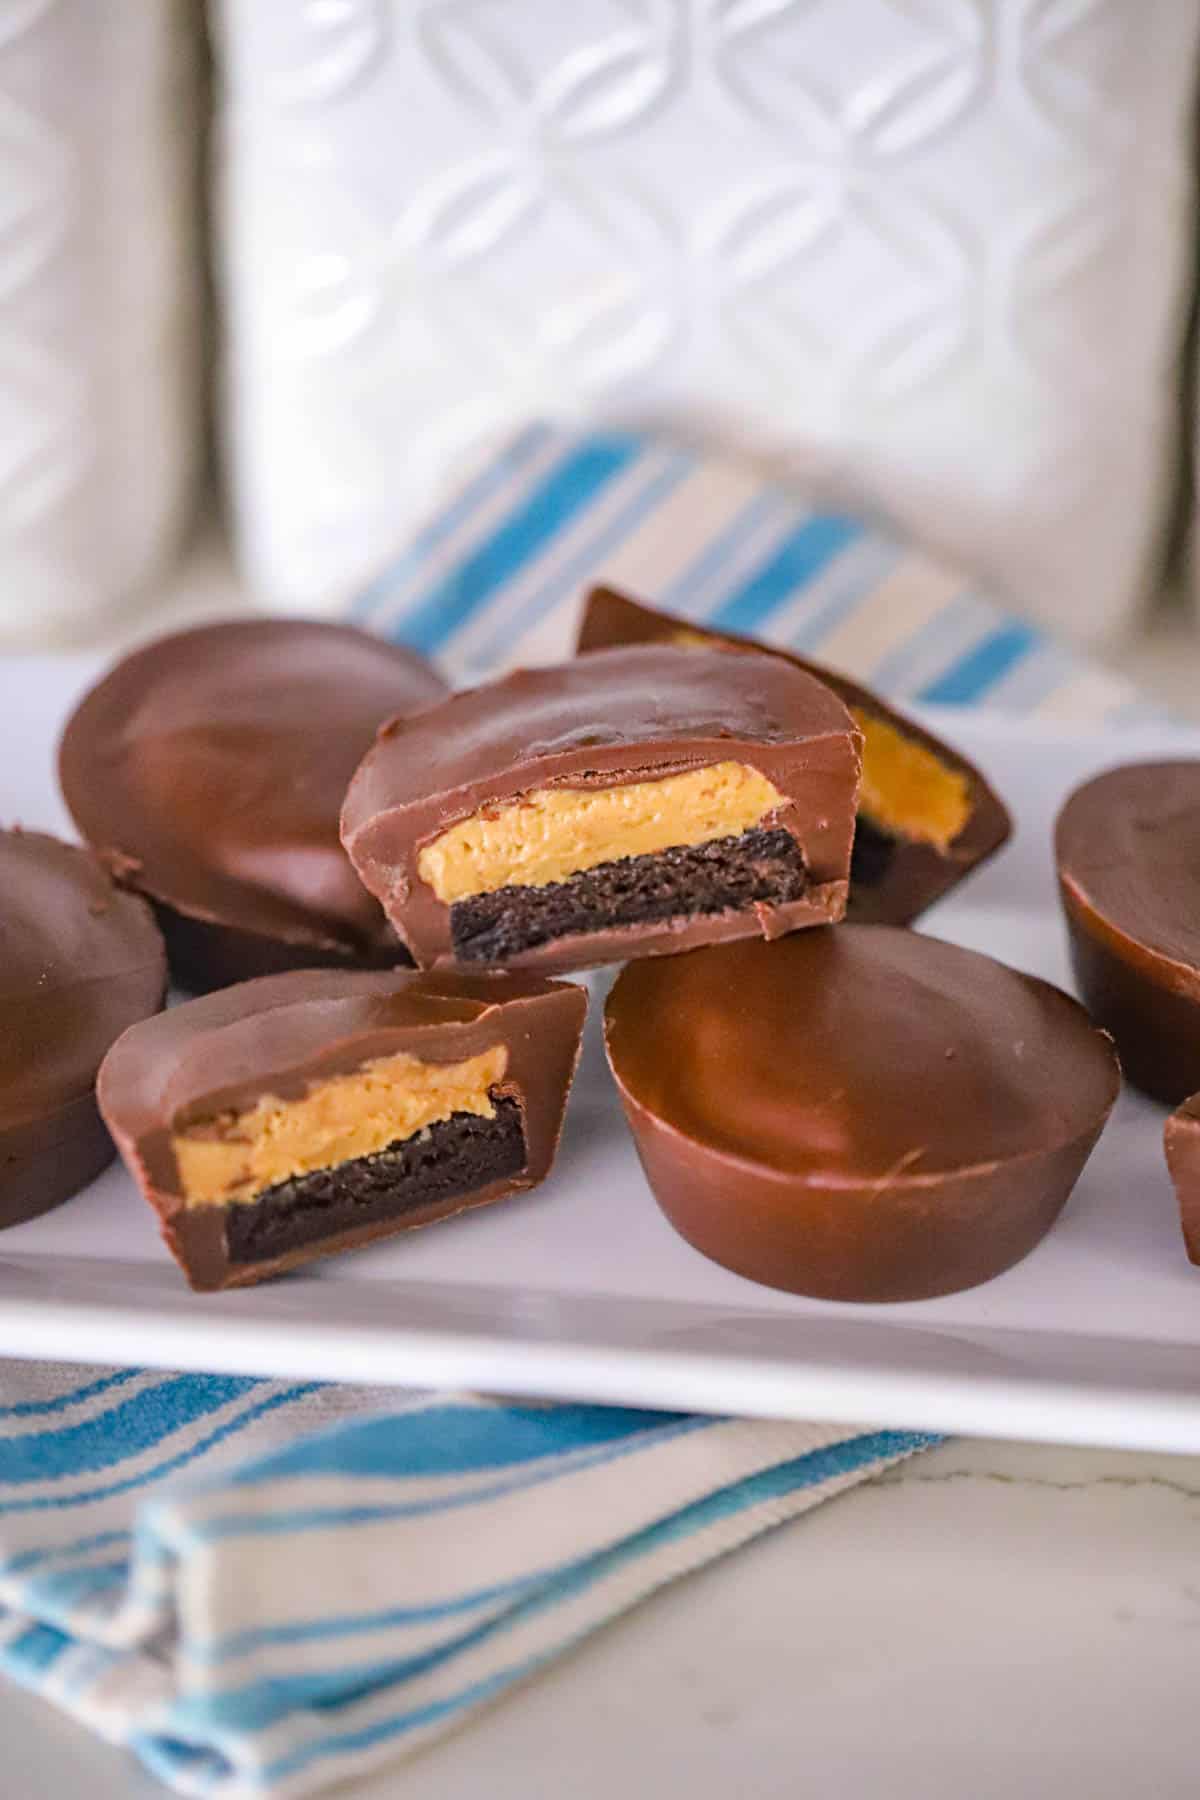
- The layers are pure chocolate-peanut butter happiness. A crisp shell, creamy filling, and chewy brownie center give every cup three fabulous textures.
- Six cups make a sweet small batch. There is plenty for sharing, too.
- They dress up for any celebration. Change the chocolate, add sprinkles, or finish them with a tiny pinch of flaky salt.
Need brownies for the centers? Bake these 4-ingredient fudgy brownies, cool them, and save six rounds. Then put these loaded Reese’s Peanut Butter Cup brownies on the baking list, too!
Ingredients for Chocolate Covered Peanut Butter Brownie Cups
You need cooled brownies, creamy peanut butter, powdered sugar, vanilla, salt, and chocolate. Add the optional coconut oil and milk only when the texture calls for them. Conventional creamy peanut butter makes a thick filling that stays tucked inside.
Peanut Butter Brownie Cup Base
- 1 1/2 cups crumbled leftover brownies: Use moist, fudgy brownies and press the crumbs firmly into six rounds. Instead, you can cut six 2 1/4- to 2 1/2-inch rounds from a cooled, thin brownie slab.
- 1 to 2 teaspoons milk, optional: Add only enough to help dry brownie crumbs hold together. Moist brownies will not need it.
Peanut Butter Filling
- 1/2 cup creamy peanut butter: A smooth, no-stir peanut butter gives the filling the best candy-center texture.
- 1/4 cup powdered sugar: This thickens and sweetens the peanut butter.
- 1/2 teaspoon vanilla extract: That little splash rounds out the filling.
- Pinch of salt: Do not skip it, even when the peanut butter is salted!
Chocolate Coating
- 1 1/2 cups chocolate: Semisweet, milk, dark, or white chocolate all work. I like Ghirardelli 60% dark chocolate with a little milk chocolate mixed in for a rich, balanced shell.
- 1 to 2 teaspoons coconut oil, optional: Stir it in gradually only when the melted chocolate needs a thinner pour.
Healthier Tips for Peanut Butter Brownie Cups
Brownie Base
- Use a lighter brownie base Swap traditional brownies for a whole‑wheat, oat flour, or black bean brownie recipe. They stay fudgy and reduce refined flour.
- Cut sugar in the brownie layer If using homemade brownies, reduce sugar by 25% — the PB filling and chocolate shell already add sweetness.
- Skip the milk add‑in If your brownies are moist enough, omit the milk entirely to avoid extra calories.
Peanut Butter Filling
- Choose natural peanut butter A no‑stir PB gives the best texture, but natural PB (just peanuts + salt) cuts added oils and sugars.
- Reduce powdered sugar You can drop it to 2–3 tablespoons and still get a thick, candy‑center feel. For a no‑sugar option: use 2–3 teaspoons maple syrup + 1–2 tablespoons oat flour to thicken.
- Boost flavor without calories Keep the vanilla and salt — they make the filling taste richer without adding anything heavy.
Chocolate Coating
- Use dark chocolate (70%+) Higher‑cacao chocolate has less sugar and gives a more intense shell that balances the PB.
- Thin the chocolate with water instead of oil A tiny splash (½ teaspoon) of hot water can loosen chocolate without adding fat. (Note: it creates a slightly softer shell, but still sets beautifully.)
- Go lighter on the coating Spoon a thinner layer over the top — still crisp, still glossy, but fewer calories.
Bonus Healthy Tweaks
- Add chia or flax to the PB filling 1 teaspoon mixed in adds fiber and helps thicken naturally.
- Make mini cups Same flavor, smaller portion — readers love “bite‑size” versions.
- Use silicone mini molds They help control portion size and make healthier swaps feel intentional and polished.
How to Make Chocolate Covered Peanut Butter Brownie Cups
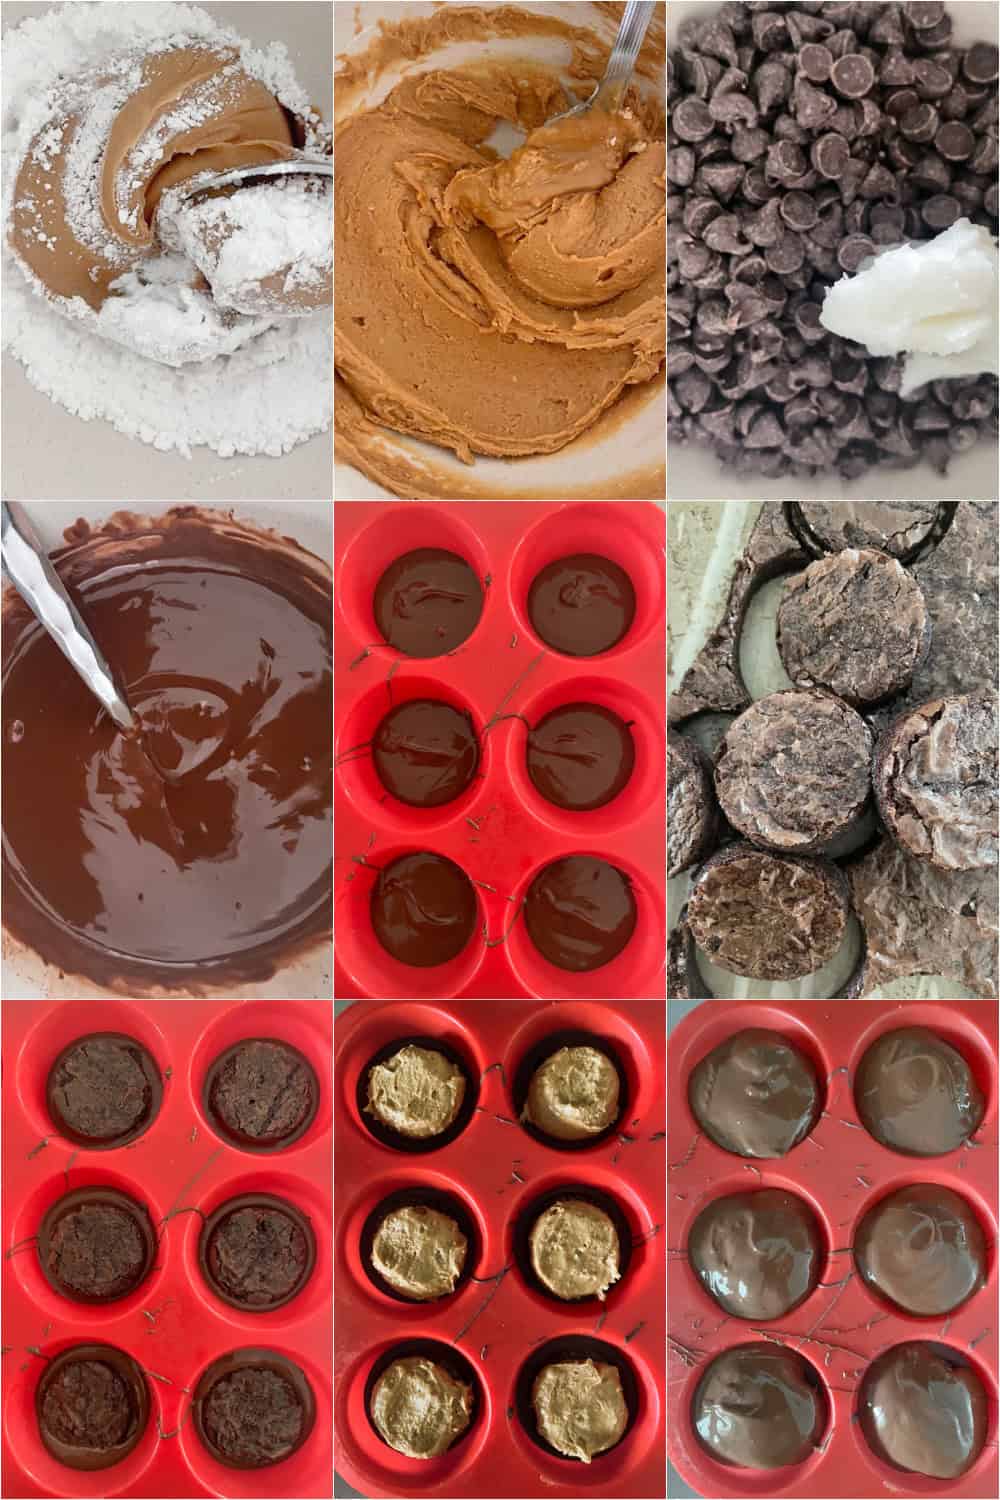
Layer melted chocolate, six brownie rounds, and peanut butter filling in six standard silicone muffin cups, then chill for 20 to 25 minutes. Set the cups on a tray first so they are easy to move.
- Shape the brownie rounds. Mix 1 1/2 cups brownie crumbs with 1 teaspoon milk only if the crumbs feel dry, adding the remaining 1 teaspoon milk when needed. Divide into 6 equal portions and press each into a firm 2 1/4- to 2 1/2-inch round. Alternatively, cut 6 rounds from a cooled, thin brownie slab.
- Make the filling. Stir together 1/2 cup creamy peanut butter, 1/4 cup powdered sugar, 1/2 teaspoon vanilla extract, and a pinch of salt until smooth. Divide the filling into 6 portions, about 2 tablespoons each.
- Melt the chocolate. Microwave 1 1/2 cups chocolate in a dry microwave-safe bowl for 30 seconds, then stir. Continue in 15- to 20-second bursts, stirring after each one, until smooth. Add 1 to 2 teaspoons coconut oil only if the chocolate needs thinning.
- Start the shells. Spoon about 1 tablespoon melted chocolate into the bottom of each of the 6 silicone muffin cups. Tilt each cup slightly so the chocolate reaches the lower edges.
- Add the brownies. Place 1 of the 6 brownie rounds over the chocolate in each cup. Press very gently, keeping a narrow chocolate border around every round.
- Add the peanut butter. Place 1 of the 6 filling portions, about 2 tablespoons, on each brownie round. Flatten the filling slightly or leave it softly domed, but keep it away from the edges.
- Cover the cups. Divide the remaining melted chocolate among all 6 cups, using about 2 to 3 tablespoons per cup. Guide the chocolate down the sides so it meets the bottom layer, then tap the tray lightly to smooth the tops.
- Chill and unmold. Refrigerate all 6 cups for 20 to 25 minutes, or until completely firm. Peel the silicone away from the chilled chocolate and let the cups stand for 5 minutes before serving.
Tips for Perfect Chocolate Covered Brownie Cups
Keep every bowl dry, stir the chocolate often, and leave a clear border around the filling. Those moves give you a smooth shell and tidy seal. Also, set the silicone cups on a firm tray. Chocolate on the floor is never part of the plan!
- Stir more than you heat. Chocolate can look solid while the center is already warm, so give it a thorough stir before adding more microwave time.
- Keep the brownie rounds smaller than the cups. The extra space lets the top chocolate flow down and meet the bottom layer.
- Use coconut oil sparingly. Too much can make the shell softer. Begin with 1 teaspoon and add the second only when needed.
- Peel the silicone away from the chocolate. Tugging the cup itself can crack the edges, especially straight from the refrigerator.
How to Store Peanut Butter Brownie Cups
Store the cups in an airtight container in the refrigerator for up to 1 week. Place parchment between layers to protect the shells, and let each cup sit at room temperature for 5 to 10 minutes before serving. For longer storage, freeze them in a freezer-safe container for up to 2 months. Thaw the covered container overnight in the refrigerator so moisture stays away from the chocolate.
For gifting or bake sales, chill the cups before packaging, keep them cool, and clearly label that they contain peanuts.
Chocolate Covered Peanut Butter Brownie Cup Variations
- White chocolate celebration cups: Replace the 1 1/2 cups chocolate with white melting wafers, then add 2 tablespoons sprinkles before the tops set.
- Dark chocolate and sea salt: Use 1 1/2 cups dark chocolate and finish each of the 6 cups with a tiny pinch of flaky salt.
- Peanut crunch: Stir 1/4 cup finely chopped roasted peanuts into the finished peanut butter filling.
- Raspberry chocolate: Add 1/2 teaspoon seedless raspberry jam over the peanut butter in each cup before covering it with chocolate.
- Mini brownie cups: Divide the same ingredients among 12 mini silicone muffin cups and begin checking for firmness after 15 minutes.
Serving Ideas for Peanut Butter Brownie Cups
Serve these cups slightly chilled so the shell stays crisp while the centers soften. They belong on Christmas candy trays, Valentine’s Day dessert boards, birthday platters, and bake sale tables. For colorful contrast, add these Hershey’s chocolate raspberry fudge bars. You can also tuck each cup into a paper liner and gift box.
Chocolate Covered Peanut Butter Brownie Cups FAQs
Can I use boxed brownies?
Yes, boxed brownies work beautifully once they are completely cool. Bake them in a larger pan for a thinner slab when you want to cut rounds, or use any cooled brownies as crumbs. Fudgy brownies hold together better than cakey ones.
How do I keep the chocolate shell from cracking?
Make the shell thick enough to cover the sides completely and peel the silicone away gently. Also, keep the brownie and filling inside the chocolate border. If a thin spot shows before filling, chill the first layer and brush a little more melted chocolate over it.
Can I make peanut butter brownie cups ahead?
Yes, make the cups up to 1 week ahead and refrigerate them in an airtight container. Add parchment between layers and wait to place them in gift packaging until the chocolate is completely firm.
Do chocolate covered brownie cups need refrigeration?
Refrigeration is the best choice for a firm shell and tidy layers. The cups can sit on a cool dessert table for about 2 hours, but return leftovers to the refrigerator. Warm rooms will soften the chocolate and peanut butter filling.
A Candy-Shop Finish for Leftover Brownies
Go on and break through that chocolate shell! The fudgy brownie and creamy peanut butter center make every cup worthy of your favorite dessert tray. Choose dark chocolate, make a holiday batch, or add a pinch of sea salt. Every version is packed with chocolate-peanut butter goodness!
As September begins, this treat launches a new chapter in my Chocolate Bliss Series — and if chocolate is your love language, you’ll want to be all in for what’s coming next.
I would love to see your brownie cup creations! Share them with me on Instagram, save the recipe on Pinterest, and show off those gorgeous layers on Facebook. Happy treat making!
More Chocolate Covered Desserts
- Copycat Reese’s Peanut Butter Hearts
- Milk Chocolate Peanut Butter Truffles
- Fudge Round Brownie Bars (Easy Homemade Fudge Round Dessert)
- Easy Chocolate Covered Strawberry Brownies
- Chocolate Covered Fluffy Marshmallow Brownies
- Chocolate Covered Pecan Pie Bars
- Easy No‑Bake Chocolate Coconut Bars with Layers of Coconut & Fudge
Chocolate Covered Peanut Butter Brownie Cups
Equipment
- 6 standard silicone muffin cups
- Sheet pan or sturdy plate
- 2 1/4- to 2 1/2-inch round cookie cutter optional
- Microwave-safe bowl
- Medium mixing bowl
- Spoon or small cookie scoop
Ingredients
Brownie Base
- 1 ½ cups crumbled leftover brownies, or 6 brownie rounds cut from a cooled thin brownie slab
- 1 to 2 teaspoons milk optional if the brownie crumbs are dry
Peanut Butter Filling
- ½ cup creamy peanut butter
- ¼ cup powdered sugar
- ½ teaspoon vanilla extract
- 1 pinch salt
Chocolate Coating
- 1 ½ cups semisweet, milk, dark, or white chocolate
- 1 to 2 teaspoons coconut oil optional for thinning
Instructions
Prepare the Brownie Base
- Mix 1 1/2 cups brownie crumbs with 1 teaspoon milk only if the crumbs feel dry, adding the remaining 1 teaspoon milk when needed. Divide into 6 equal portions and press each into a firm 2 1/4- to 2 1/2-inch round. Alternatively, cut 6 rounds from a completely cooled, thin brownie slab.
Make the Peanut Butter Filling
- Stir together 1/2 cup creamy peanut butter, 1/4 cup powdered sugar, 1/2 teaspoon vanilla extract, and 1 pinch salt until smooth. Divide into 6 portions, about 2 tablespoons each.
Melt the Chocolate
- Microwave 1 1/2 cups chocolate in a dry microwave-safe bowl for 30 seconds, then stir. Continue in 15- to 20-second bursts, stirring after each one, until smooth. Add 1 to 2 teaspoons coconut oil only if the chocolate needs thinning.
Assemble and Chill
- Set 6 standard silicone muffin cups on a sheet pan or sturdy plate. Spoon about 1 tablespoon melted chocolate into the bottom of each of the 6 cups and tilt slightly so the chocolate reaches the lower edges.
- Place 1 of the 6 brownie rounds over the chocolate in each cup, keeping a narrow chocolate border around every round.
- Add 1 of the 6 peanut butter filling portions, about 2 tablespoons, to each brownie round. Flatten slightly or leave softly domed, keeping the filling away from the edges.
- Divide the remaining melted chocolate among all 6 cups, using about 2 to 3 tablespoons per cup. Guide the chocolate down the sides so it meets the bottom layer, then tap the tray lightly to smooth the tops.
- Refrigerate all 6 cups for 20 to 25 minutes, or until completely firm. Peel the silicone away from the chilled chocolate and let the cups stand for 5 minutes before serving.
Notes
- Use conventional creamy, no-stir peanut butter for the thickest filling.
- Moist brownies do not need milk.
- Brownies must be fully baked and cooled before starting; brownie baking time is not included.
