
Chocolate Maple Peanut Butter Pumpkin Cups
As an Amazon Associate, I earn from qualifying purchases. Read the full disclosure here.
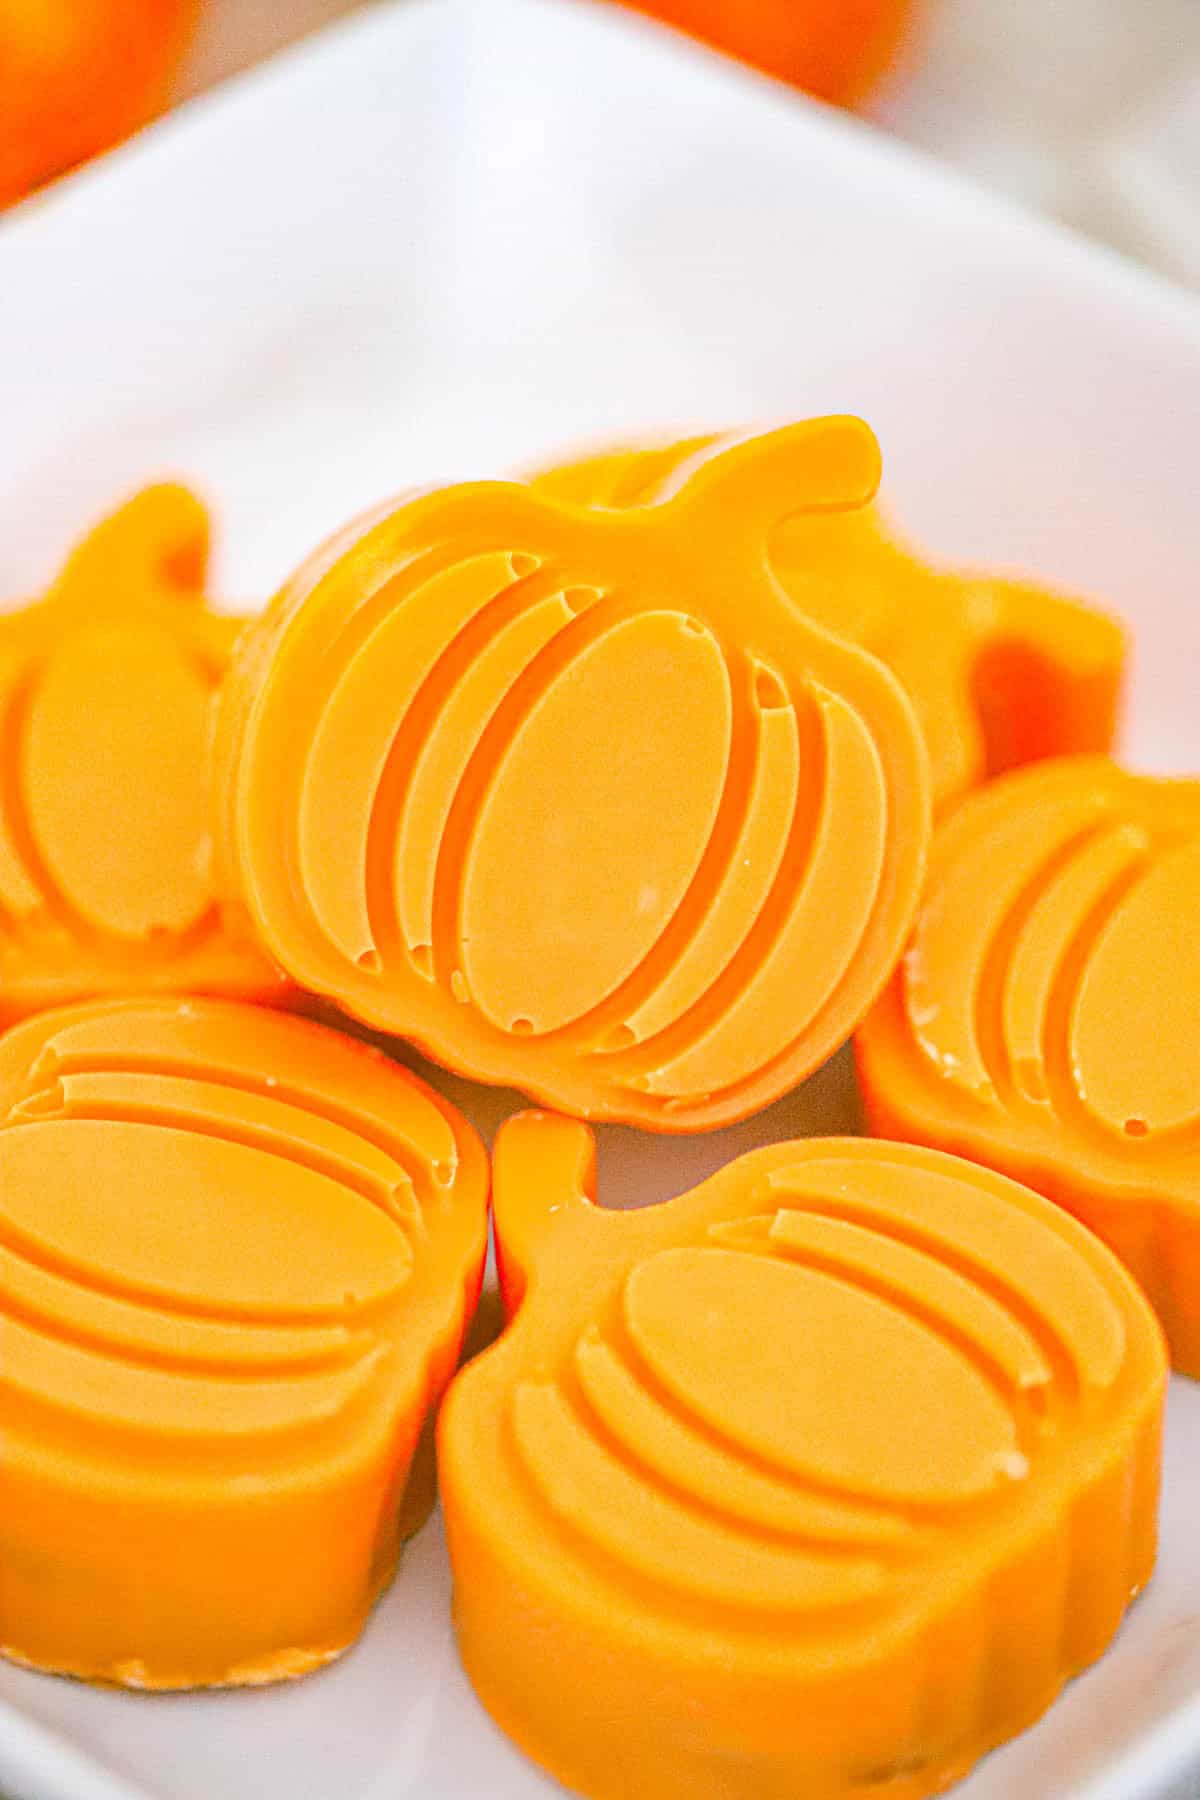
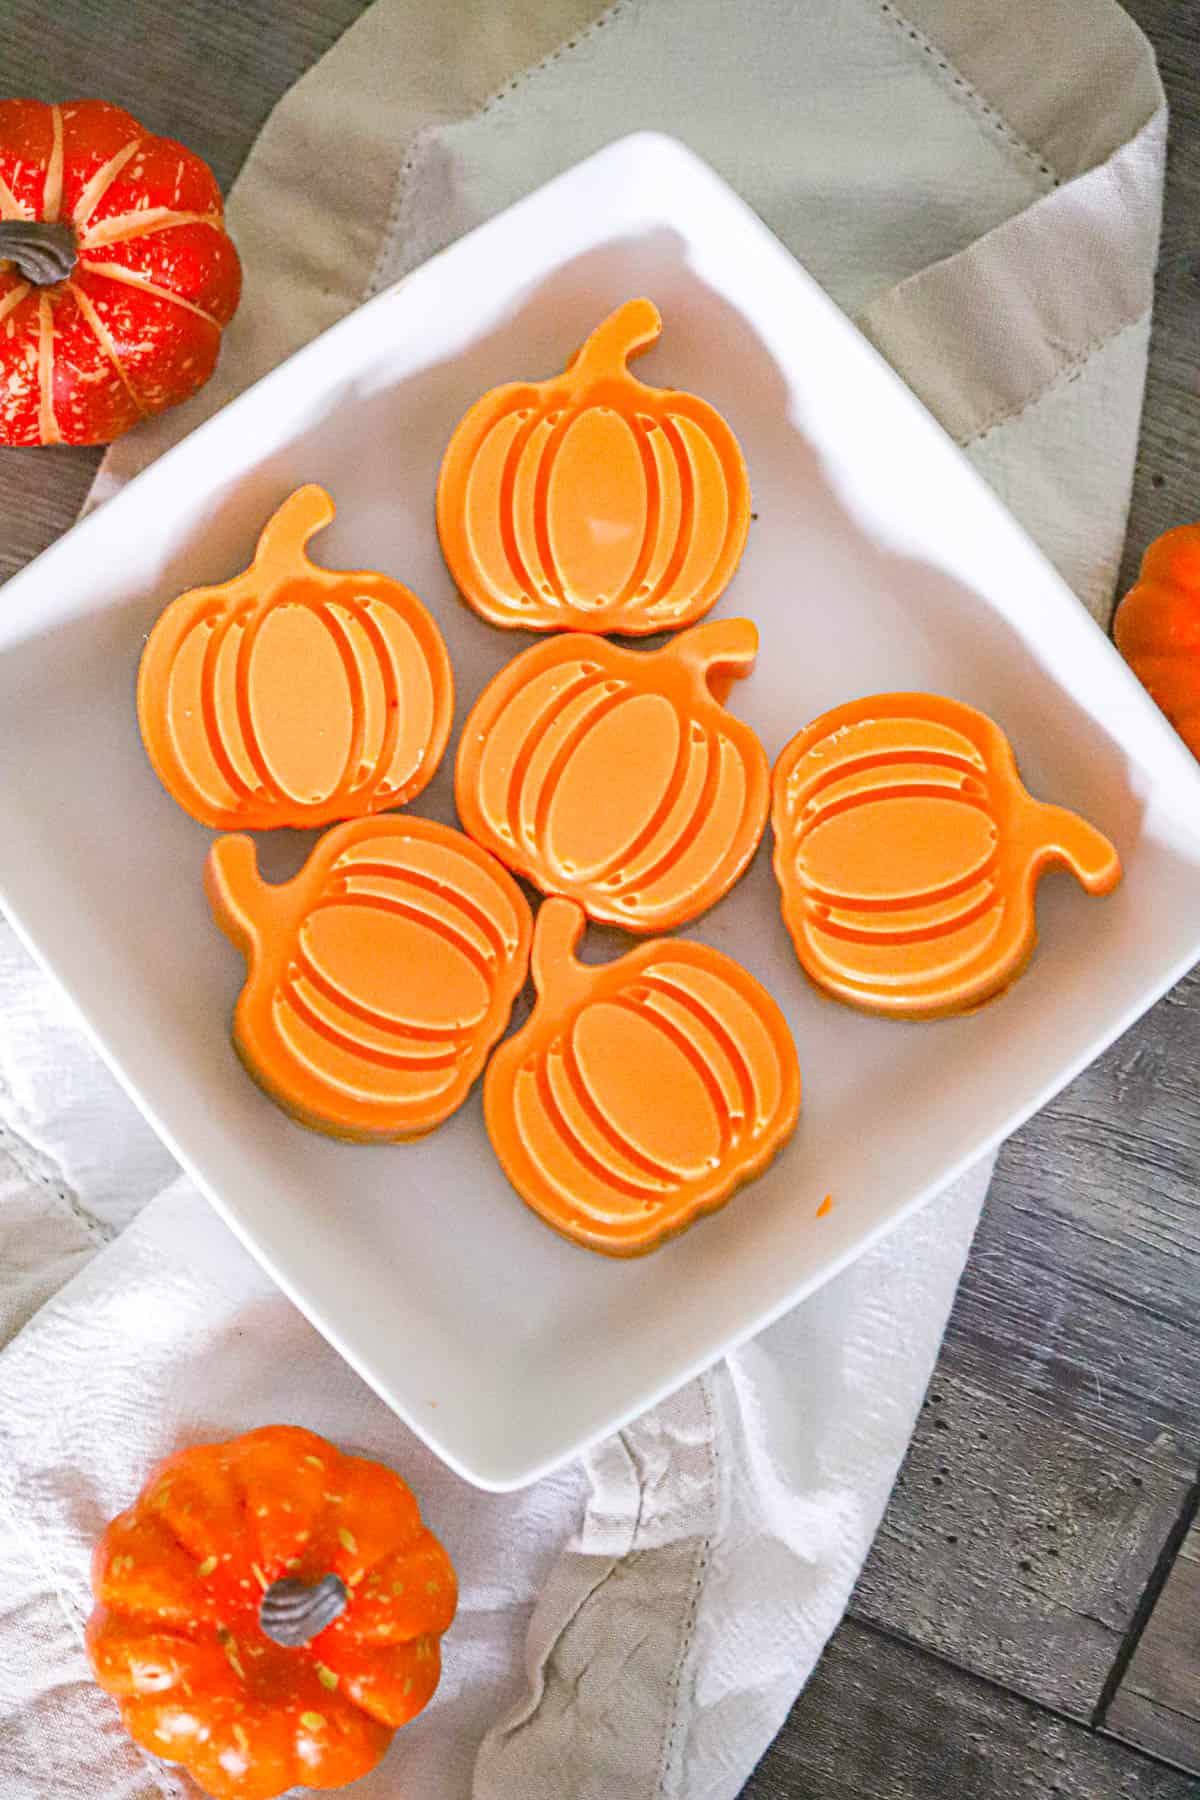
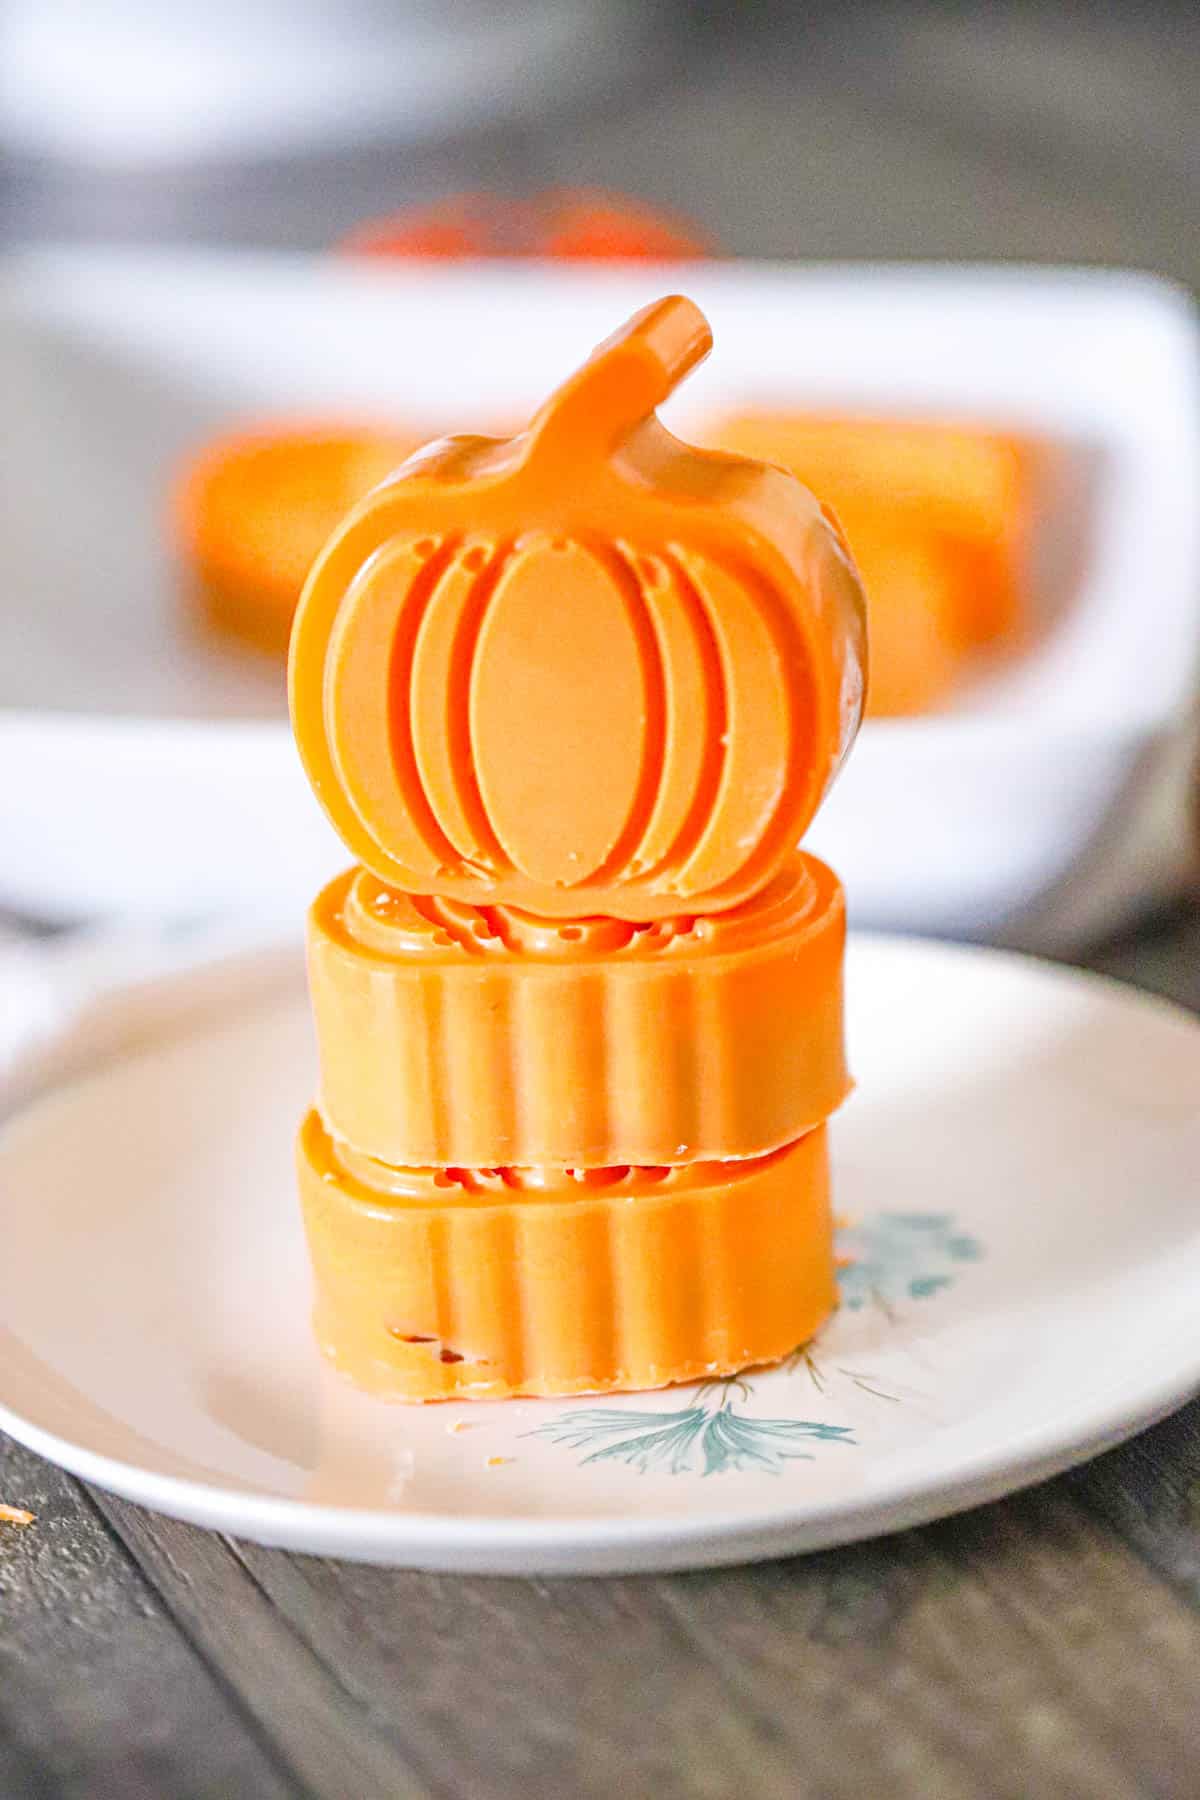
Chocolate and peanut butter just put on their cutest fall outfit! These Chocolate Maple Peanut Butter Pumpkin Cups hide a creamy maple peanut butter center beneath a snappy shell, and those glossy orange pumpkins bring instant fun to the dessert tray.
Choose orange-tinted white chocolate for the full pumpkin look, or let milk or dark chocolate have its moment. Either way, these fall chocolate treats are pure chocolate-peanut butter happiness!
WANT TO SAVE THIS RECIPE?
Why You’ll Love These Chocolate Maple Peanut Butter Pumpkin Cups
- That maple peanut butter filling is wonderfully creamy. Meanwhile, real maple syrup gives the center a warm, mellow sweetness without taking over the peanut butter.
- These fall chocolate treats with a pumpkin shape is too cute! Also, a silicone mold creates every ridge and little stem, so the chocolate does all the decorating for you.
- Pick your favorite chocolate. White, milk, semisweet, or dark chocolate all work, which means every batch can have a different personality.
- They are made for fall parties. Add them to a Halloween candy board, wrap them as gifts, or serve them after Thanksgiving dinner.
Homemade candy season is looking mighty delicious. For another festive shape with that beloved chocolate-peanut butter center, try these copycat Reese’s peanut butter hearts, too!
Chocolate Maple Peanut Butter Pumpkin Cup Ingredients
You need chocolate, coconut oil, creamy peanut butter, real maple syrup, powdered sugar, vanilla, and salt. That list makes six large cups in a mold with 2.5 x 2.6-inch cavities. I like melting wafers for the smoothest release, although chocolate chips work with the coconut oil.
Chocolate shell
- 1 1/4 cups chocolate melts or chips: White, milk, semisweet, or dark all work. For bright pumpkins, use white wafers with oil-based orange coloring. I used Cambie white melting wafers.
- 1 tablespoon plus 1 teaspoon coconut oil: This helps chocolate reach the detailed ridges. Add it gradually because some wafers need less.
Maple peanut butter filling
- 3/4 cup creamy peanut butter: A smooth, shelf-stable peanut butter gives the filling a thick candy-center texture.
- 2 tablespoons real maple syrup: Use pure maple syrup for the best maple flavor.
- 2 to 3 tablespoons powdered sugar: Start with 2 tablespoons, then add the last when the filling needs more body.
- 1/4 teaspoon vanilla extract: Vanilla rounds out the filling.
- Pinch of salt: Add it even when the peanut butter is salted!
- Optional pinch of cinnamon: Keep it subtle so the maple still shines.
How to Make Chocolate Maple Peanut Butter Pumpkin Cups
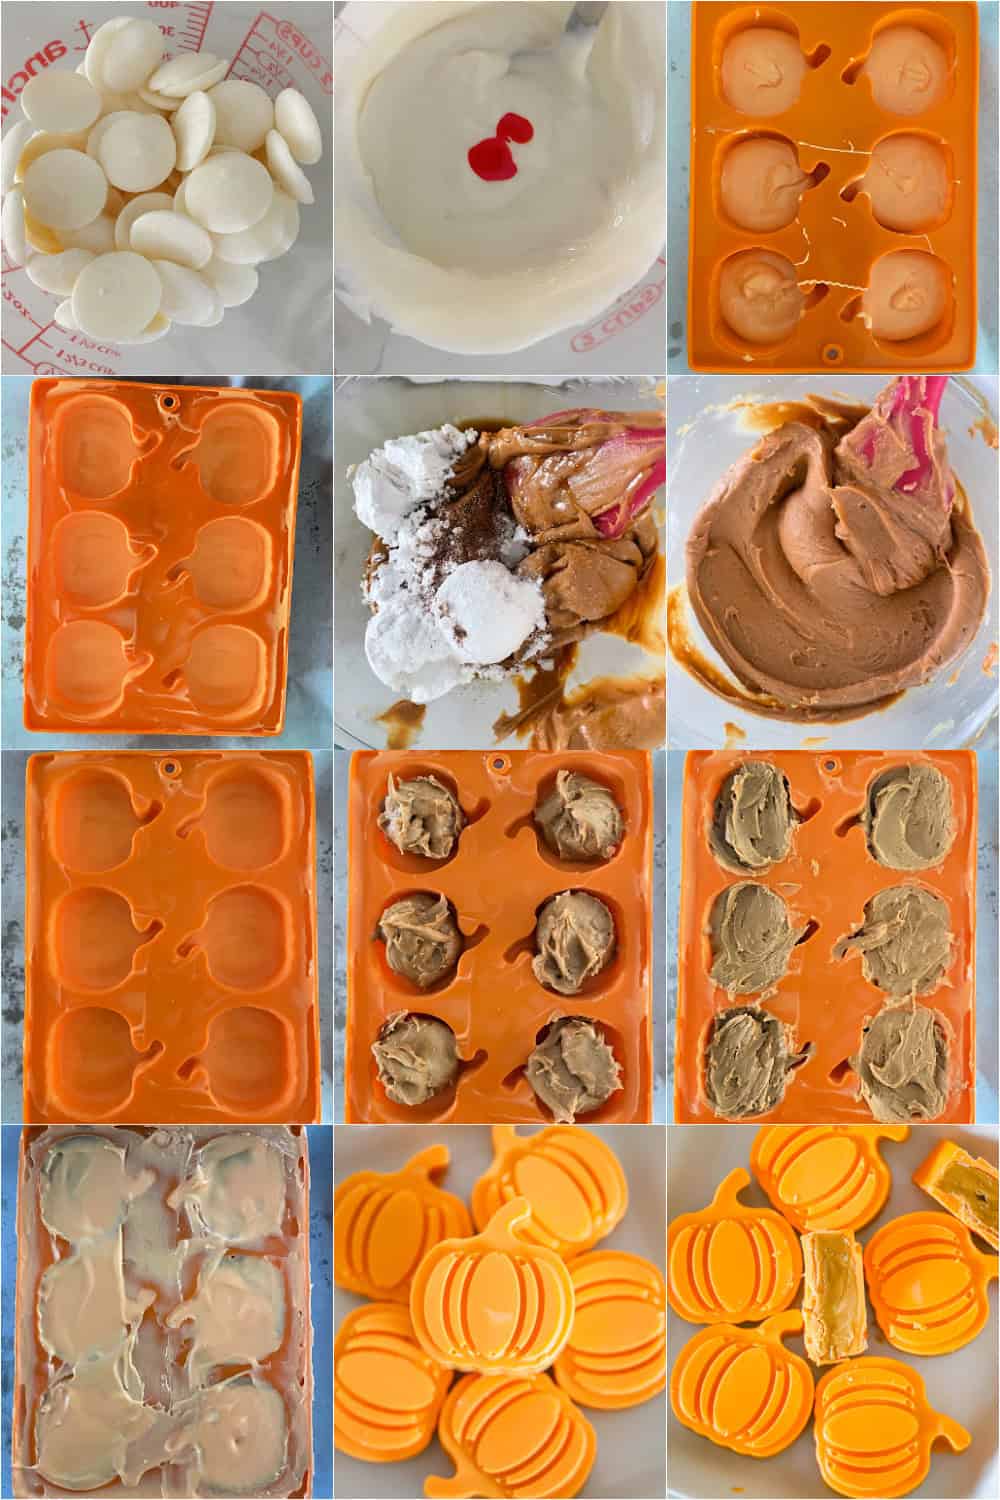
- Melt the chocolate, coat the mold, add the filling, and seal the backs. Chill each chocolate layer until firm. A complete shell keeps the creamy center tucked inside.
- Melt the chocolate. Microwave 1 1/4 cups chocolate melts or chips for 1 minute, then stir. Continue in 30-second bursts, stirring each time, until smooth. Add up to 1 tablespoon plus 1 teaspoon coconut oil as needed. For white chocolate, use oil-based orange coloring only.
- Coat the pumpkin mold. Spoon about 2 tablespoons melted chocolate into each of the 6 pumpkin cavities. Tilt the mold or use a food-safe brush to carry the chocolate up the sides and into the stems. Freeze for 10 minutes.
- Mix the filling. Stir together 3/4 cup creamy peanut butter, 2 tablespoons maple syrup, 2 tablespoons powdered sugar, 1/4 teaspoon vanilla, a pinch of salt, and an optional pinch of cinnamon. Add the remaining 1 tablespoon powdered sugar when needed to make the filling thick and scoopable.
- Fill the shells. Add about 3 tablespoons maple peanut butter filling to each of the 6 chilled chocolate shells. Press gently, leaving a narrow border and room at the top.
- Seal the cups. Spoon the remaining melted chocolate over all 6 filled cavities. Spread it to the edges so it connects with the first shell, then tap the mold lightly to smooth the backs.
- Chill until firm. Freeze the sealed pumpkin cups for 15 to 20 minutes, or refrigerate them for about 30 minutes, until the chocolate feels completely firm.
- Unmold the candy. Peel the silicone from each of the 6 firm pumpkin cups, then push each candy out from the bottom. Let refrigerated cups stand for 5 minutes before serving.
Tips for Perfect Chocolate Maple Peanut Butter Pumpkin Cups
Keep water away from the chocolate, use oil-based coloring, and coat the mold to the rim. Those details create a smooth finish and help prevent cracked edges. Also, inspect the chilled first coat against the light. Brush more chocolate over thin spots before adding the filling.
- Stir more than you heat. Chocolate often holds its shape after it has melted, so a patient stir prevents overheating.
- Keep the filling below the rim. A small border lets the final chocolate layer touch the shell and create a complete seal.
- Peel the mold away. Do not pull the candy by its stem. Gently roll the silicone back from the chocolate instead.
- Fix thick or seized chocolate carefully. For extra help with melting, thinning, and troubleshooting, visit my Chocolate Baking Tips & Techniques.
Storage and Make-Ahead
- Store the pumpkin cups in an airtight container in the fridge for up to 2 weeks. Also, place parchment between layers to protect the chocolate details. Because the filling contains maple syrup, refrigeration gives it the nicest texture and keeps the shells firm.
- For longer storage, freeze the cups for up to 2 months in the freezer, then thaw them in the refrigerator while still covered. That covered thaw helps prevent moisture from beading on the chocolate.
Chocolate Maple Peanut Butter Pumpkin Cups Variations
- Maple pecan filling: Stir 1/4 cup finely chopped toasted pecans into the finished peanut butter filling for a nutty little crunch.
- Dark chocolate pumpkins: Instead, use 1 1/4 cups dark chocolate melts and skip the coloring for a deeper chocolate bite.
- Two-tone pumpkins: First, brush a little dark chocolate into the pumpkin ridges, chill it, and then add the orange white chocolate shell.
- Spiced maple cups: Add 1/8 teaspoon cinnamon and a tiny pinch of nutmeg to the filling or add some pumpkin pie spice.
- Nut-free treats: Replace the 3/4 cup peanut butter with a thick sunflower seed butter, and check every chocolate package for allergen warnings.
Tools You’ll Need
A silicone pumpkin mold, microwave-safe bowl, sturdy spoon, and small food-safe brush handle the job. The flexible mold is the star because it preserves the ridges while letting the firm candy release. These large pumpkin silicone molds make six 2.5 x 2.6-inch cups. Meanwhile, a glass measuring cup with a pouring spout makes the final layer especially tidy.
Serving Ideas for Fall Chocolate Treats
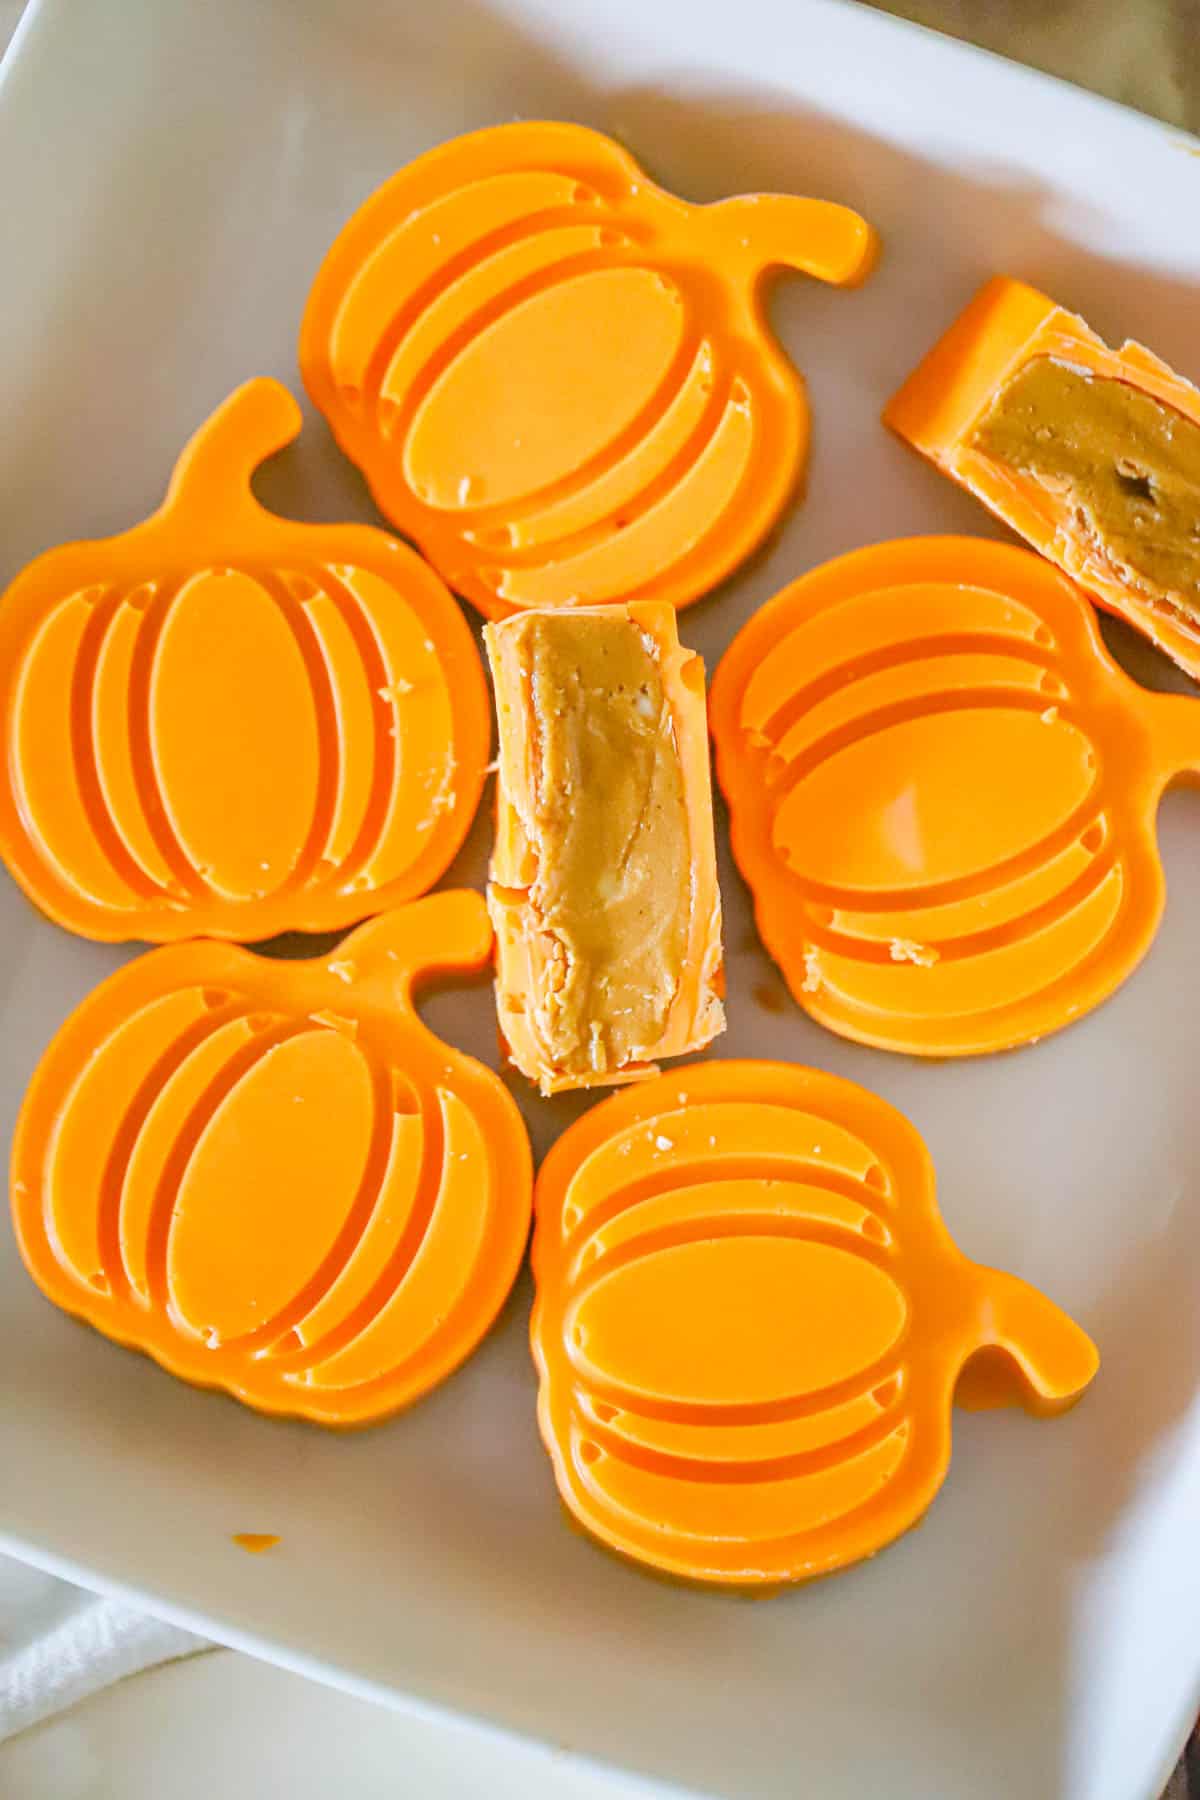
Serve the cups slightly chilled on a Halloween candy board, fall dessert tray, or Thanksgiving sweets table. Since each pumpkin is generous, cut the cups in half to reveal the maple peanut butter center. Pair them with coffee, milk, or cider, or wrap them as party favors. For a peanut butter candy assortment, add homemade mini peanut butter cups beside them.
Chocolate Maple Peanut Butter Pumpkin Cups FAQs
Do these chocolate pumpkin cups contain pumpkin?
No, the pumpkin refers to the candy’s shape and orange color. The filling contains peanut butter, maple syrup, powdered sugar, vanilla, salt, and optional cinnamon. Therefore, no pumpkin puree or pumpkin spice is required.
What chocolate works best for maple peanut butter cups?
Melting wafers give the smoothest, easiest shell. White wafers are the best choice for orange pumpkins, while milk and dark wafers bring a more classic peanut butter cup flavor. Chocolate chips also work, although they may need the full coconut oil amount for a pourable texture.
Why did my chocolate pumpkin cups crack?
Cracks usually mean the shell was too thin or the candy was pulled from the mold by its stem. Brush extra chocolate over thin spots, chill until completely firm, and peel the silicone away from the candy. Also, let deeply frozen cups rest for a minute before unmolding.
Can I make these ahead?
Yes, make the cups up to 2 weeks ahead and refrigerate them airtight. For the prettiest finish, keep parchment between layers and bring the candy out about 5 minutes before serving. You can also freeze them for up to 2 months.
A Little Pumpkin Magic for the Candy Tray
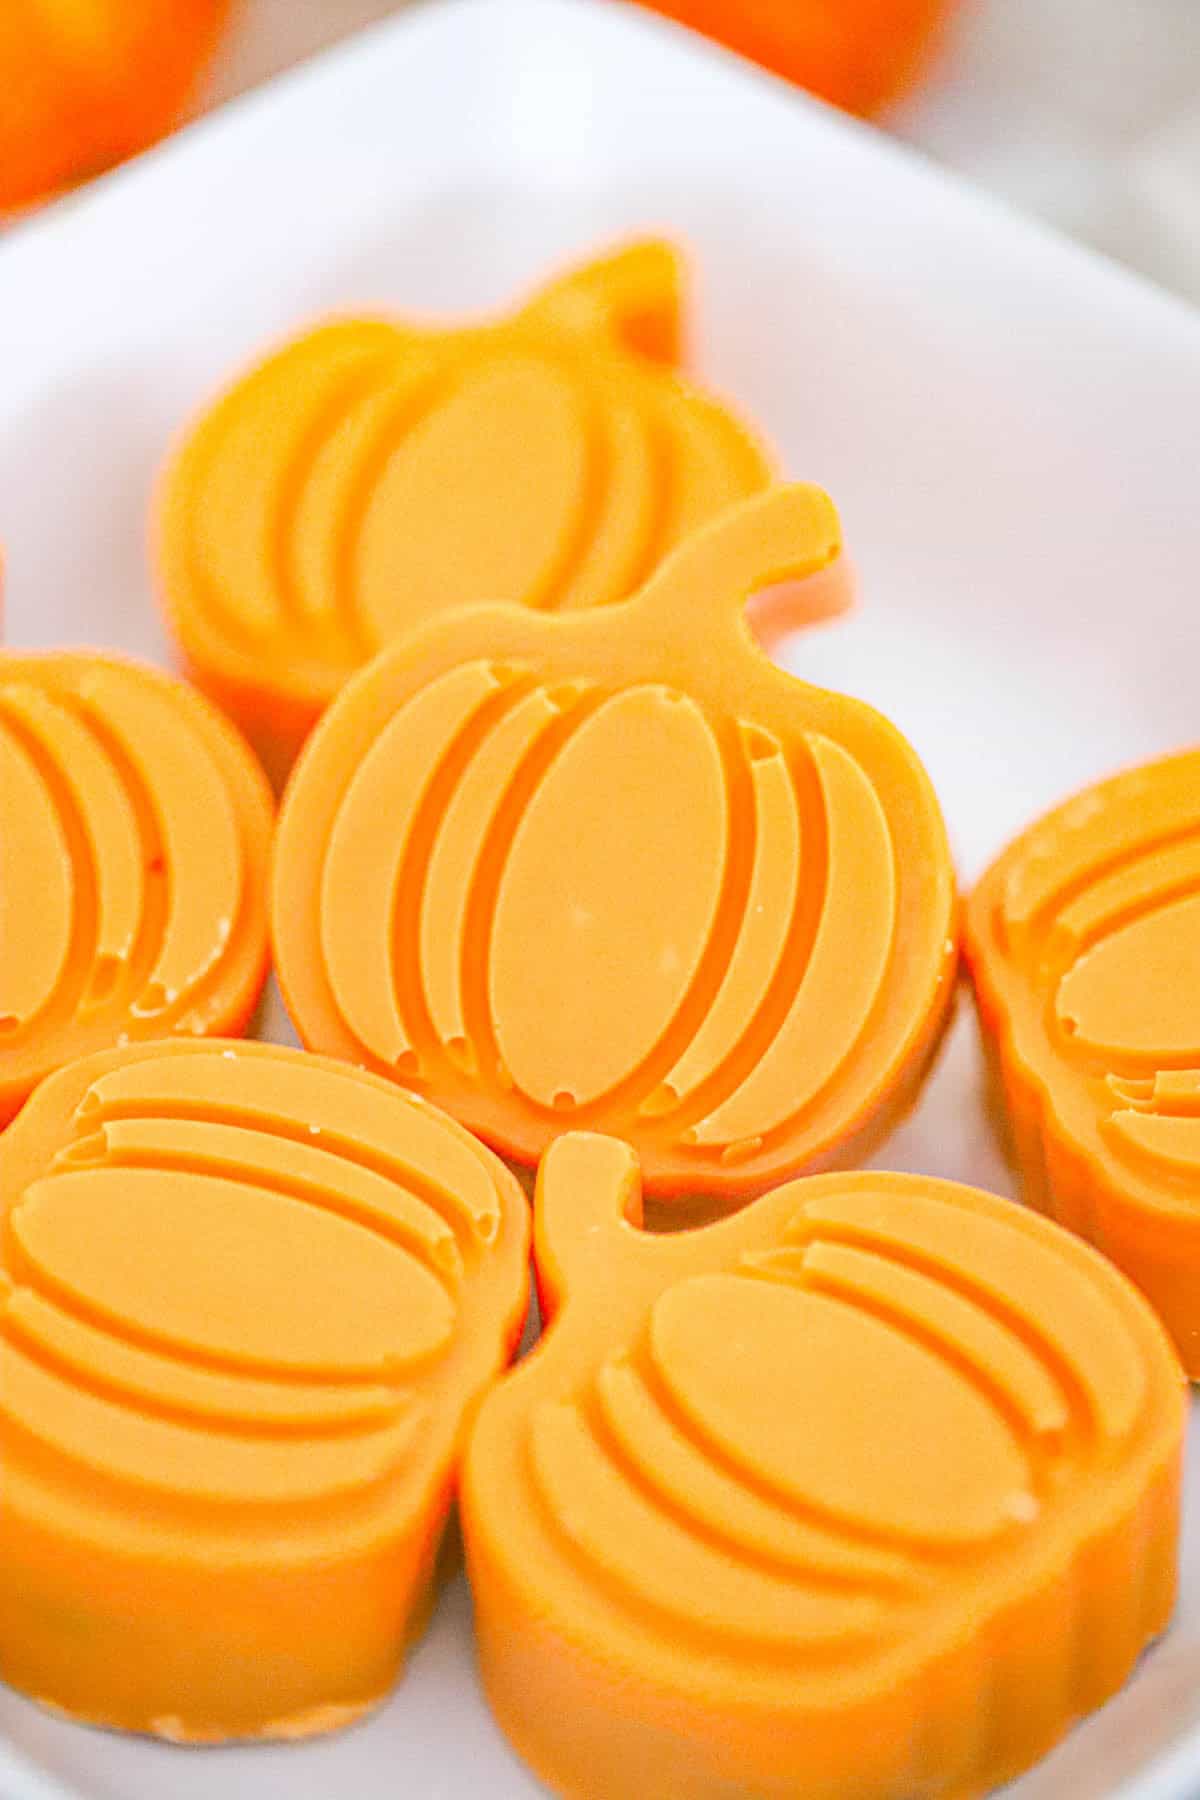
One bite through that glossy shell reveals the maple-kissed peanut butter center, and what a fabulous fall surprise it is! Make them orange, choose a favorite chocolate, or add pecan crunch. These pumpkins bring sweet seasonal fun without any carving required with a delicious touch of sweetness.
I would love to see your fall chocolate treats! Follow along on Instagram, save the recipe on Pinterest, and share your treats on Facebook. Happy candy making!
More Fall Chocolate Treats
- Milk Chocolate Peanut Butter Truffles
- Halloween Oreo Pops
- Ultimate Pumpkin Bars
- Pumpkin Cheesecake Swirl Brownies
- Pumpkin Roll Pudding Cookies
- 50 Easy Pumpkin Dessert Recipes
- Brown Butter Maple Cookies (Bakery Style Fall Favorite)
Chocolate Maple Peanut Butter Pumpkin Cups
Equipment
- Silicone pumpkin mold with 6 large 2.5 x 2.6-inch cavities
- Microwave-safe bowl
- Mixing bowl
- Spoon or small silicone spatula
- Small food-safe brush optional
Ingredients
Chocolate Shell
- 1 ¼ cups chocolate melts or chips, white, milk, semisweet, or dark
- 1 tablespoon plus 1 teaspoon coconut oil as needed
- Oil-based orange food coloring optional for white chocolate
Maple Peanut Butter Filling
- ¾ cup creamy peanut butter
- 2 tablespoons real maple syrup
- 2 to 3 tablespoons powdered sugar
- ¼ teaspoon vanilla extract
- 1 pinch salt
- 1 pinch ground cinnamon optional
Instructions
Chocolate Shell
- Microwave 1 1/4 cups chocolate melts or chips for 1 minute, then stir well. Continue heating in 30-second bursts, stirring after each one, until smooth. Stir in up to 1 tablespoon plus 1 teaspoon coconut oil as needed. If using white chocolate, add oil-based orange coloring only.
- Spoon about 2 tablespoons melted chocolate into each of the 6 pumpkin cavities. Tilt the mold or use a food-safe brush to coat the sides and stems. Freeze for 10 minutes.
Maple Peanut Butter Filling
- Stir together 3/4 cup creamy peanut butter, 2 tablespoons real maple syrup, 2 tablespoons powdered sugar, 1/4 teaspoon vanilla extract, a pinch of salt, and an optional pinch of cinnamon. Add the remaining 1 tablespoon powdered sugar if needed to make a thick, scoopable filling.
Assemble the Pumpkin Cups
- Divide about 3 tablespoons maple peanut butter filling among each of the 6 chilled chocolate shells. Press gently into an even layer, leaving a narrow border and room at the top.
- Spoon the remaining melted chocolate over all 6 filled cavities. Spread it to the edges so the top layer meets the shell, then tap the mold lightly to smooth the backs.
- Freeze the sealed pumpkin cups for 15 to 20 minutes, or refrigerate for about 30 minutes, until completely firm.
- Peel the silicone away from the edges, then gently push each of the 6 pumpkin cups out from the bottom. Let refrigerated cups stand for 5 minutes before serving for a creamier center.
Notes
- Use oil-based food coloring only because water-based coloring can make white chocolate seize.
- Keep the filling below the rim so the final chocolate layer can connect with the shell.
- Store airtight in the refrigerator for up to 2 weeks or freeze for up to 2 months.
