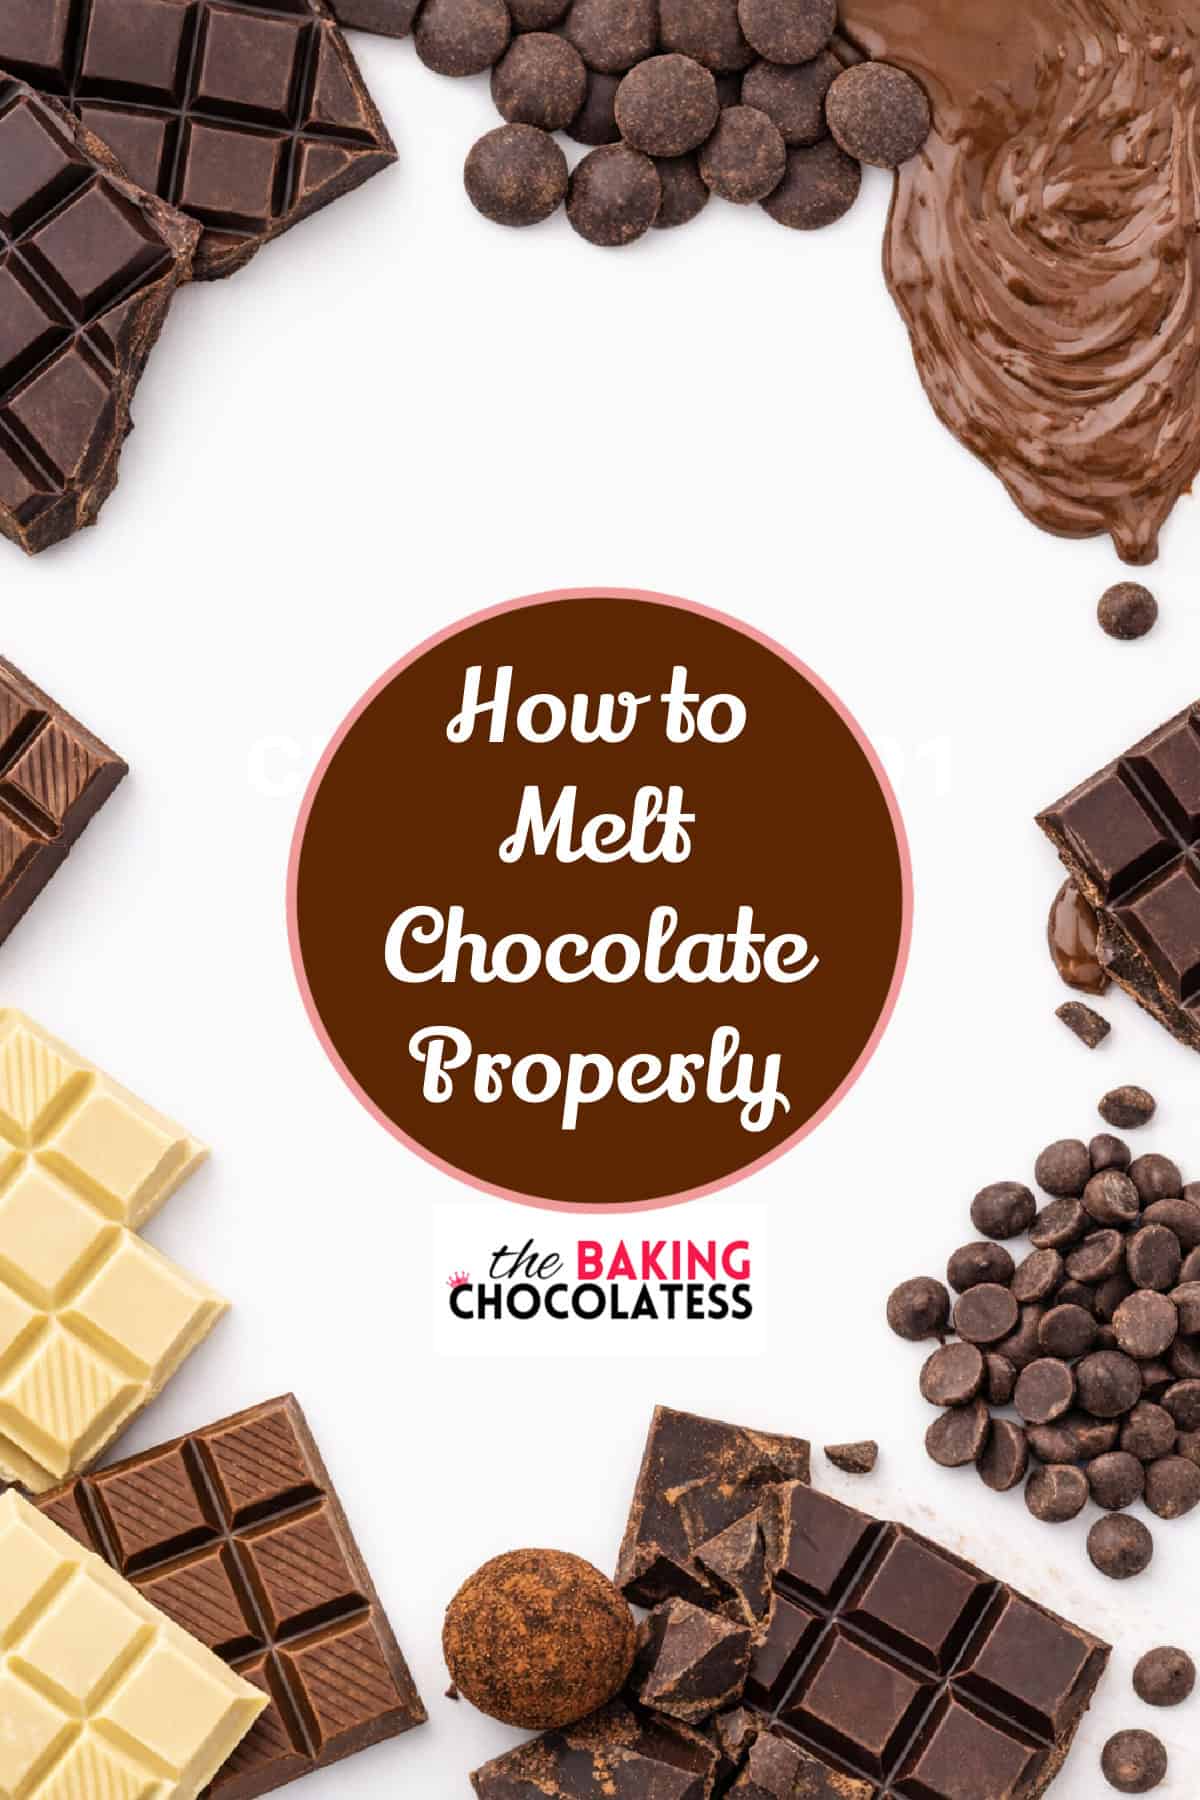
How to Melt Chocolate Properly (Double Boiler & Microwave Methods)
Melting chocolate the right way is one of the simplest skills that instantly makes you a better baker. When you warm chocolate gently and use the right method, it turns silky, smooth, and perfectly glossy—ready for dipping, drizzling, baking, or decorating. The two most reliable techniques for melting chocolate the right way are the double boiler method and the microwave method, and each one gives you beautiful results with just a little patience.
The double boiler is ideal when you want slow, steady heat and full control, especially if you’re new to melting chocolate the right way. The microwave is quick, convenient, and perfect for small batches, as long as you heat in short bursts and stir often. No matter which method you choose, understanding the basics of melting chocolate the right way helps prevent burning, seizing, and grainy texture—so your chocolate stays smooth, silky, and stress‑free every time.
🍫 Melting Chocolate 101
Your quick-start guide to smooth, glossy, perfectly melted chocolate — using gentle heat, patience, and the right technique. Perfect for dipping, drizzling, baking, and decorating.
✔ Best Melting Methods
- Double Boiler: Most controlled, smoothest results.
- Microwave: Fast + easy — use short bursts and stir often.
✔ Best Chocolate to Use
- Couverture chocolate — highest cocoa butter, melts like silk.
- Baking bars — reliable, smooth, great for all uses.
- High‑quality chips — convenient but may need thinning.
✔ Avoid These
- Candy melts (not real chocolate)
- Low‑quality chips with waxy stabilizers
- Chocolate with mix‑ins (nuts, cookies, caramel)
✔ Quick Troubleshooting
- Too thick? Add coconut oil or cocoa butter.
- Grainy? Overheated — stir vigorously or add warm water (for sauces).
- Burned? Start over — burned chocolate can’t be saved.
Chocolate always rewards patience. Low, slow heat = silky, glossy perfection.
1. Melt Chocolate Using a Double Boiler
The double boiler is the most reliable, gentle way to melt chocolate. It gives you full control over the heat so the chocolate melts smoothly without scorching.
What You Need
- Heatproof bowl (glass or stainless steel)
- Small saucepan
- Chocolate (chips, chunks, or chopped bars)
How to Do It
- Fill a saucepan with 1–2 inches of water and bring it to a gentle simmer.
- Place the heatproof bowl on top, making sure it doesn’t touch the water.
- Add your chocolate to the bowl.
- Stir occasionally as it melts, keeping the heat low and steady.
- Remove from heat when the chocolate is about 90% melted. Stir until fully smooth.
2. Melt Chocolate in the Microwave
The microwave is the quickest way to melt chocolate, and it works beautifully as long as you heat it in short bursts. This prevents scorching and keeps the chocolate silky and smooth.
What You Need
- Microwave-safe bowl
- Chocolate (chips, chunks, or chopped bars)
- Silicone spatula
How to Do It
- Add chocolate to a microwave-safe bowl.
- Heat for 20–30 seconds, then stir.
- Continue heating in 15-second bursts, stirring after each one.
- Stop when the chocolate is about 90% melted. Stir until completely smooth.

3. Why Chocolate Seizes (and How to Fix It)
Chocolate can go from silky-smooth to thick and grainy in seconds. This usually happens when a tiny bit of water or steam gets into the bowl, causing the sugar to clump and the chocolate to tighten.
Common Reasons Chocolate Seizes
- Steam from the double boiler dripped into the bowl
- Condensation from a lid or cover
- Using a wet spatula or bowl
- Overheating the chocolate
How to Fix Seized Chocolate
If your chocolate becomes thick, grainy, or paste-like, you can usually save it:
- Add 1 teaspoon of warm water at a time.
- Stir vigorously until the chocolate loosens and becomes smooth again.
- Continue adding small amounts of water if needed.
4. Best Chocolate for Melting
The type of chocolate you choose makes a big difference in how smoothly it melts. Some chocolates contain stabilizers or lower-quality fats that can cause thick, uneven melting.
Best Options
- Couverture chocolate — melts the smoothest thanks to its high cocoa butter content.
- Baking bars — reliable, smooth, and formulated for melting.
- High‑quality chocolate chips — convenient, but may contain stabilizers that slow melting.
Chocolates to Avoid
- Candy melts — great for coating, but not real chocolate.
- Low‑quality chips — often contain waxy additives.
- Chocolate with mix‑ins — nuts, caramel, or cookies interfere with melting.
5. How to Thin Melted Chocolate
If your melted chocolate feels too thick for dipping, drizzling, or coating, you can thin it out with a few simple additions. The key is choosing the right ingredient based on how you plan to use the chocolate.
Best Ways to Thin Chocolate
- Coconut oil — adds shine and thins chocolate without affecting flavor much.
- Vegetable oil — a neutral option that works well for dipping.
- Shortening — smooths and thins chocolate for coating or drizzling.
- Cocoa butter — the best option for keeping chocolate glossy and smooth.
How to Add It
- Melt your chocolate fully.
- Add 1 teaspoon of your chosen fat.
- Stir until smooth and evaluate the texture.
- Add more in small amounts if needed.
6. Best Uses for Melted Chocolate
Once your chocolate is perfectly melted, you can use it in so many delicious ways. Here are some of the most popular (and most photogenic!) uses.
Delicious Ways to Use Melted Chocolate
- Dipping — strawberries, pretzels, marshmallows, cookies, biscotti.
- Drizzling — brownies, cakes, cupcakes, ice cream, parfaits.
- Coating — cake pops, truffles, peanut butter balls.
- Mixing — into brownie batter, ganache, hot chocolate, sauces.
- Decorating — piping shapes, writing on cakes, chocolate curls.
7. How to Store Melted Chocolate
If you have leftover melted chocolate, you can store it and reuse it later. The key is cooling it properly and keeping moisture out.
How to Store It
- Let the melted chocolate cool completely.
- Transfer it to an airtight container.
- Store at room temperature for up to 1 week.
- For longer storage, refrigerate for up to 1 month or freeze for up to 3 months.
How to Re-Melt Stored Chocolate
- Break or chop the hardened chocolate into small pieces.
- Re-melt using the microwave or double boiler method.
- Stir well to restore smoothness.
8. Troubleshooting Melted Chocolate
Even with careful melting, chocolate can sometimes act up. Here are the most common issues and how to fix them quickly.
Chocolate Is Too Thick
Add a small amount of coconut oil, vegetable oil, or cocoa butter and stir until smooth.
Chocolate Looks Grainy
This usually means it overheated. Remove from heat and stir vigorously. If needed, add a teaspoon of warm water to smooth it out (but note it won’t harden properly afterward).
Chocolate Burned
Burned chocolate can’t be saved — it will stay bitter and lumpy. Start fresh and heat more gently next time.
Chocolate Won’t Melt Fully
Chop the chocolate into smaller pieces or switch to a double boiler for more controlled heat.
9. Frequently Asked Questions
Can I melt chocolate chips?
Yes! Chocolate chips melt well, but they contain stabilizers that may make the chocolate slightly thicker. Add a little coconut oil if needed.
Why did my chocolate turn dull?
Dull chocolate usually means it cooled too quickly or wasn’t tempered. For dipping or coating, tempering gives the best shine.
Can I melt chocolate with butter?
Yes, but it changes the texture. Butter adds richness and softness, making it great for sauces but not ideal for dipping.
What’s the best chocolate for dipping?
Couverture chocolate or high-quality baking bars melt the smoothest and give the glossiest finish.
Can I melt chocolate in a slow cooker?
Yes! Set it to warm, add chocolate to jars or bowls inside the cooker, and stir occasionally. It keeps chocolate warm for dipping.
Final Thoughts
Melting chocolate doesn’t have to be intimidating. With gentle heat, a little patience, and the right method for the job, you can create smooth, glossy melted chocolate every single time. Whether you’re dipping strawberries, drizzling brownies, or whipping up a silky ganache, these tips will help you melt chocolate like a pro.
Keep this guide handy whenever you’re baking—because once you master the basics, melted chocolate becomes one of the most fun (and delicious!) tools in your kitchen.
More Chocolate Tips & Recipes You’ll Love
Now that you’ve mastered the art of melting chocolate, you’re ready to dive into even more delicious chocolate goodness. Whether you’re baking, dipping, drizzling, or decorating, these chocolate guides and recipes will help you level up every treat.
- Choosing the Right Chocolate for Baking – Chocolate 101
- A Year of Small‑Batch Chocolate Bliss Series
- Fixing Seized Chocolate: Simple Rescue Techniques Every Baker Should Know
- Microwave Chocolate Tempering: Quick, Easy & Perfect for Dipping
Chocolate is one of the most magical ingredients in the kitchen — and now you know how to melt it like a pro. Keep exploring, keep experimenting, and most of all… keep enjoying every delicious moment.
Bookmark this page or save the Pinterest graphic so you always have these tips handy.