American Beauty Red Velvet Cake Recipe
As an Amazon Associate, I earn from qualifying purchases. Read the full disclosure here.
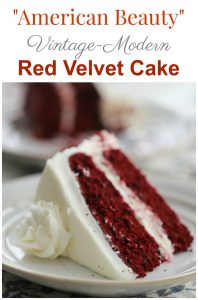
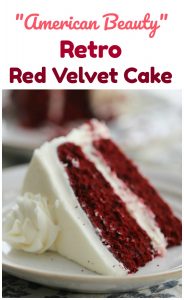
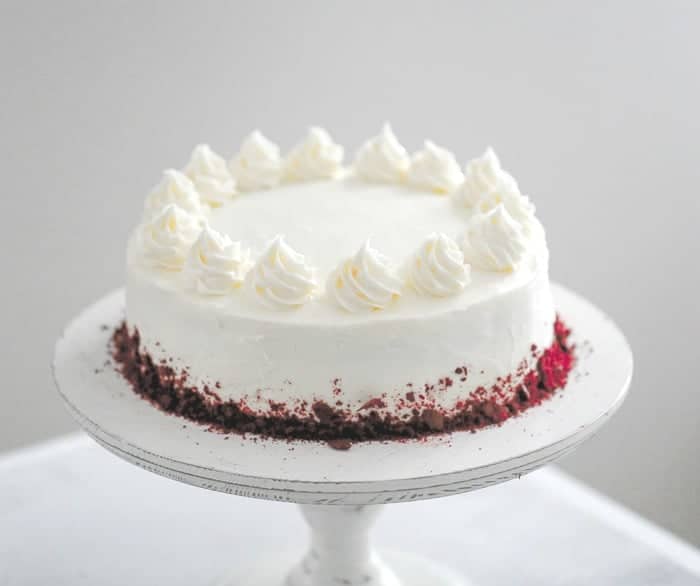
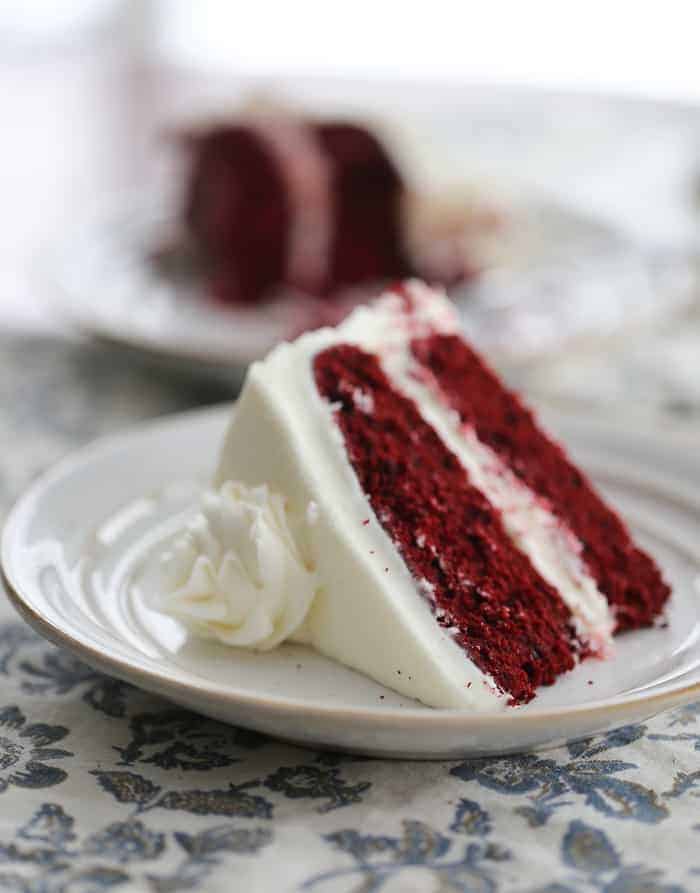
This “American Beauty” Retro Red Velvet Cake recipe is one of the most romantic, vintage-modern cakes ever. The red velvet cake texture is tender and moist, yet dense enough to give it a “velvet” texture. Not too much cocoa, but with a slightly tangy buttermilk taste brings this glorious cake back to the 50’s and 60’s popular era, with an elegant modern touch.
A cream cheese buttercream frosting pulls it all together like a happy yummy red velvet cake recipe dream come true, kind of like this Strawberry Dream Cake and this Banana Snack Cake with Cream Cheese Frosting ! You’re welcome!

Why We Love This American Beauty Retro Red Velvet Cake
It’s SO obvious why we cannot resist red velvet desserts! That deep dark red, alluring color draws us in! It’s beautiful! Is it not amazing? Sexy? Romantic? Is it not the most beautiful of red hue you’ve ever seen? Is it not for those special occasions you want to show the love?
Have I Not Entertained You? 🙂 Please Say YES!
Ahem…Slowly, I back away from my kind of sarcastic “Gladiator” favorite ‘one-liner up there. But if YOU really, really want to entertain, may I suggest making this red velvet cake recipe? It is definitely the way to impress everyone with this classic red velvet cake with a small amount of cocoa!
“American Beauty” Retro Red Velvet Cake Ingredients
Dry Ingredients:
- all purpose flour or cake flour will give a higher rise, what I used
- natural cocoa powder
- baking soda
- salt
Butter/Sugar/Eggs Mixture:
- unsalted butter, softened
- sugar
- eggs room temperature
Wet Ingredients:
- liquid red food coloring 1 ounce or red paste gel (use as much as you like)
- white vinegar
- vanilla extract
- oil of choice, I used canola oil
- vanilla extract or maraschino cherry juice
Lastly:
- buttermilk (The simplest way to substitute buttermilk is to pour 1 tablespoon of vinegar or lemon juice into a 1 cup measurer and then fill the rest of the measuring cup with milk. Then gently stir the mixture and let it sit for about 5 minutes.)
Cream Cheese Buttercream Frosting
- cream cheese, softened
- butter softened
- powdered sugar
Instructions How to Make The Best Red Velvet Cake Recipe
- Preheat oven to 350°.
Dry Ingredients
- In a bowl, whisk together flour, cocoa powder, baking soda and salt; set aside.
Butter/Sugar/Eggs
- Cream butter and granulated sugar until light and fluffy.
- Add eggs, one at a time, beating well after each addition.
add more Wet Ingredients
- Add in food coloring, vinegar, oil and vanilla/or cherry juice and beat together. (do not add in the buttermilk at this stage)
- Add dry ingredients to creamed Eggs/Sugar mixture alternately with buttermilk, beating well after each addition on medium speed, making sure to scrape the sides of the bowl as you mix the cake batter.
- Pour into two lightly greased and floured 8-in.or 9-in round baking pans. Bake until a toothpick inserted in the center comes out clean, 20-25 minutes.
- Cool layers 10 minutes before removing from pans to wire cooling racks to cool completely.
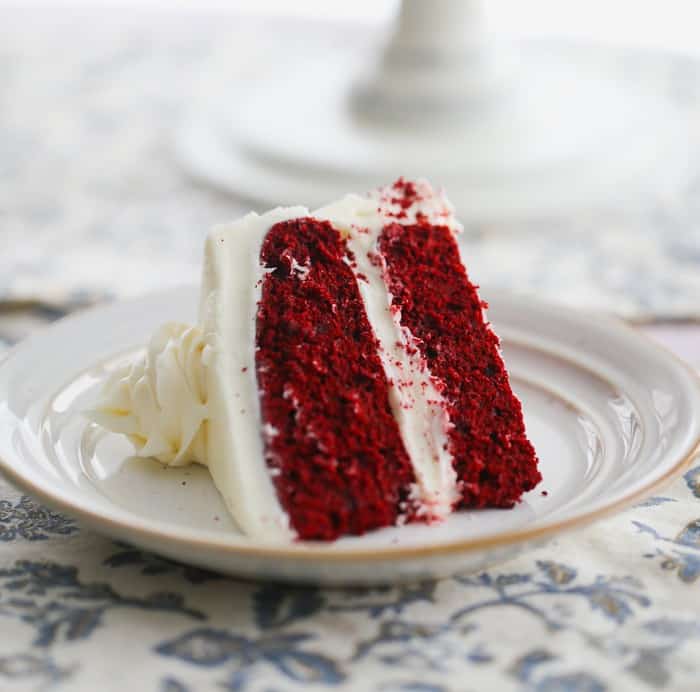
- After cakes have cooled, you can cut off the top of the cakes, to make both cakes level and not appear curved on top. I did it to one for the bottom of the cake and left the top as it was to get that old fashioned vintage curved look.
How to Make Cream Cheese Frosting
Cream Cheese Frosting
- In a large bowl, using a mixer, beat together butter and cream cheese until fluffy. Add in vanilla extract. Beat until combined. Beat in powdered sugar, 1 cup at a time until frosting is smooth.
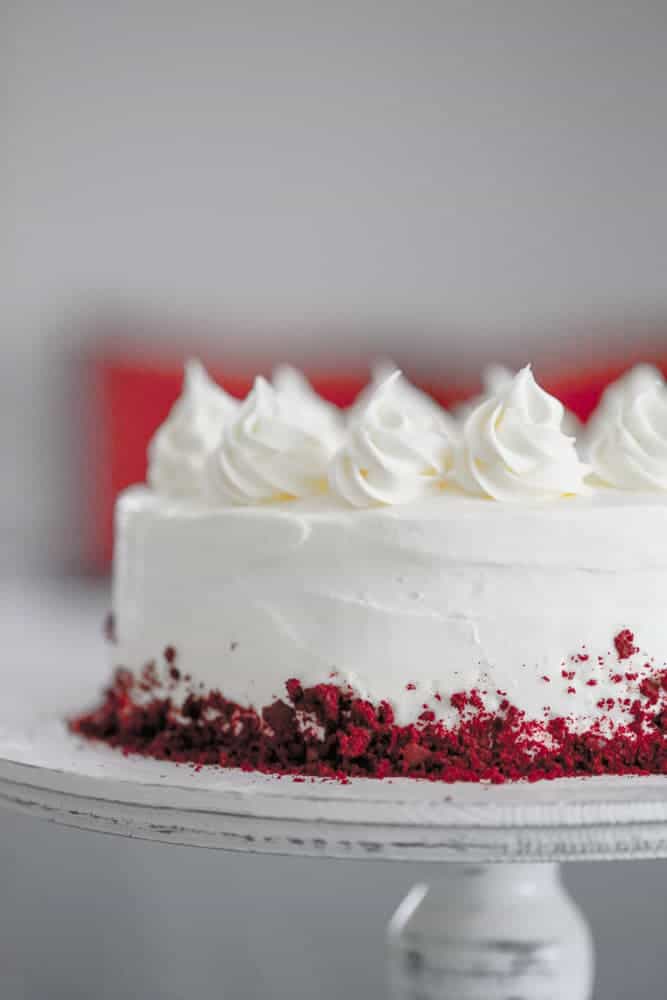
- Assemble and frost the completely cooled cake by frosting all the cake layers and sides.
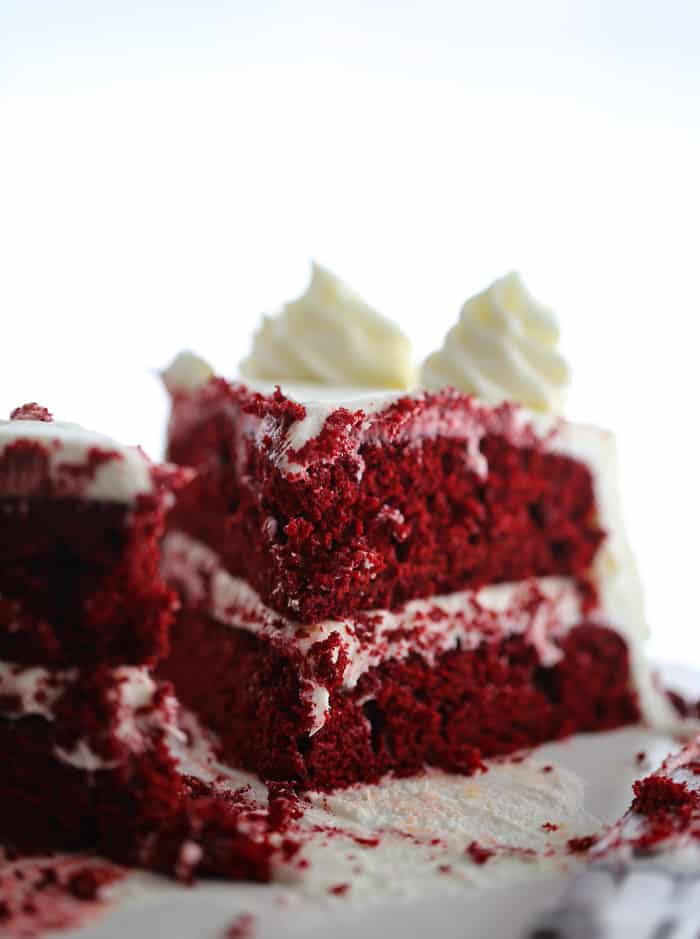
- For the crumbles on the sides, I used the top of the cake I sliced off to make my level bottom layer and made cake crumbs and applied some to the bottom on the cake. You can sprinkle them on top if you want as well.
- For more frosting, if you don’t have enough for the top swirls, depending how thick, repeat the Cream Cheese Buttercream Recipe except divide it to make a half batch.
Storing Red Velvet Cake
- Store leftover red velvet cake in an airtight container in the refrigerator for up to 3 days. Because of its cream cheese frosting, red velvet cake must be kept refrigerated.
- Cake will freeze well for up to 3 months, thaw overnight in the refrigerator, then bring to room temperature.
Red Velvet Cake Tips
- Use parchment paper in the cake pans (BEST THING EVER!) by placing the round cake pans upside down and outline the pan bottom circle by tracing around the pan: cut out and place paper circles in the pan adhering with non-stick cooking spray. Spray the parchment paper and insides of the cake pans. Dust with some flour and shake to distribute an even layer of flour in the pan. Remove excess flour. In the end, the layers will come out beautifully.
- Measure flour correctly, or the cake will have a crumbly/dry texture.
- Check cake at 20 minutes, and if not done should be done at 25 minutes. Don’t over-bake but also make sure it’s done.
- Using room temperature eggs are best, because they mix better with the batter and the cake rises more easily. The temperature of eggs also affects the baking time. A cake will take longer to bake if a recipe calls for room-temperature eggs and cold eggs are used instead. Just place them in a bowl of warm water for a few minutes.
- If you don’t have buttermilk: Pour milk into a glass measuring cup. Add 1 tablespoon of distilled white vinegar OR lemon juice and allow to sit for about 5-10 minutes before use so the milk thickens and curdles.
- Make red velvet cupcakes if you wish from this recipe! Should get anywhere from 18-24 cupcakes depending on size!
In conclusion, we’ve explored the delicious and timeless delight that is retro red velvet cake with it’s beautiful red color! From its origins in the early 1900s to its resurgence in popularity today, this indulgent dessert has stood the test of time.
This red velvet cake recipe is a favorite for Valentine’s Day, Mother’s Day, Christmas and when you want a classic cake that everyone loves!
More Red Velvet Dessert Ideas!
- Easy Dreamy Red Velvet Cream Cheese Poke Cake
- Red Velvet Cookie Bars
- Mini Red Velvet Brownies with Vanilla Bean Cream Cheese Frosting
- ‘Kiss Me’ Red Velvet Brownies
- Red Velvet Cake Donuts with Cream Cheese Frosting
- Valentine Red Velvet Party Blast Cookie Pie
- Red Velvet Luv Truffles
- 3 Easy Halloween Cupcake Ideas
- Easy Red Velvet White Chocolate Chip Brownies – 5 Ingredients
Red Velvet Cake
Ingredients
Dry Ingredients:
- 2-¼ cups all purpose flour or cake flour will give a higher rise what I used
- 2 tablespoons cocoa powder
- 1 teaspoon baking soda
- 1 teaspoon salt
Butter/Sugar/Eggs Mixture
- ½ cup butter softened
- 1-¼ cups sugar
- 2 large eggs room temperature
Wet Ingredients:
- 2 tablespoons red food coloring 1 ounce or red paste gel use as much as you like
- 1 tablespoon white vinegar
- 1 teaspoon vanilla extract
- 2 Tablespoons oil of choice I used canola oil
- 2 teaspoons vanilla extract or 2 Tablespoons marascino cherry juice
Lastly:
- 1 cup buttermilk
Cream Cheese Buttercream Frosting
- 2 8 oz packages cream cheese room temperature and softened
- ¾ cup or 12 Tablespoons butter softened
- 4 & ½ cups powdered sugar
- Or 5 tubs Cream Cheese Frosting
Instructions
- Preheat oven to 350°.
Dry Ingredients:
- In a bowl, whisk together flour, cocoa powder, baking soda and salt; set aside.
Butter/Sugar/Eggs
- Cream butter and granulated sugar until light and fluffy.
- Add eggs, one at a time, beating well after each addition.
Wet Ingredients
- Add in food coloring, vinegar, oil and vanilla/or cherry juice and beat together. (do not add in the buttermilk at this stage)
- Add dry ingredients to creamed Eggs/Sugar/Eggs mixture alternately with buttermilk, beating well after each addition.
- Pour into two lightly greased and floured 8-in.or 9-in round baking pans. Bake until a toothpick inserted in the center comes out clean, 20-25 minutes.
- Cool layers 10 minutes before removing from pans to wire racks to cool completely.
- After cakes have cooled, you can cut off the top of the cakes, to make both cakes level and not appear curved on top. I did it to one for the bottom of the cake and left the top as it was to get that old fashioned vintage curved look.
Cream Cheese Frosting:
- In a large bowl, using a mixer, beat together butter and cream cheese until fluffy. Add in vanilla extract. Beat until combined. Beat in powdered sugar, 1 cup at a time until frosting is smooth.
- Assemble and frost the completely cooled cake.
- For the crumbles on the sides, I used the top of the cake I sliced off to make my level bottom layer and made cake crumbles and applied some to the bottom on the cake. You can sprinkle them on top if you want as well.
- For more frosting, if you don't have enough for the top swirls, depending how thick, repeat the Cream Cheese Buttercream Recipe except divide it to make a half batch.