Easy Homemade Apple Crisp (Best Classic Fall Dessert)
As an Amazon Associate, I earn from qualifying purchases. Read the full disclosure here.
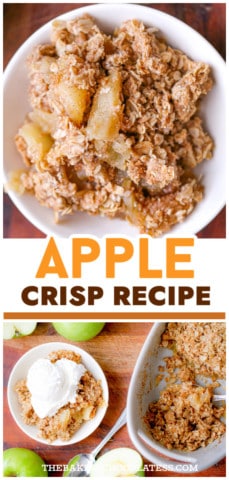
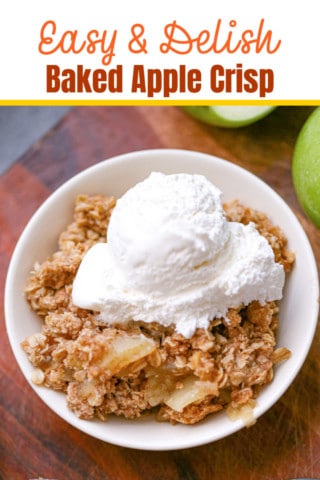
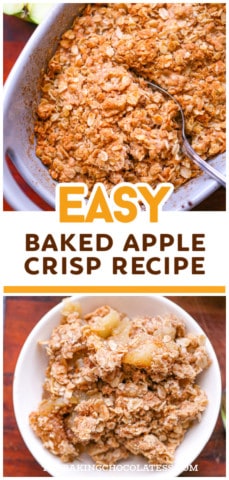
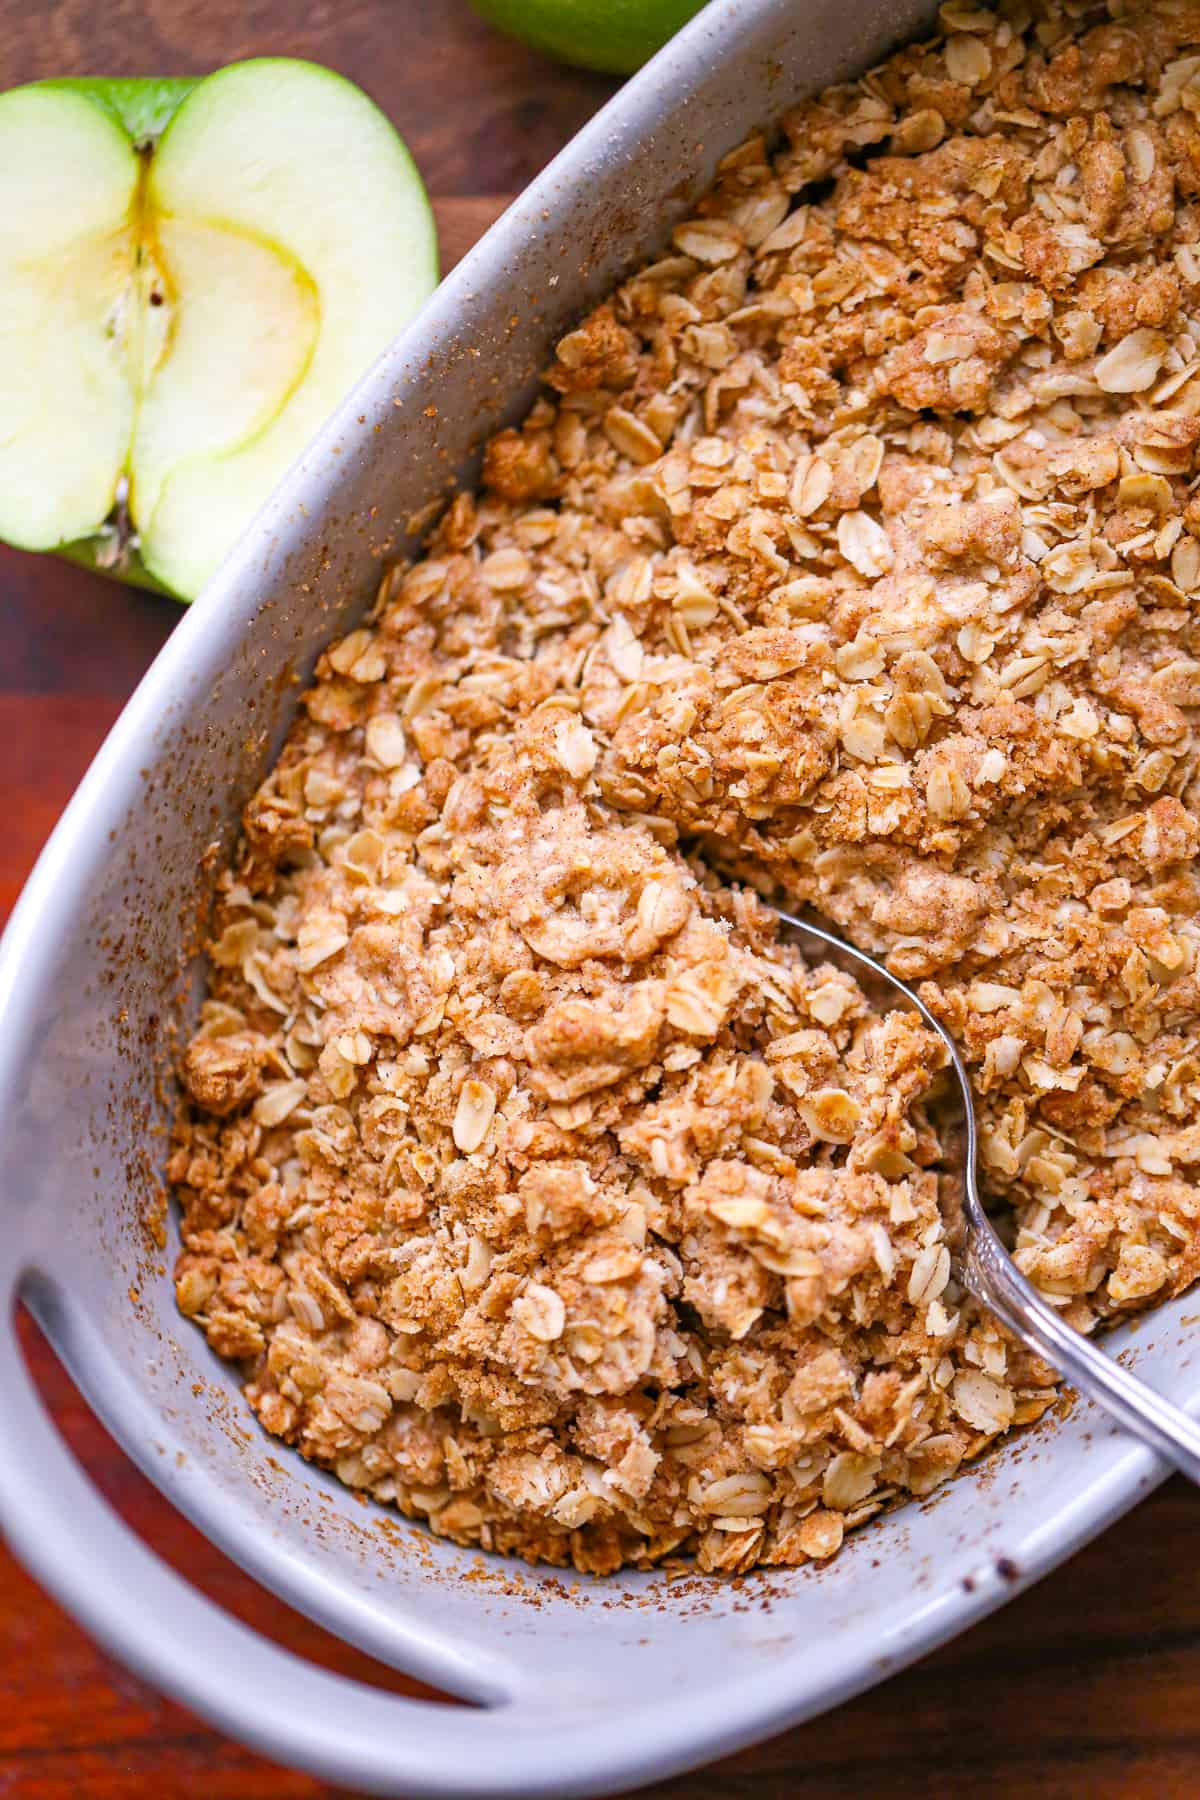
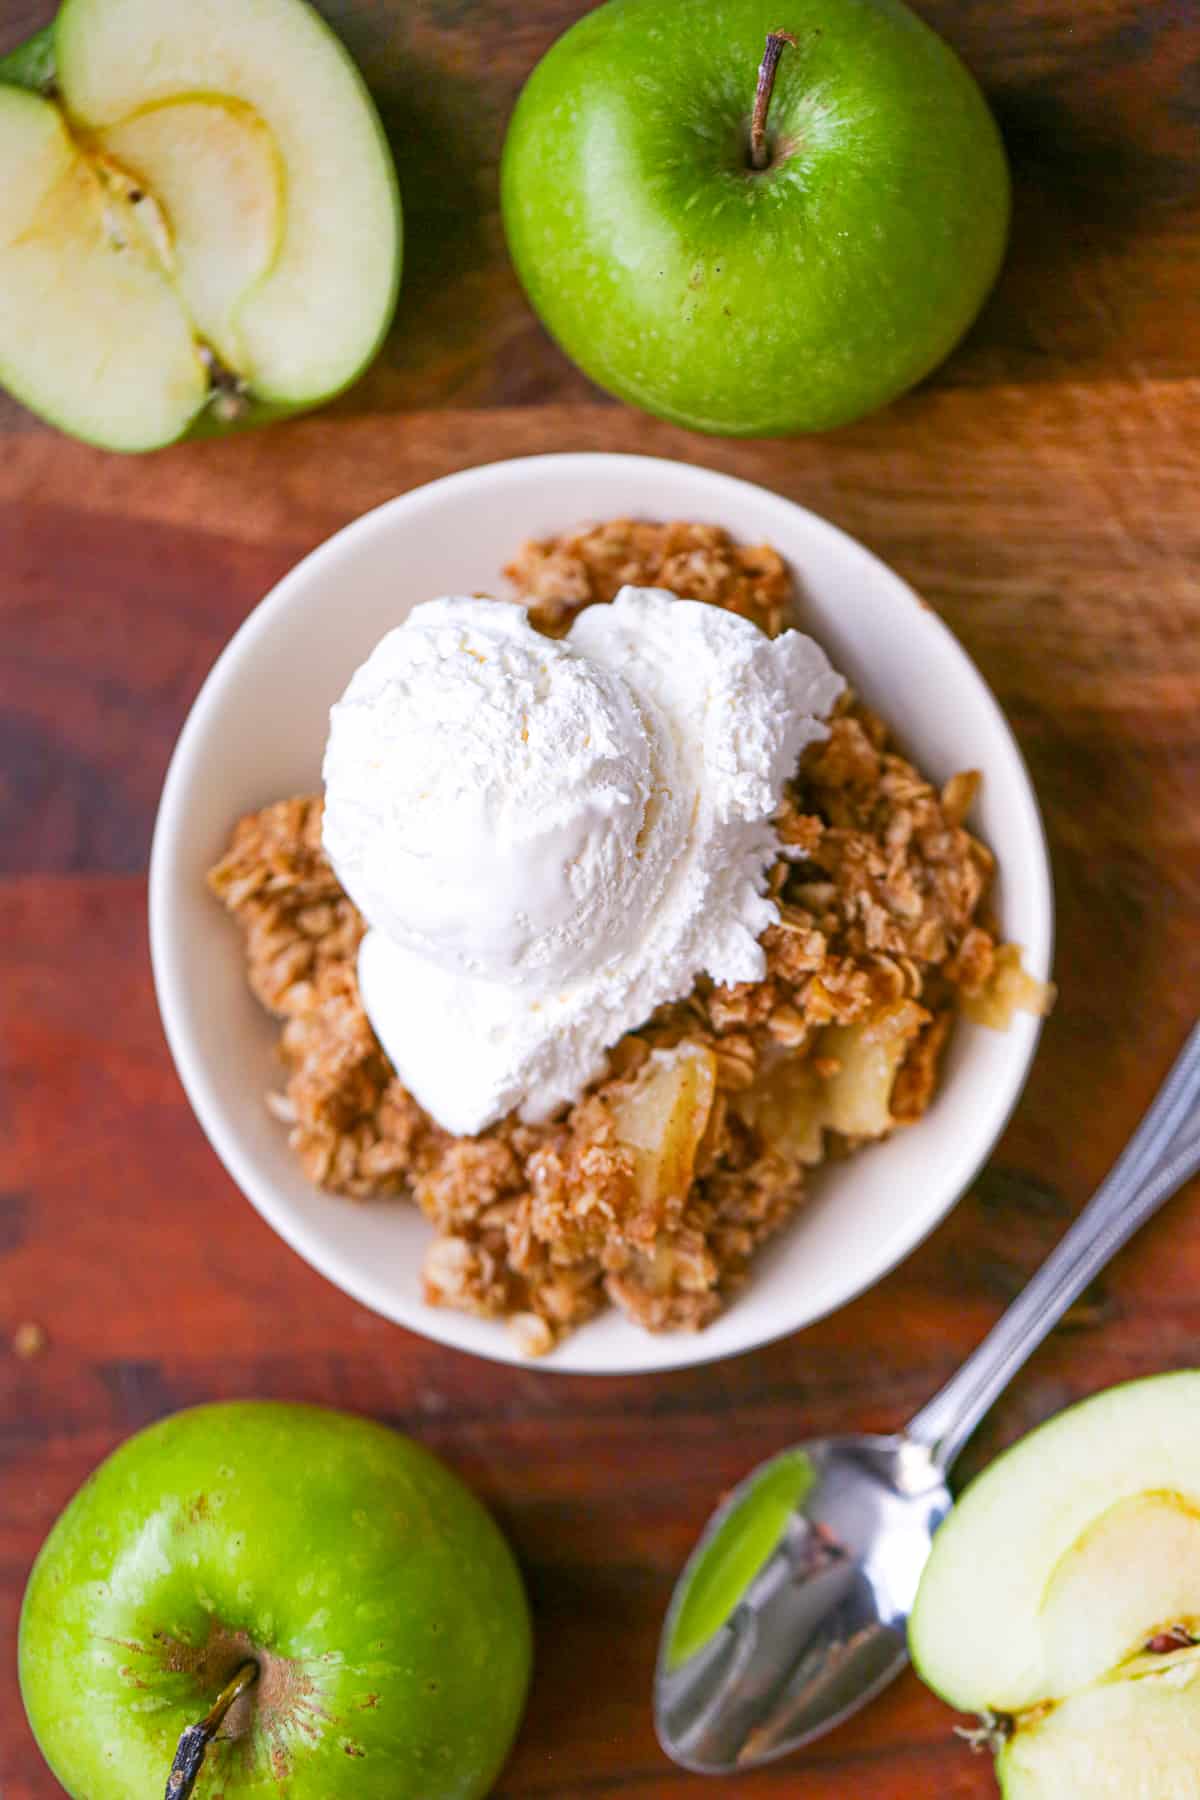
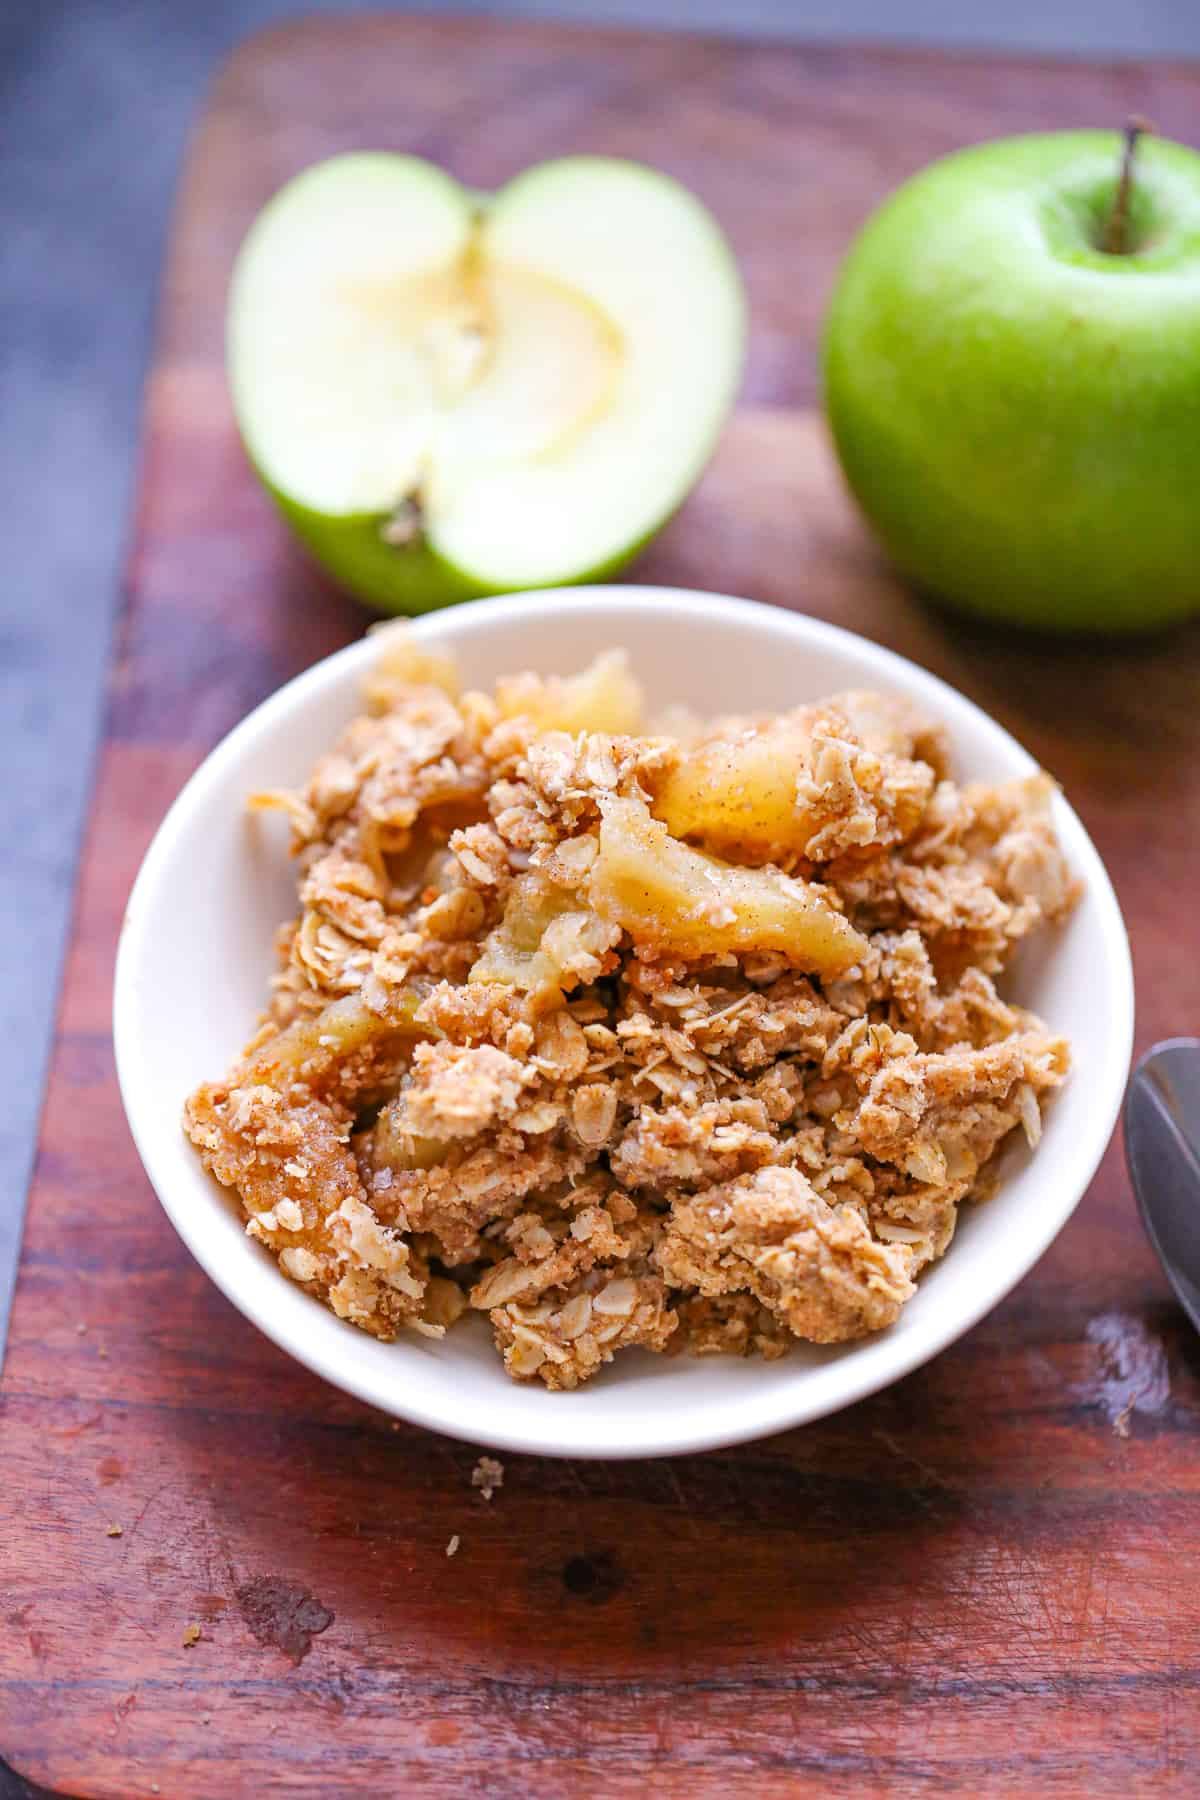
This Easy Homemade Apple Crisp is everything you want in a fall dessert — soft cinnamon‑spiced apples baked under a buttery brown‑sugar oat crumble that turns perfectly golden and crisp. It’s simple, comforting, and comes together fast with pantry ingredients. Serve warm with vanilla ice cream or caramel for the dreamiest autumn treat.
This classic apple crisp dessert captures all the cozy fall flavors you love: warm cinnamon apples, a crisp buttery topping, and that nostalgic, straight‑from‑the‑oven aroma that fills the whole kitchen.
If you’re craving an easy apple dessert recipe that everyone will rave about, this one delivers every time. And if you want even more apple inspiration, check out Apple Crisp Cheesecake Bars, GF Maple Cinnamon Apple Crisp and Rhubarb Berry Crisp!
Why This Really Is the Best Apple Crisp Recipe
For a quick fall treat, this crisp doubles as an easy apple dessert recipe that works for weeknights, holidays, or last‑minute gatherings.
- Easy and foolproof — simple ingredients, quick prep, and perfect results every time.
- Warm, cozy flavors — cinnamon, brown sugar, and buttery oat crumble make this the ultimate fall dessert.
- Perfect texture — tender apples underneath a crisp, golden topping that stays crunchy.
- Flexible ingredients — works with gluten‑free flour, almond flour, or nuts for extra crunch.
- Crowd‑pleasing — serve warm with vanilla ice cream or caramel sauce and watch everyone go back for seconds.
Best Apples for Baking
The best apples for apple crisp are firm, flavorful, and hold their shape while baking. These varieties give you that perfect balance of sweet, tart, and tender:
- Honeycrisp – juicy, crisp, and naturally sweet
- Granny Smith – tart, firm, and great for balancing sweetness, my all-time favorite
- Fuji – sweet, sturdy, and reliable
- Gala – mild flavor and softens nicely
- Mixing sweet + tart apples gives the best flavor and texture
Gather the Ingredients for This Easy Apple Crisp Recipe
Apple Layer
- 4-5 large apples, sliced or chopped (about 6-7 cups of of the best apples, like Gala apples, McIntosh, Fuji, Honeycrisp or Granny Smith apples make good choices for baking apples in desserts)
- sugar of choice
- cinnamon

Crumble Crisp Topping
- flour, such as all-purpose, oat flour or use gluten-free flour or almond flour for a gluten-free apple crisp
- rolled oats, quick oats, use gluten-free oats if wanting gluten free option
- pecans or walnuts chopped, optional
- brown sugar
- cinnamon
- nutmeg
- salt
- cold butter, cut into cubes or you can also use oil


Instructions: How to Make Easy Homemade Apple Crisp
Let’s make this cozy, comforting easy apple dessert recipe step‑by‑step.
Preparing the Apple Filling
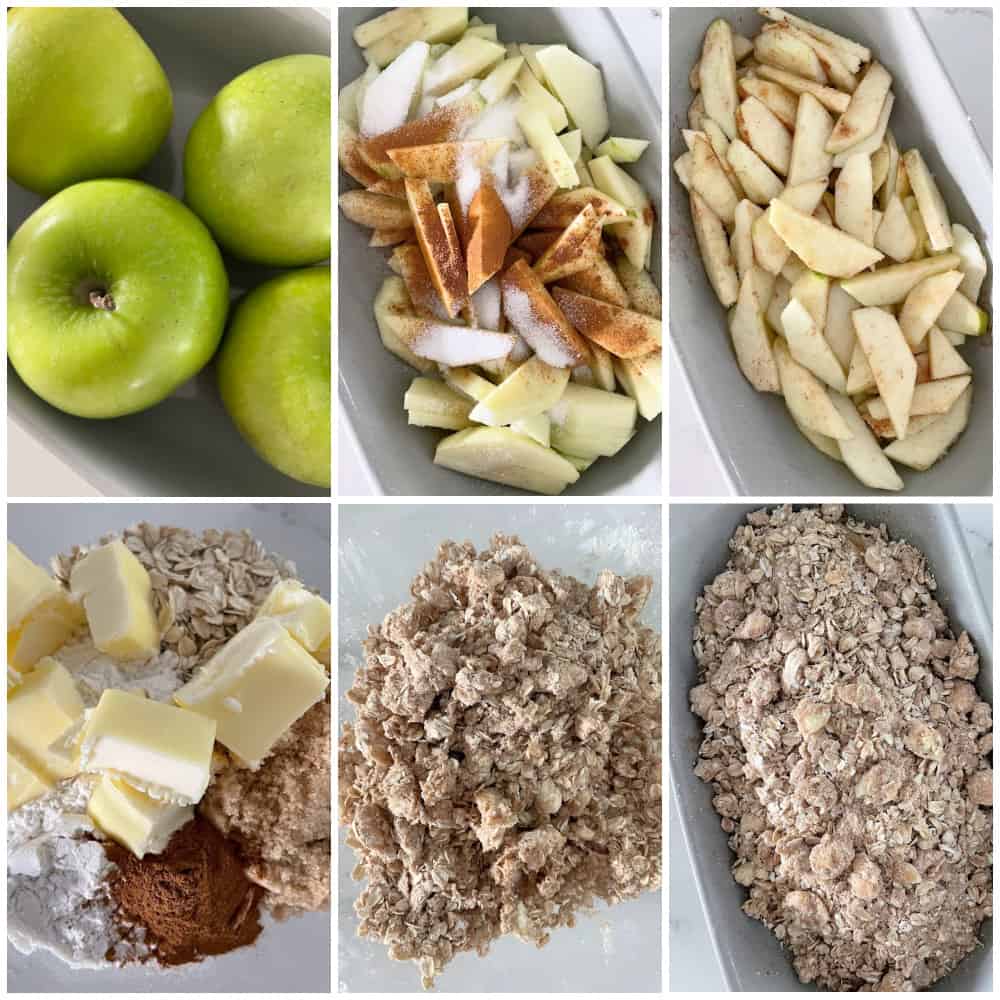
- Preheat oven to 375 F. Spray an 8×8 or a 2 qt. baking dish with cooking spray, set aside.
- Toss the sliced apples, flour, cinnamon and sugar together and spread out in prepared pan.
Making the Crumble Oat Topping
- In a medium bowl, add the flour, oats, spices and butter and cut butter in with a fork, pastry cutter or your fingers until small crumbles form. (If using oil, just stir it in.)
Assembling the Apple Crisp
- Sprinkle the crumble mixture evenly over the apples in the pan.
Baking the Apple Crisp
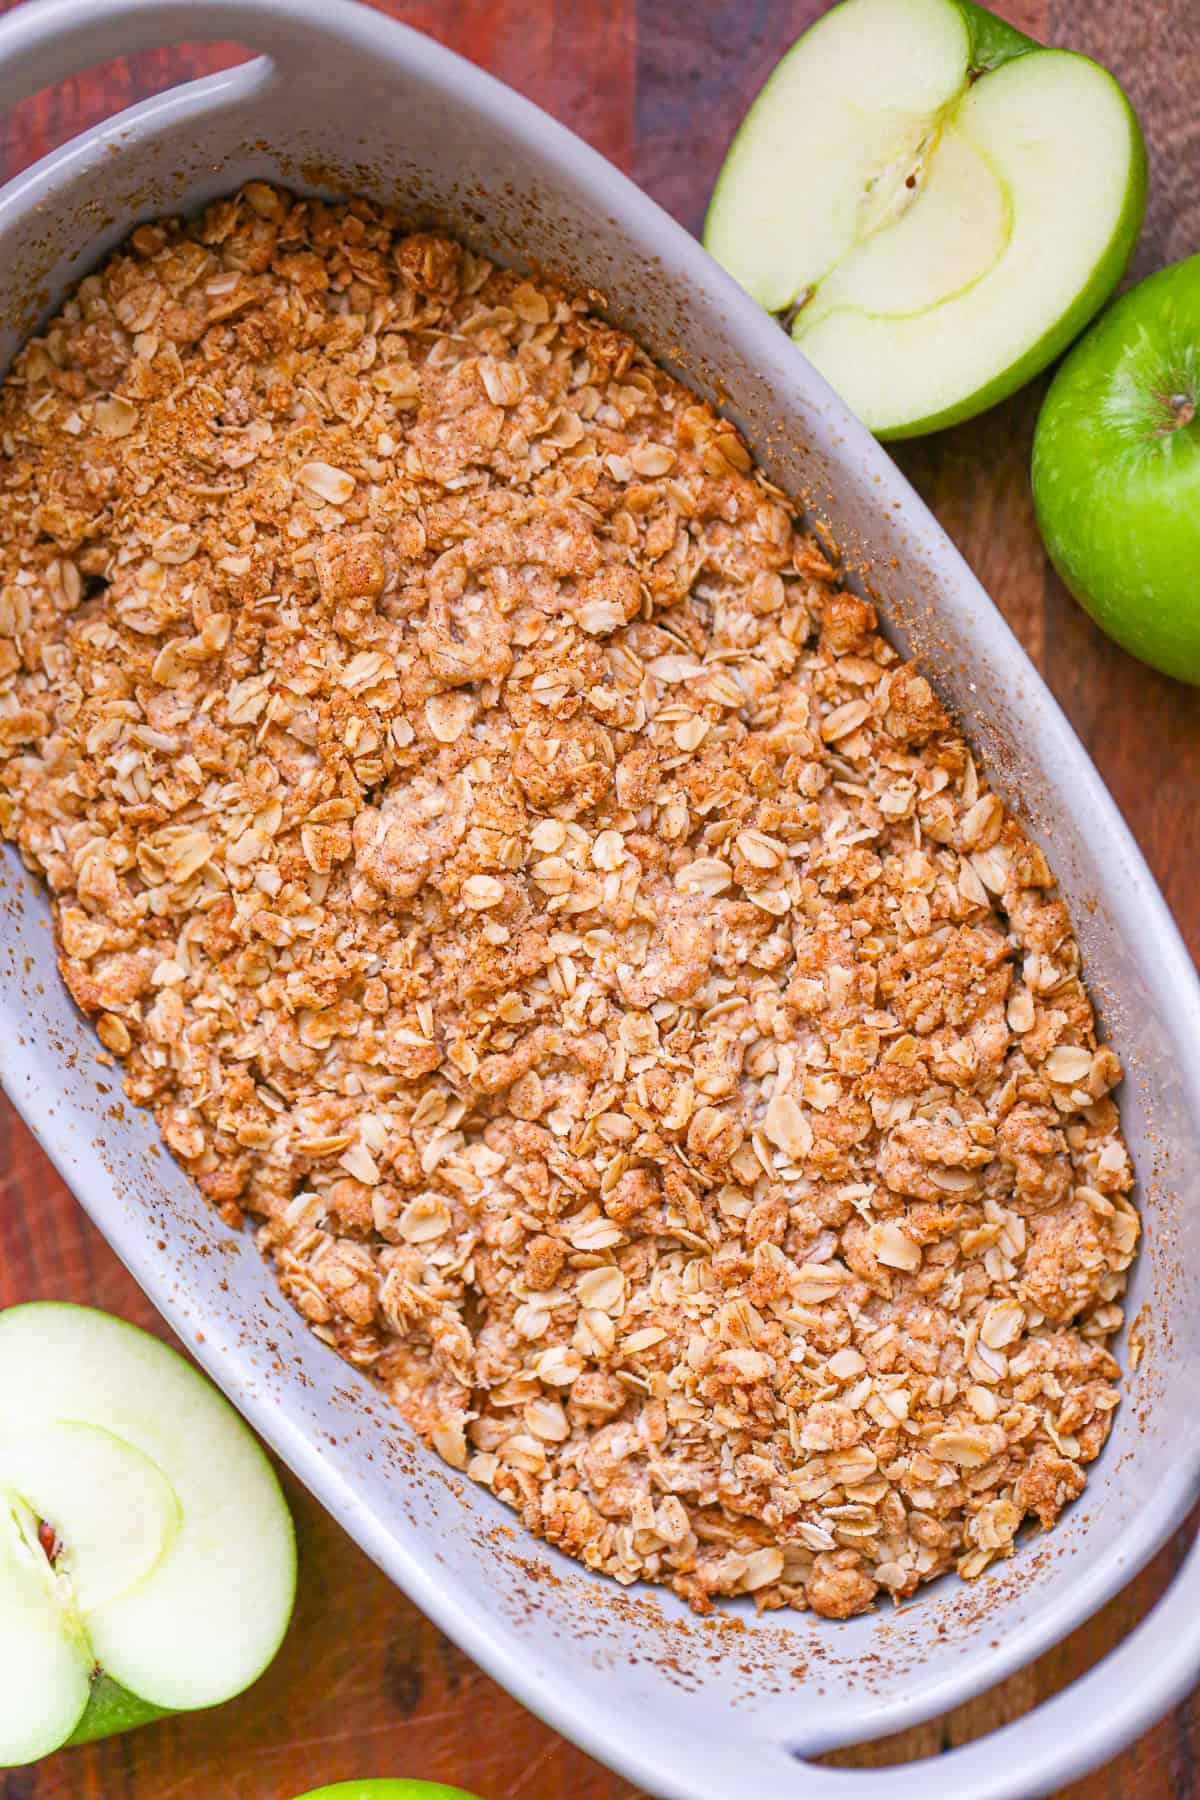
- Bake 40-45 minutes, until golden brown and bubbly.
- Let stand for a few minutes before serving hot or room temperature.
- Store leftovers covered in the fridge.
Tips for a Perfect Crisp
- Using firm apples like Honeycrisp or Granny Smith helps your classic apple crisp dessert bake evenly and keeps the filling from turning mushy.
- Slice apples evenly so they cook at the same rate and stay tender, not mushy.
- Use cold butter for the crumble — it creates those perfect crisp, golden clumps.
- Don’t overmix the topping; small buttery chunks = better texture.
- Bake until bubbly around the edges and lightly browned on top.
- Let it rest 10 minutes so the juices thicken and the topping sets.
- Add nuts for crunch or keep it classic with just oats — both work beautifully.
- Serve warm for the best flavor (and the best ice‑cream melt).
Variations of Easy Homemade Apple Crisp
If you want to switch up this classic apple crisp dessert with fun twists, try adding berries, maple syrup, or toasted nuts to the filling or crumble.
- Salted Caramel Apple Crisp – Drizzle caramel sauce over the apples before adding the crumble, or swirl salted caramel into the topping for extra richness.
- Maple Apple Crisp – Replace part of the brown sugar with pure maple syrup for a warm, deep fall flavor.
- Nutty Apple Crisp – Add chopped pecans or walnuts to the oat topping for extra crunch and a toasty, buttery finish.
- Gluten‑Free Apple Crisp – Use almond flour or a gluten‑free flour blend and certified gluten‑free oats. The topping still bakes up beautifully crisp.
- Cinnamon‑Heavy Crisp – Increase the cinnamon and add a pinch of cardamom for a cozy, spiced twist.
- Apple Berry Crisp – Add 1 cup of fresh or frozen berries (blueberries, raspberries, or cranberries) for a sweet‑tart pop of flavor.
- Extra‑Crispy Topping – Add an extra handful of oats or a spoonful of melted butter to make the crumble even crunchier.
How to Serve Apple Crisp
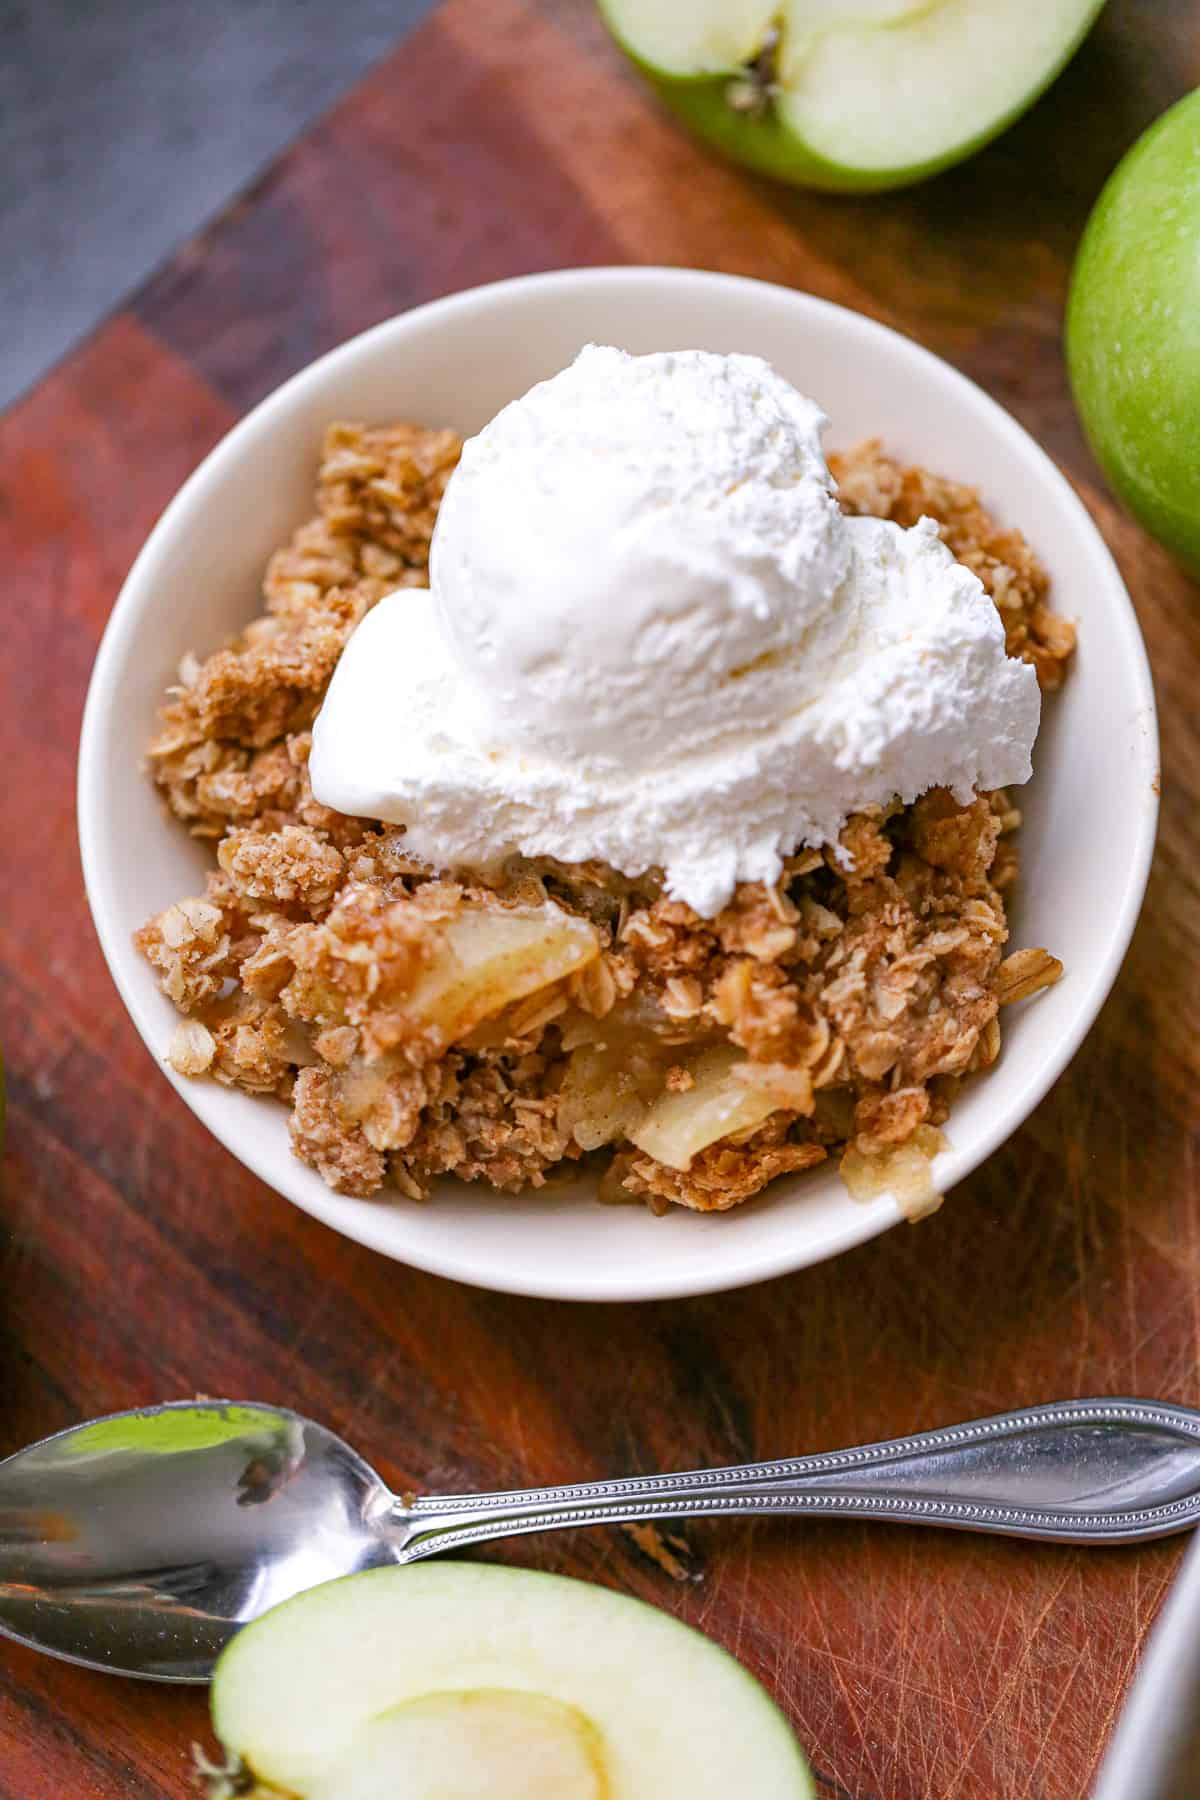
Apple crisp is best served warm so the cinnamon‑spiced apples are soft and the buttery oat topping stays perfectly crisp. For a classic fall dessert moment, add a scoop of vanilla ice cream and let it melt into all the nooks and crannies. Fresh whipped cream, caramel sauce, or even a sprinkle of toasted nuts make it extra special — the perfect finishing touch for a classic apple crisp dessert everyone will devour.
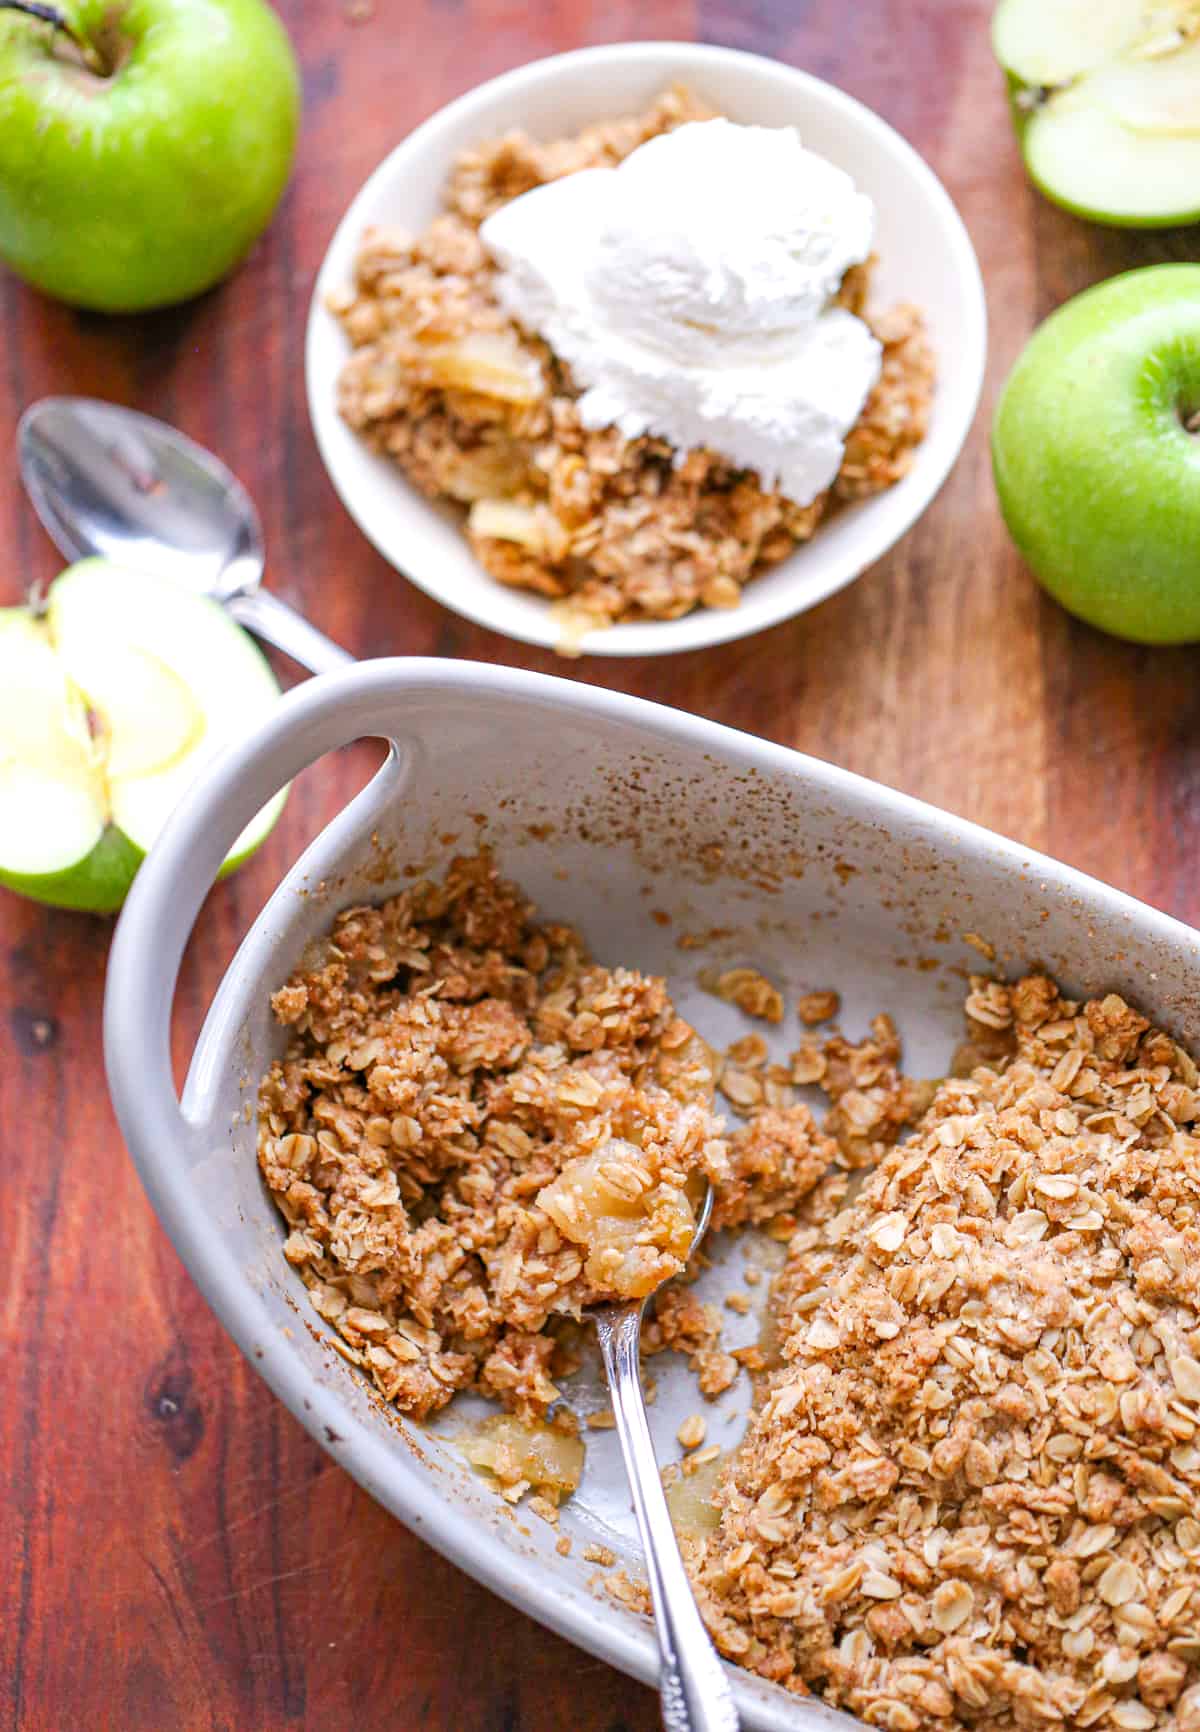
If you’re serving a crowd, keep the crisp in the baking dish and let everyone scoop their own — it’s rustic, cozy, and always a hit.
Storing & Reheating Baked Apple Crisp
Storing: Let the apple crisp cool completely, then cover the baking dish tightly with foil or transfer leftovers to an airtight container. Refrigerate for up to 5 days.
Reheating: Warm individual portions in the microwave in 15–30 second bursts until heated through. For the crispiest topping, reheat in a 350°F oven for 10–12 minutes.
Freezing Instructions
This easy apple dessert recipe freezes beautifully, whether baked or unbaked.
To freeze unbaked apple crisp: Assemble the crisp in a freezer‑safe dish, cover tightly with plastic wrap and foil, and freeze for up to 3 months. Bake straight from frozen at 350°F, adding 10–15 extra minutes.
To freeze baked apple crisp: Cool completely, then freeze in an airtight container for up to 3 months. Thaw in the refrigerator overnight and reheat at 350°F for 10–12 minutes to crisp the topping back up.
This easy apple dessert recipe freezes beautifully, whether baked or unbaked.
FAQs for Easy Homemade Apple Crisp
Can I use any type of apple for apple crisp?
Yes! Firm apples like Honeycrisp, Granny Smith, Fuji, or Gala hold their shape and give the best flavor.
Can I make apple crisp ahead of time?
You can assemble it up to 24 hours in advance, refrigerate, then bake when ready. Add 5–10 extra minutes since it starts cold. This is yet another reason this is the best apple crisp recipe — it’s wonderfully make‑ahead friendly, saving you time while still delivering that warm, cozy fall flavor everyone loves.
How do I keep the topping crisp?
Use cold butter and avoid overmixing. Reheat leftovers in the oven to bring the crisp texture back.
Can I make this gluten‑free?
Yes — use gluten‑free flour and certified gluten‑free oats. Almond flour works beautifully too.
Can I freeze apple crisp with oat topping?
Freeze baked or unbaked apple crisp for up to 3 months. Bake from frozen or thaw overnight and reheat to crisp the topping.
Is this an easy apple dessert recipe?
Yes — this crisp is a simple, reliable easy apple dessert recipe that doesn’t require special tools or advanced baking skills.
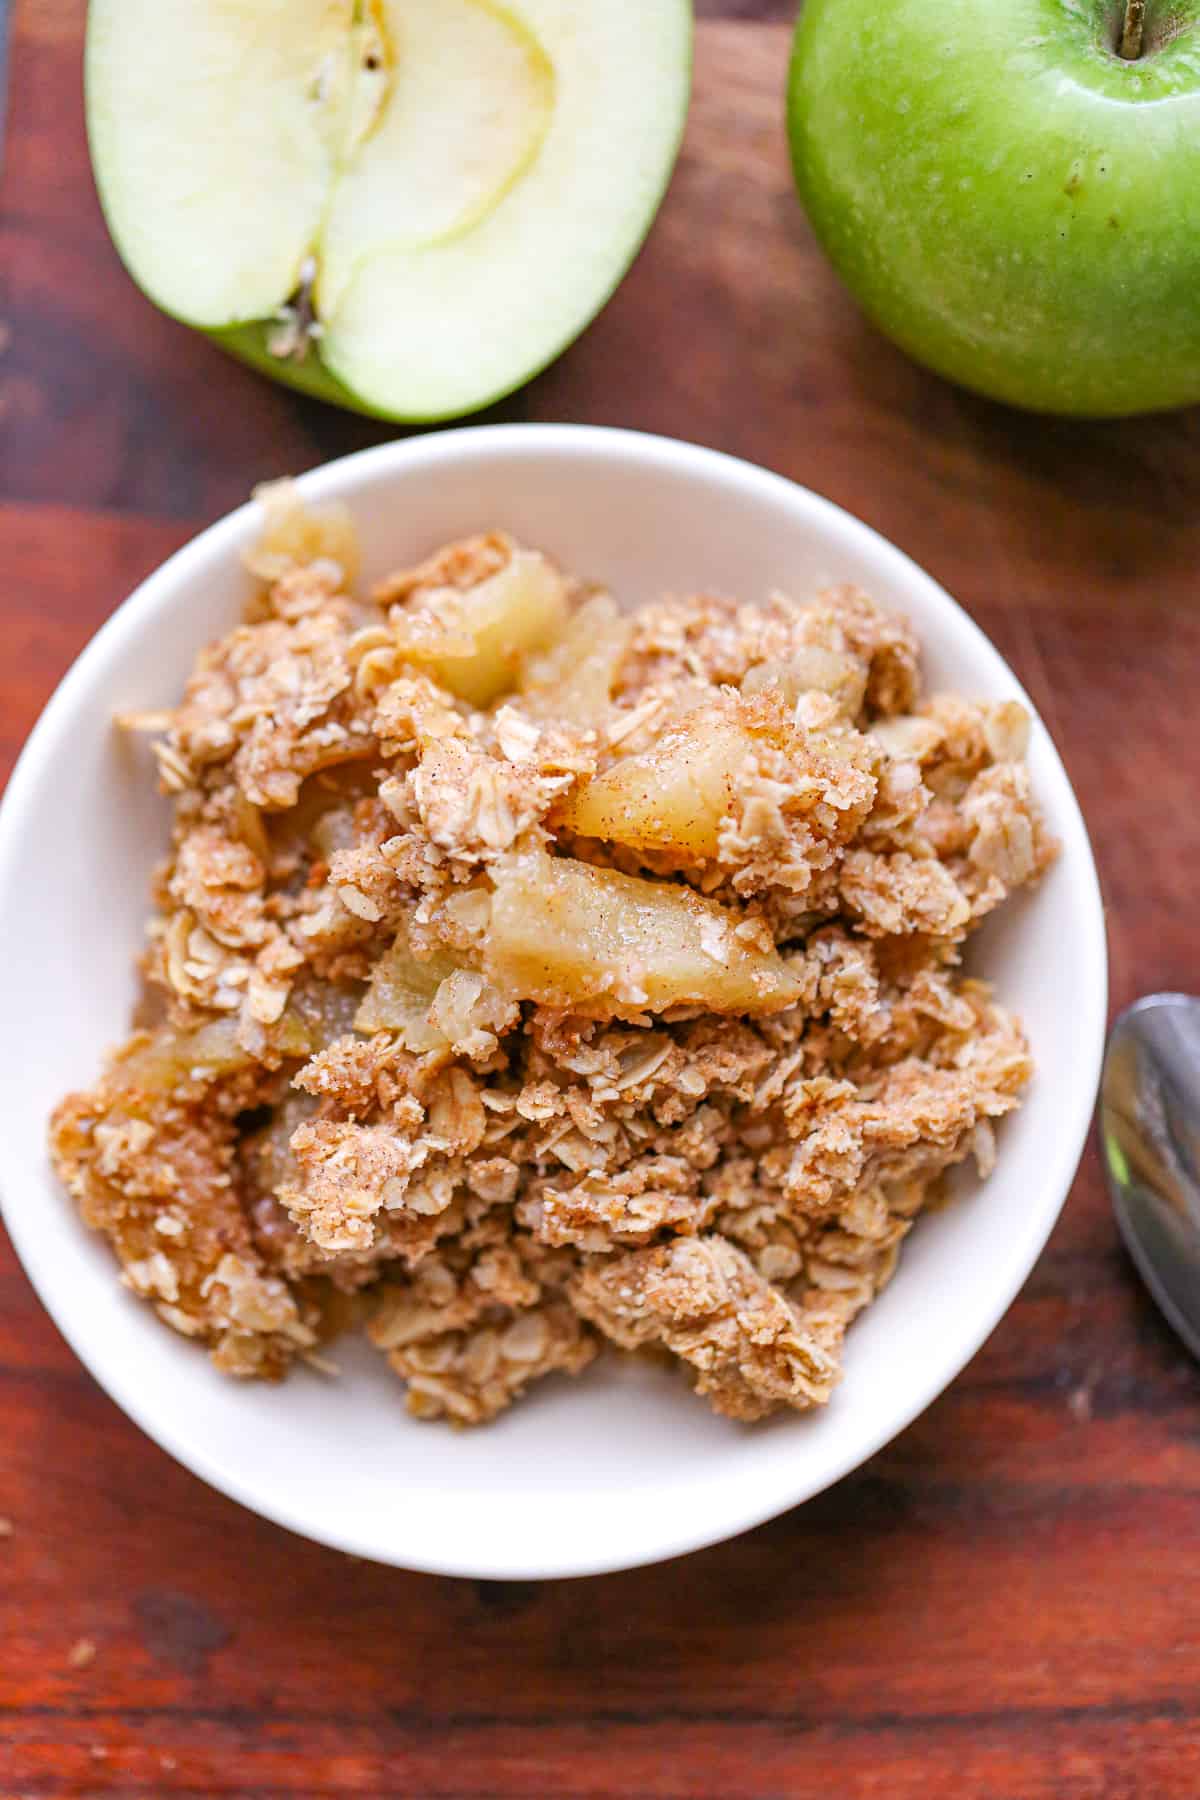
Apple crisp is truly one of the easiest and most comforting desserts you can make at home. With simple ingredients, warm cinnamon‑spiced apples, and a buttery oat topping, this easy homemade apple crisp is the kind of classic fall dessert everyone loves. It’s budget‑friendly, quick to prepare, and guaranteed to impress any crowd.
If you’re craving more cozy fall baking inspiration, be sure to check out 45 Must-Try Best Apple Dessert Recipes — it’s packed with reader‑favorite apple pies, bars, crisps, and other irresistible apple treats.
So, go ahead and treat yourself and your family to this delicious, easy-to-make dessert. Share this best apple crisp recipe on Pinterest, Instagram and Facebook!
More Delish Desserts!
- Caramel Glazed Apple Crumble Coffee Cake
- Chocolate Covered Hazelnut Cheesecake Bites
- German Spiced Apple Cake
- 6 Apple Fall Baking Recipes
- Easy Baked Apple Donuts
- Apple Crumble Muffins
Easy Homemade Apple Crisp
Ingredients
Apple Layer
- 4-5 large apples sliced or chopped (about 6-7 cups of Gala, McIntosh, Honeycrisp or Granny Smith apples)
- 2 tablespoons sugar of choice
- ½ tablespoon flour of choice optional
- ½ teaspoon cinnamon
Crumble Crisp Topping
- ⅓ cup flour of choice such as white, spelt, or oat or use gluten-free flour or almond flour for a gluten-free option
- 1 ¼ cup rolled or quick oats use gluten-free oats if wanting gluten free option
- ⅓ cup pecans or walnuts chopped, optional
- ⅔ cup brown sugar use ½ cup if you want less sugar
- 1 ½ teaspoons cinnamon
- ½ teaspoon nutmeg optional
- ¼ teaspoon salt
- 8 tablespoons cold butter, cut into cubes or you can use oil
Instructions
- Preheat oven to 375 F. Spray an 8x8 or 2qt baking dish with cooking spray, set aside.
Apple Layer
- Toss the sliced apples, flour, cinnamon and sugar together and spread out in prepared pan.
Crumble Crisp Topping
- In a medium bowl, add the flour, oats, spices, salt and butter and cut butter into the mixture with a fork, pastry cutter or your fingers until small crumbles form. (If using oil, just stir it in.)
- Sprinkle the crumble mixture evenly over the apples in the pan. Bake 40-45 minutes, until browned and bubbly.
- Let stand for a few minutes before serving hot or room temperature.
- For an extra special treat, serve with ice cream or or fresh whipped cream and this salted caramel sauce.
- Store leftovers covered in the fridge.
Notes
Reheating: Heat individual portions in the microwave in 15 to 30-second intervals until warm.