Peanut Butter Cup Protein Cheesecake
As an Amazon Associate, I earn from qualifying purchases. Read the full disclosure here.
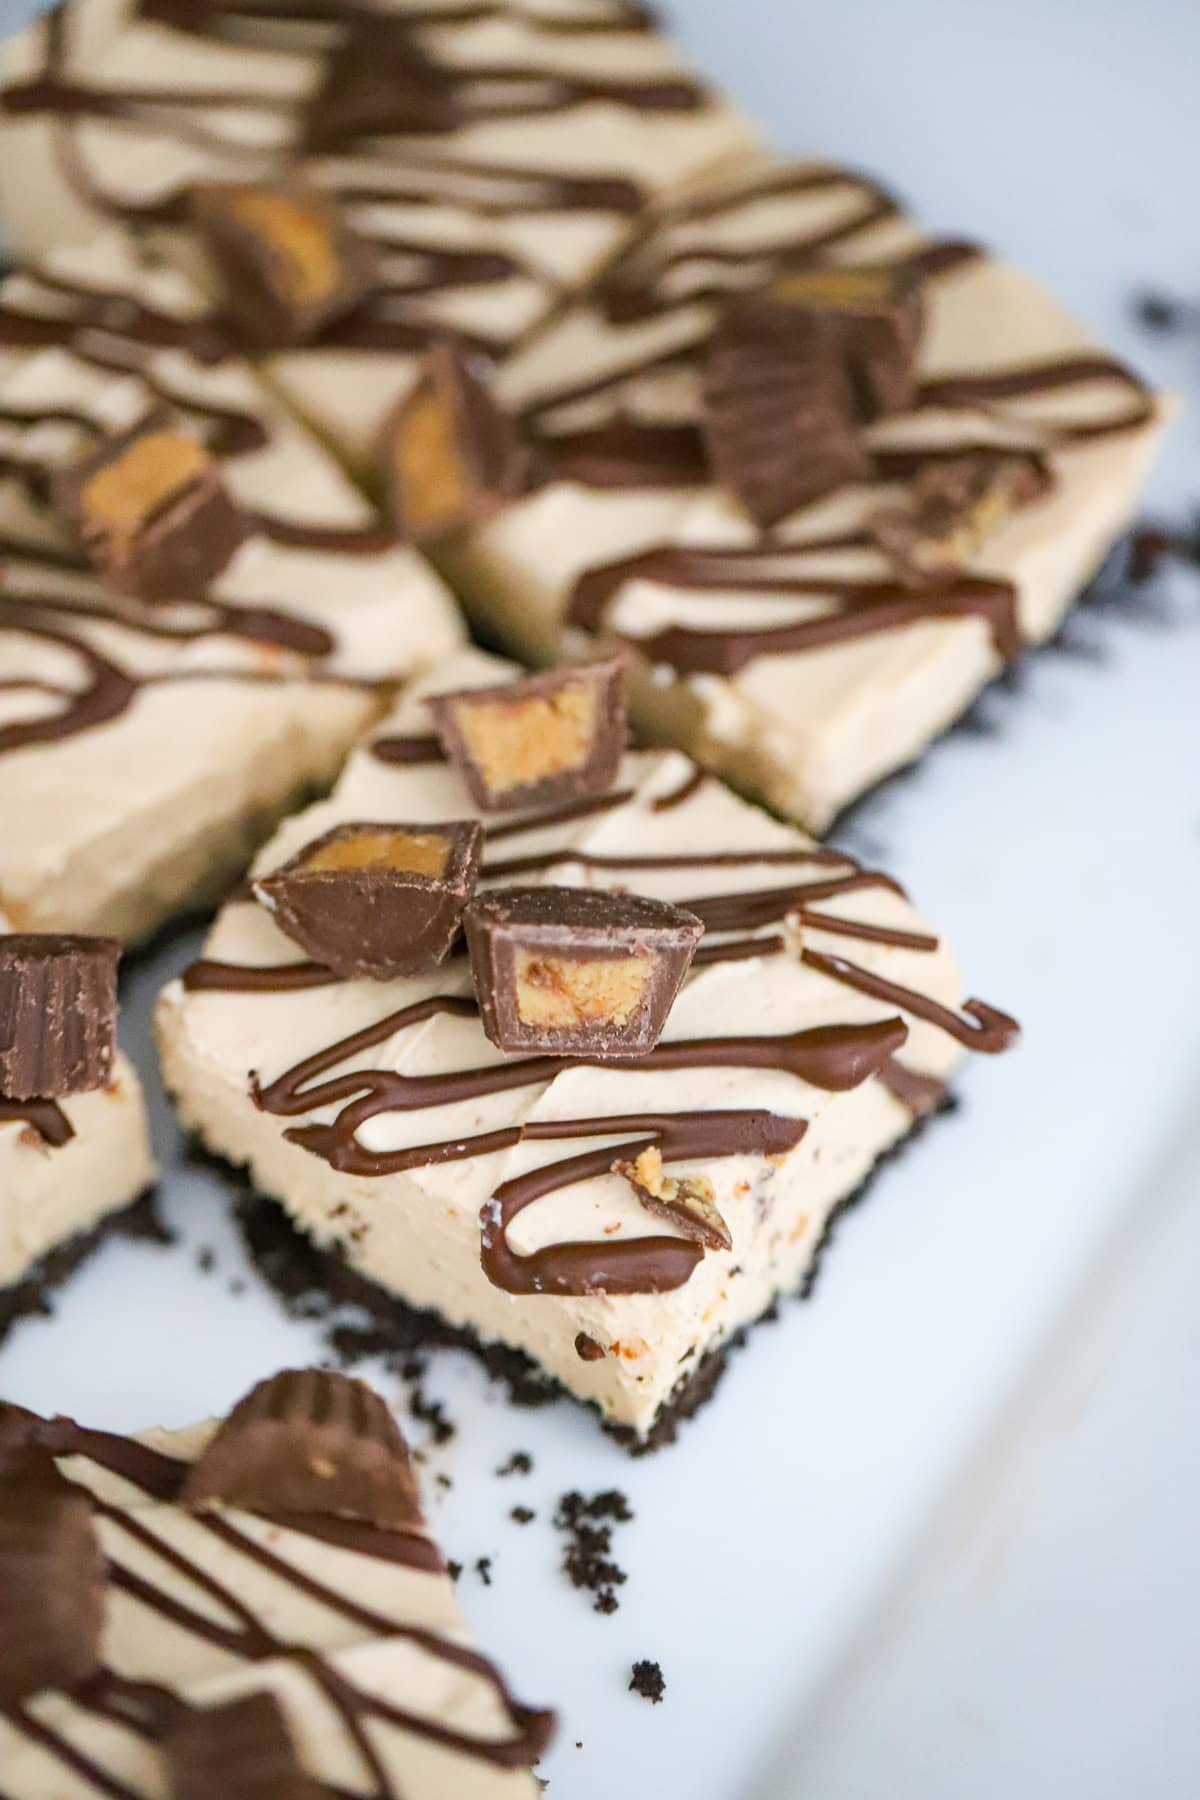
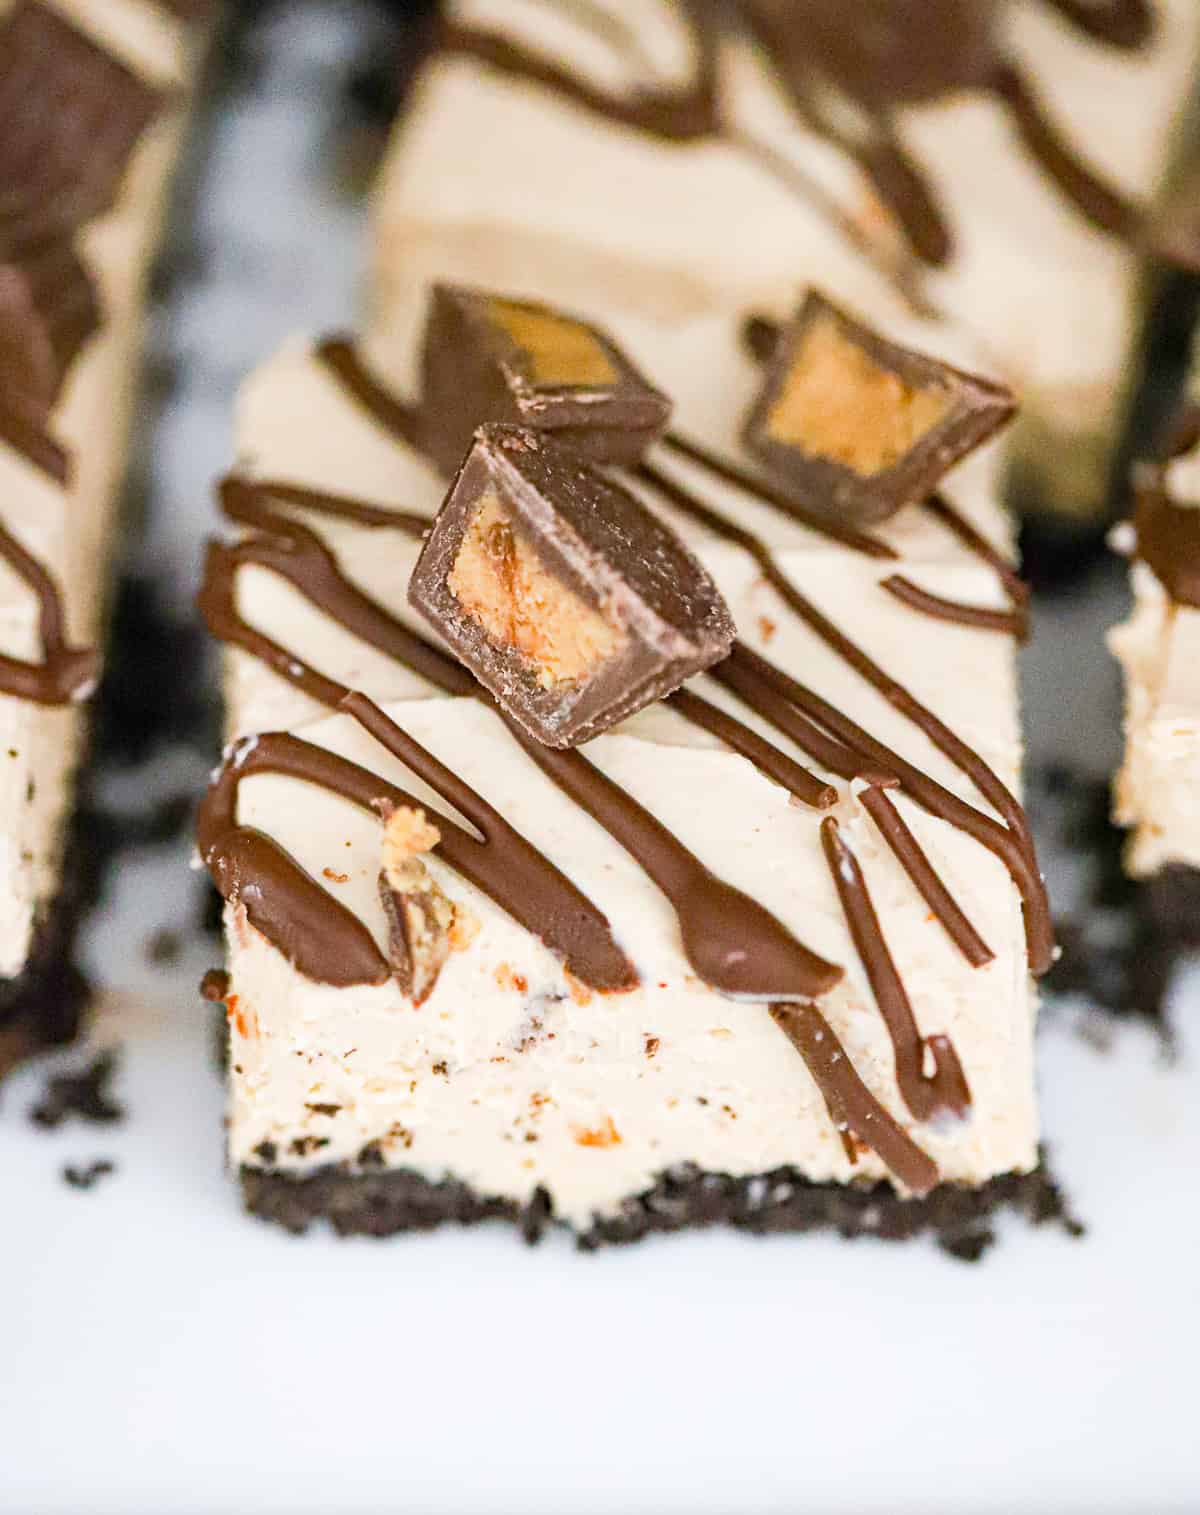
You guys, stop everything!! This Peanut Butter Cup Protein Cheesecake is straight-up candy-bar heaven and I cannot get over how good it is! Thick, creamy peanut butter cheesecake filling loaded with protein, sitting on a crunchy chocolate cookie crust, topped with melted chocolate and chopped peanut butter cups?!
It’s the second recipe in my Small Batch Protein Cheesecake Series and it might honestly be my favorite. One taste and it’s all over!
WANT TO SAVE THIS RECIPE?
Why This Peanut Butter Cup Protein Cheesecake Will Wreck You!
- That classic PB-cup flavor!! Creamy peanut butter, chocolate cookie crust, and melted chocolate on top. You never had a chance!
- 14 to 20 grams of protein per slice! We’re talking dessert that actually works as hard as you do!!
- No oven needed! Mix, layer, chill, and you’ve got 8 thick bars ready to grab all week!
- Two base options! Go with Greek yogurt for a lighter, tangier filling, or cottage cheese for even more protein-packed richness. Both are amazing!
- Topped with real peanut butter cups! Because why wouldn’t you?!
If you love chocolate and peanut butter together, you’ll also flip over these Copycat Reese’s Peanut Butter Hearts and these Chocolate Peanut Butter Crunch Cups! Can we ever have enough PB and chocolate?!
Benefits + Macro Chart
This Peanut Butter Cup Protein Cheesecake is everything you love about a creamy, chocolate‑PB dessert — but with a high‑protein twist that actually keeps you full. The filling blends cream cheese, peanut butter, cocoa, and protein powder into a silky, candy‑bar‑meets‑cheesecake moment that tastes way more indulgent than it is. And because you can choose between Greek yogurt/Skyr or blended cottage cheese, you get full control over the texture, richness, and protein level.
To help you pick the version that fits your goals (or your cravings), here’s a quick side‑by‑side macro breakdown. It’s a fun, visual snapshot that shows exactly how each option stacks up.
Peanut Butter Cup Protein Cheesecake Macros (per slice)
8 slices • Greek yogurt/Skyr vs. blended cottage cheese
| Greek Yogurt / Skyr | Cottage Cheese | |
|---|---|---|
| Calories | 205–220 | 225–245 |
| Protein | 14–16 g | 18–20 g |
| Carbs | 14–18 g | 14–18 g |
| Fat | 9–11 g | 10–12 g |
*Macros based on the same filling base used across the protein cheesecake series.
What You Need for Peanut Butter Cup Protein Cheesecake
(Small‑Batch • No‑Bake • High‑Protein • 2rd in the Protein Cheesecake Series)
Let’s talk about what goes into this peanut butter cup masterpiece! Everything is simple and you probably already have most of it. 🙂
Chocolate Cookie Crust
- 1 cup chocolate cookie crumbs (Oreo-style, finely crushed). The finer the crumbs, the cleaner your slices!
- 2 to 3 tablespoons melted butter. Start with 2 and add more if the crumbs aren’t holding together when you press.
- 1 tablespoon cocoa powder (optional). I like it for extra chocolate punch!
- Pinch of salt
Peanut Butter Protein Cheesecake Filling
So which base are you going with? Both are incredible!
- Option A: 1 cup Greek yogurt or Skyr for a tangier, lighter filling (about 14 to 16g protein per slice)
- Option B: 1 cup blended cottage cheese for a denser, richer filling with even more protein (about 18 to 20g per slice!). Blend it until it’s completely smooth!
- 8 oz light cream cheese, softened. Let it sit out for about 30 minutes first. Cold cream cheese = lumps = sad filling. 🙂
- 1 -2 scoops (1/2 cup) peanut butter protein powder. This is where the magic happens! Whey or plant-based both work!
- 1/4 cup creamy peanut butter (slightly melted). Natural or regular, your call!
- 1/4 cup powdered sugar or sweetener. Taste as you go and adjust!
- 1 teaspoon vanilla extract
- Pinch of salt. Don’t skip this! I promise it matters.
- 1/3 to 1/2 cup chopped mini peanut butter cups (optional, but come on…do it!)
Toppings
- Melted chocolate for drizzling
- 1/3 to 1/2 cup chopped mini peanut butter cups
How to Make Peanut Butter Cup Protein Cheesecake
This comes together so fast! About 15 minutes of mixing and the fridge handles the rest. Let’s make some magic!!
1. Make the Crust
- Line an 8×4 and 9×5 loaf pan with parchment paper, leaving overhang on the long sides so you can lift it out later.
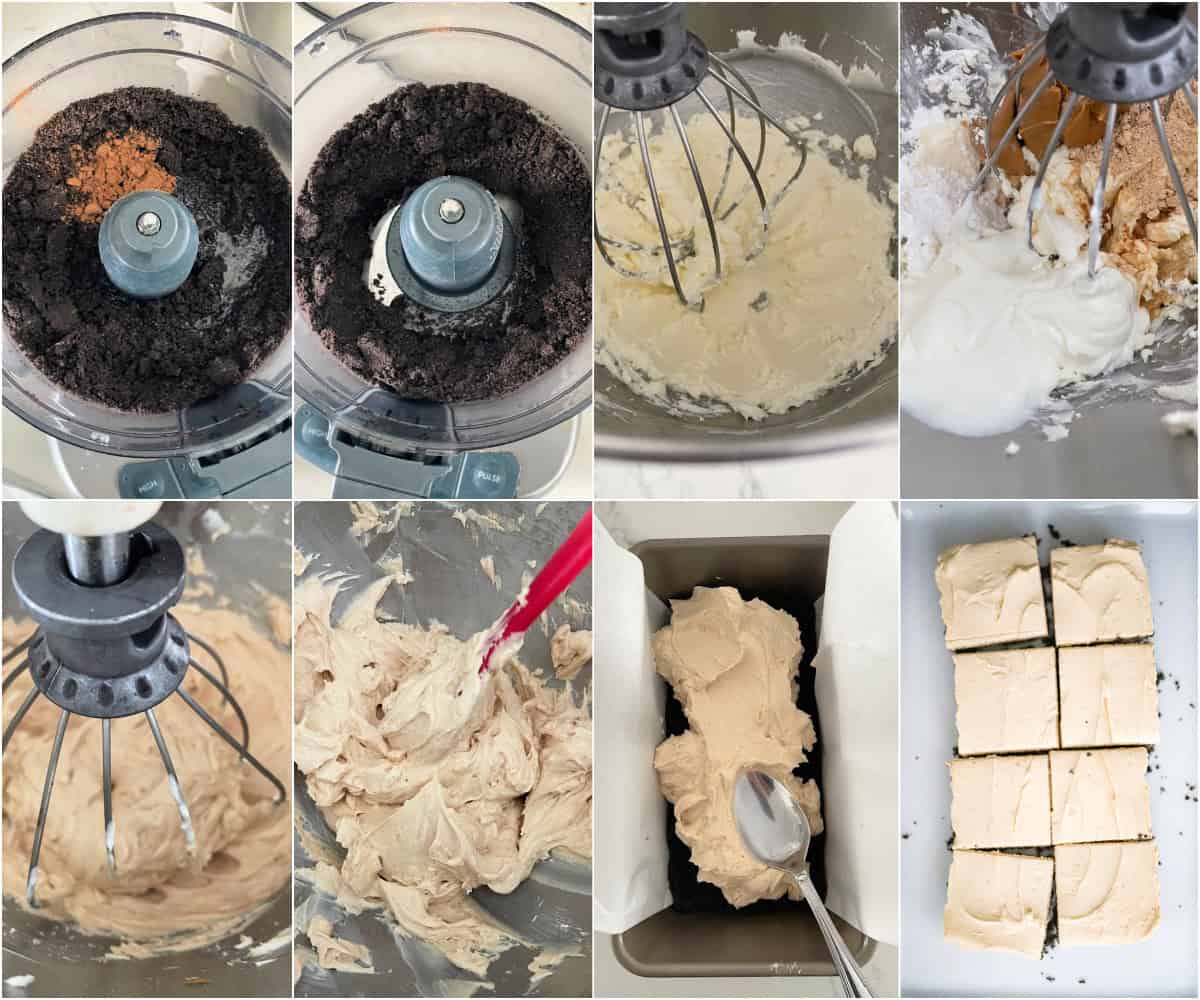
- Combine 1 cup chocolate cookie crumbs, 2 to 3 tablespoons melted butter, 1 tablespoon cocoa powder (if using), and a pinch of salt. It should hold together when you press it between your fingers!
- Press firmly and evenly into the bottom of the pan. Use the flat bottom of a measuring cup to pack it down tight. Pop it in the fridge while you make the filling.
2. Whip Up the Peanut Butter Protein Filling
- Beat 8 oz softened cream cheese with an electric mixer until completely smooth, about 2 minutes. Scrape the bowl halfway through!
- Add 1 cup Greek yogurt (or blended cottage cheese), peanut butter protein powder, powdered sugar, vanilla, and a pinch of salt. Mix on medium until combined.
- Add 1/4 cup slightly melted peanut butter and mix until smooth, thick, and creamy. It should be glossy and gorgeous at this point!
- Fold in 1/3 to 1/2 cup chopped mini peanut butter cups if using. Give it a taste and adjust sweetness if you need to!
3. Assemble the Peanut Butter Cheesecake and Chill
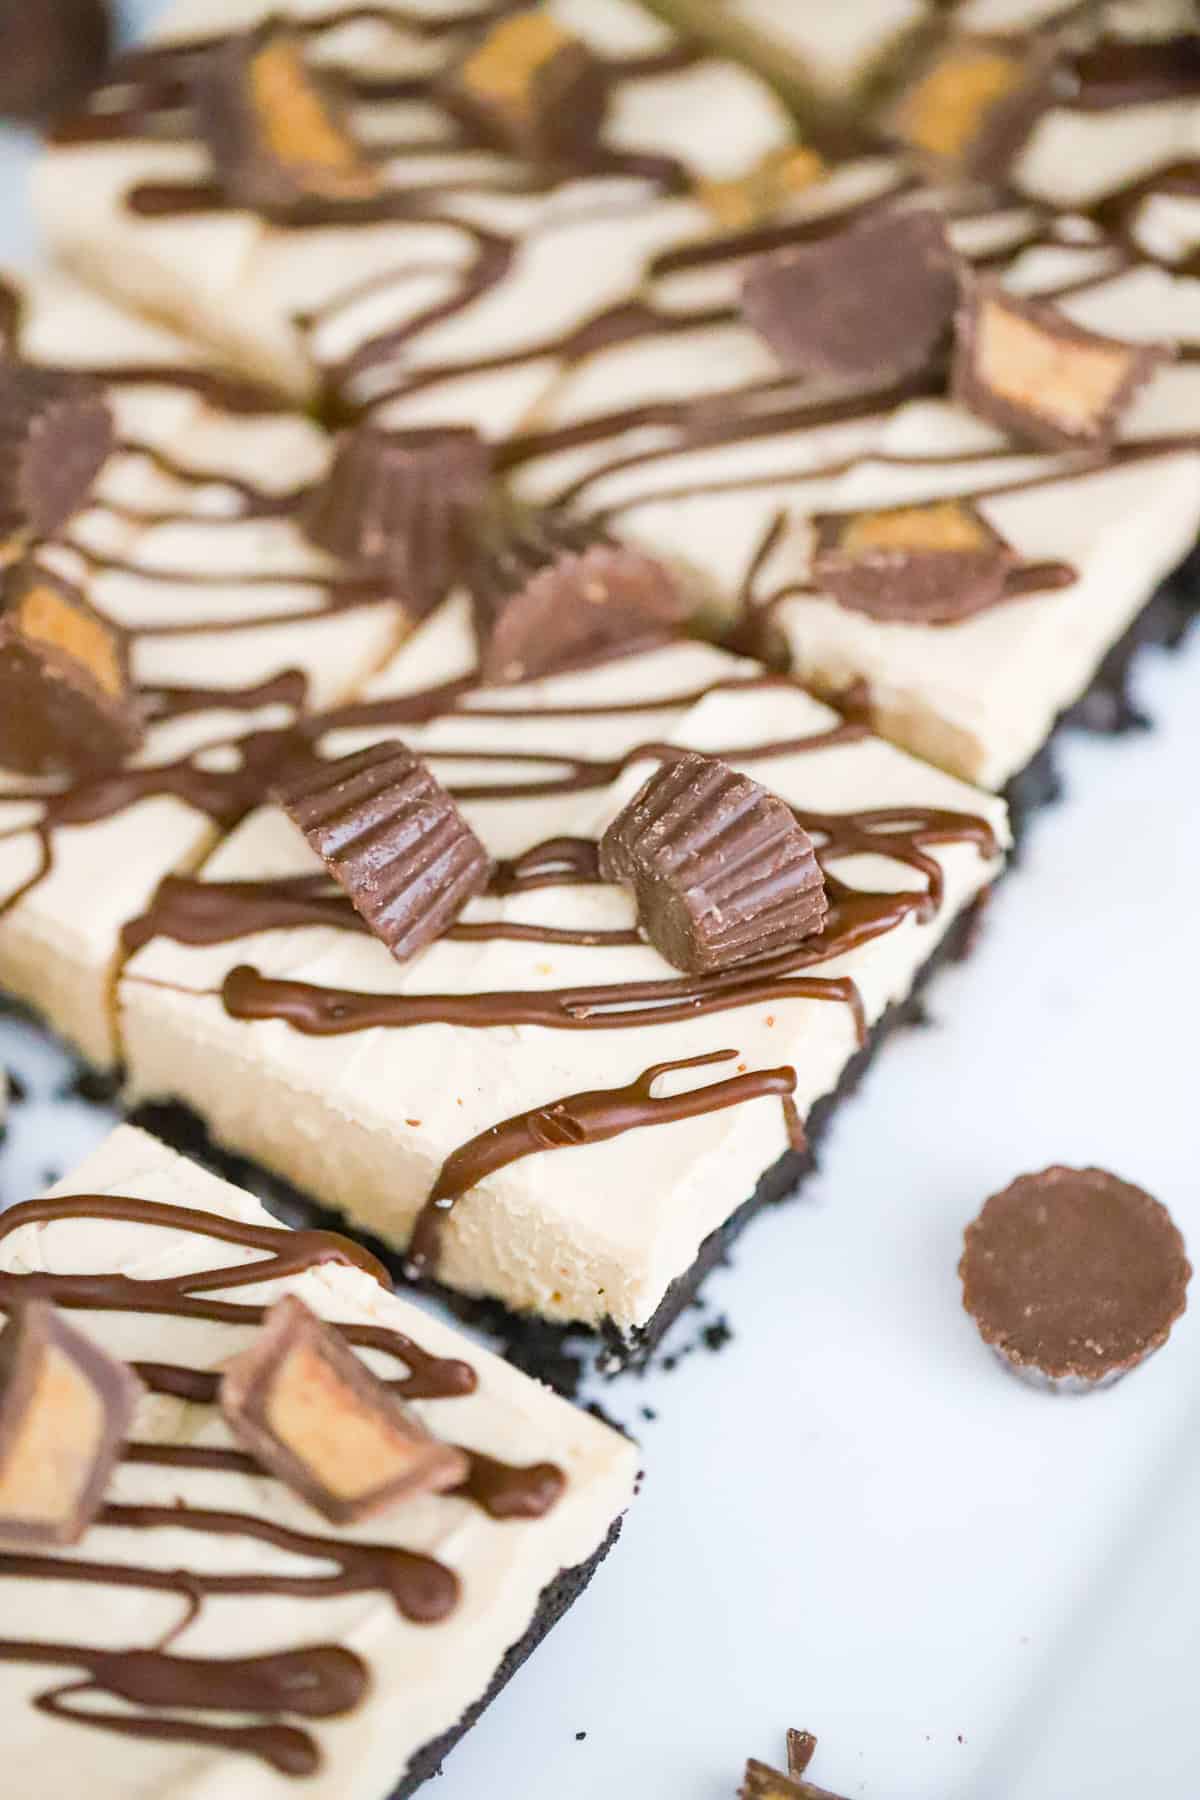
- Spread the peanut butter filling evenly over the chilled crust. Smooth it out nice and even!
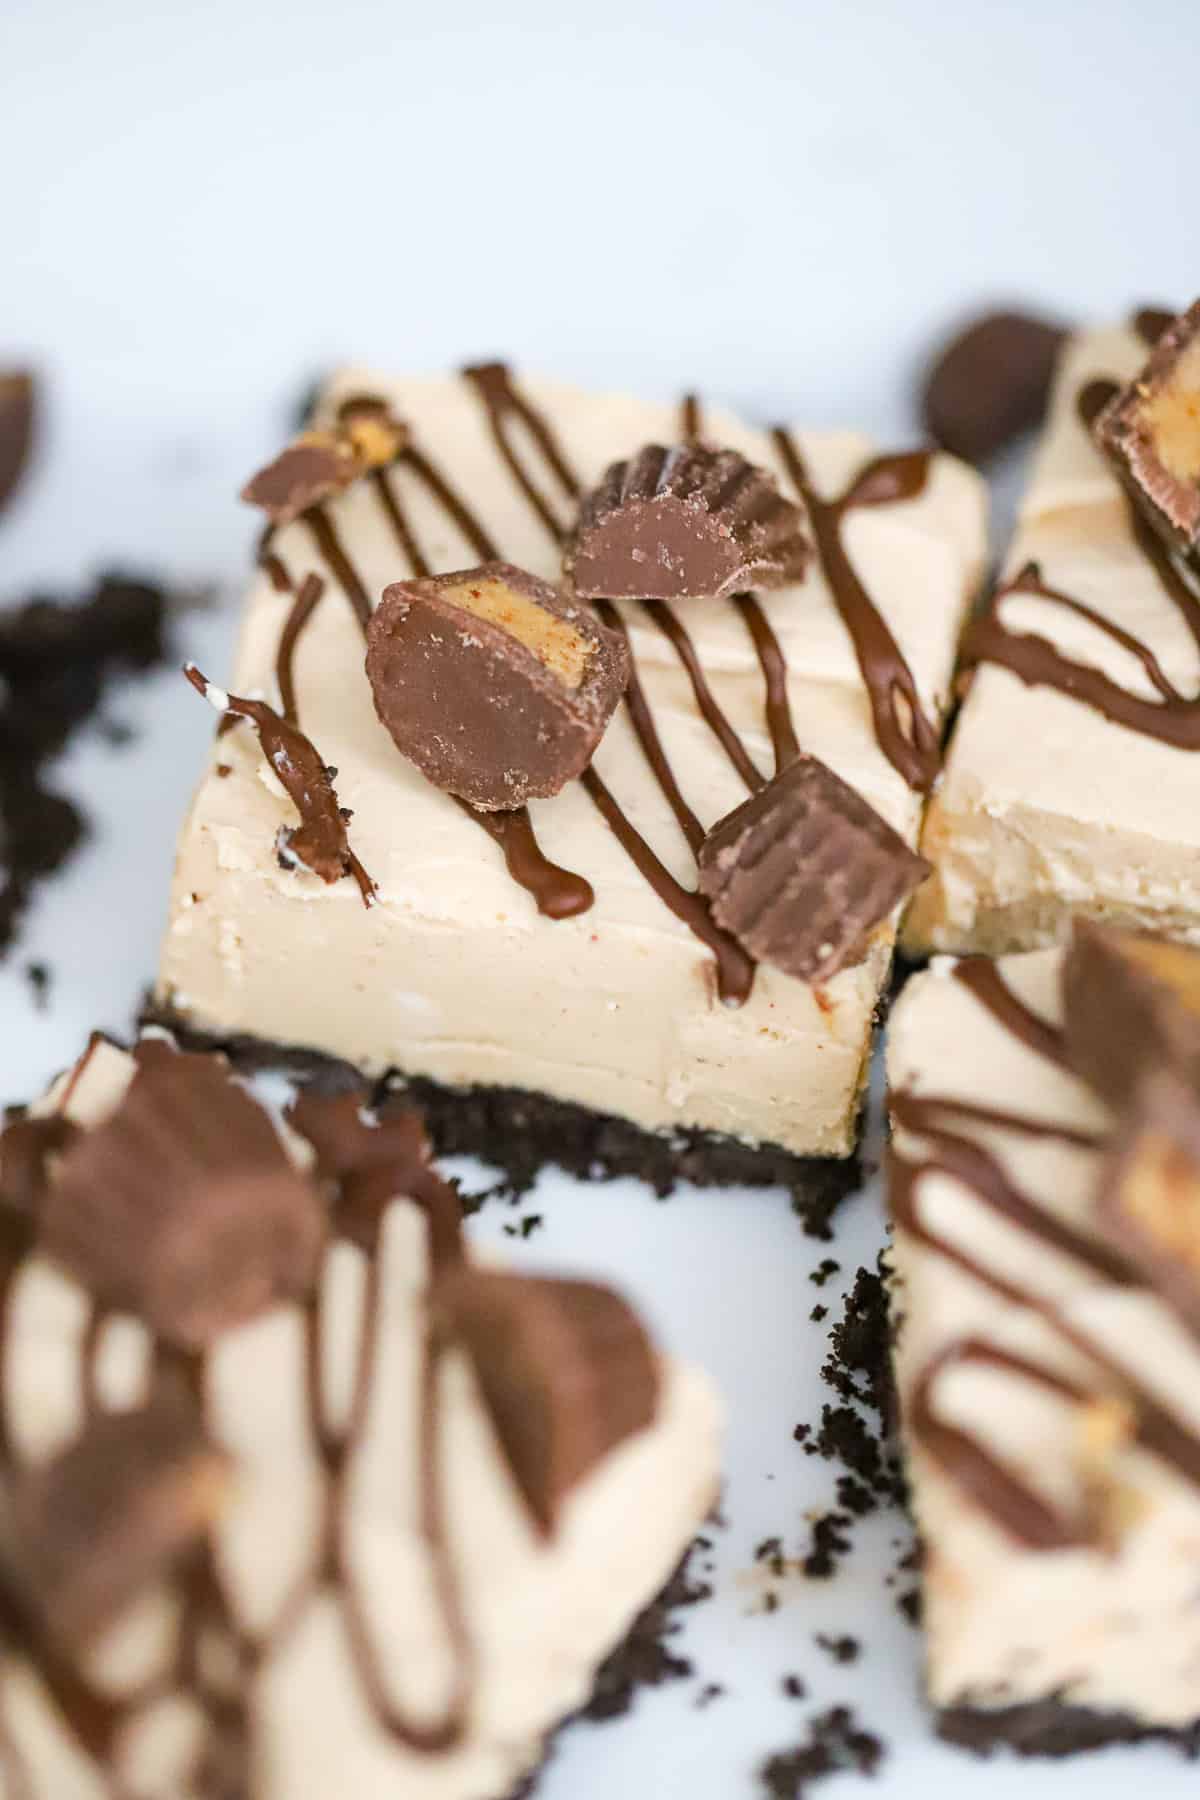
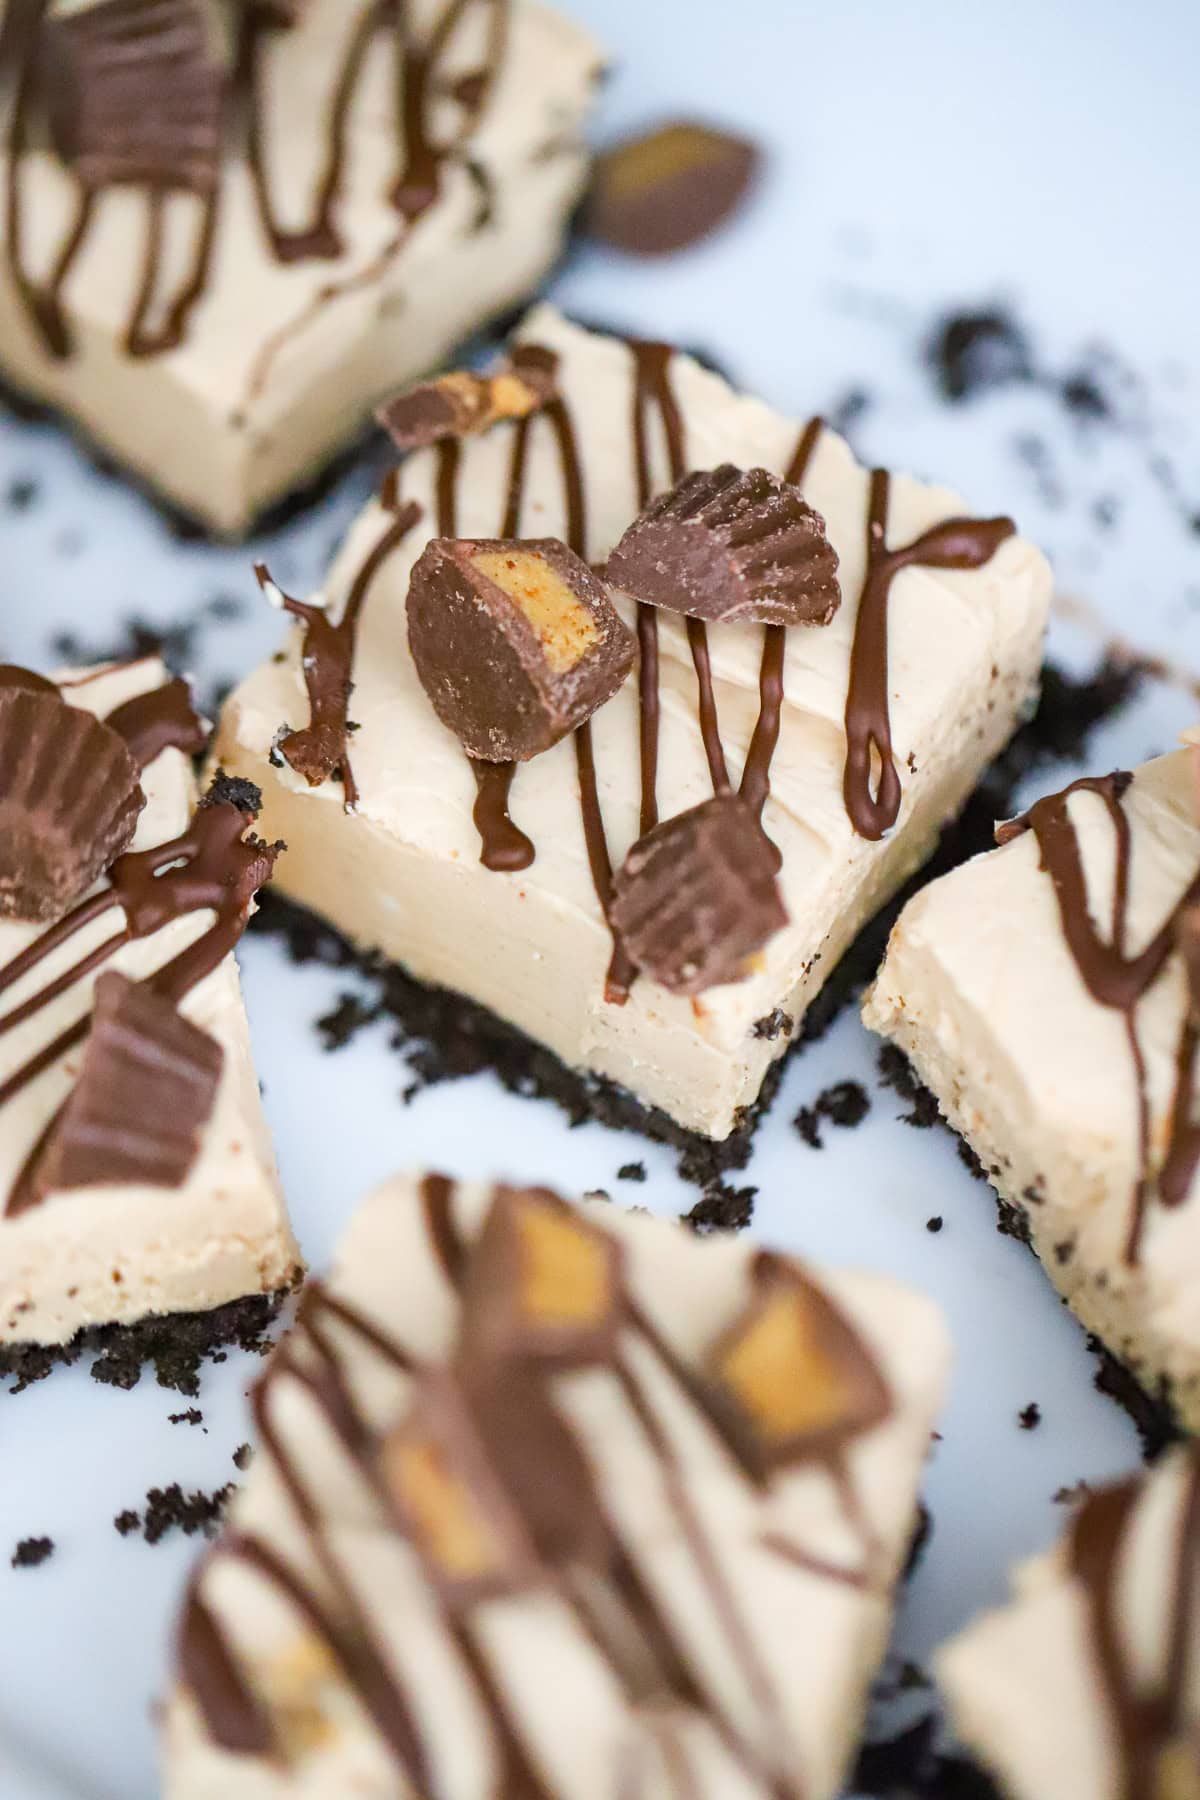
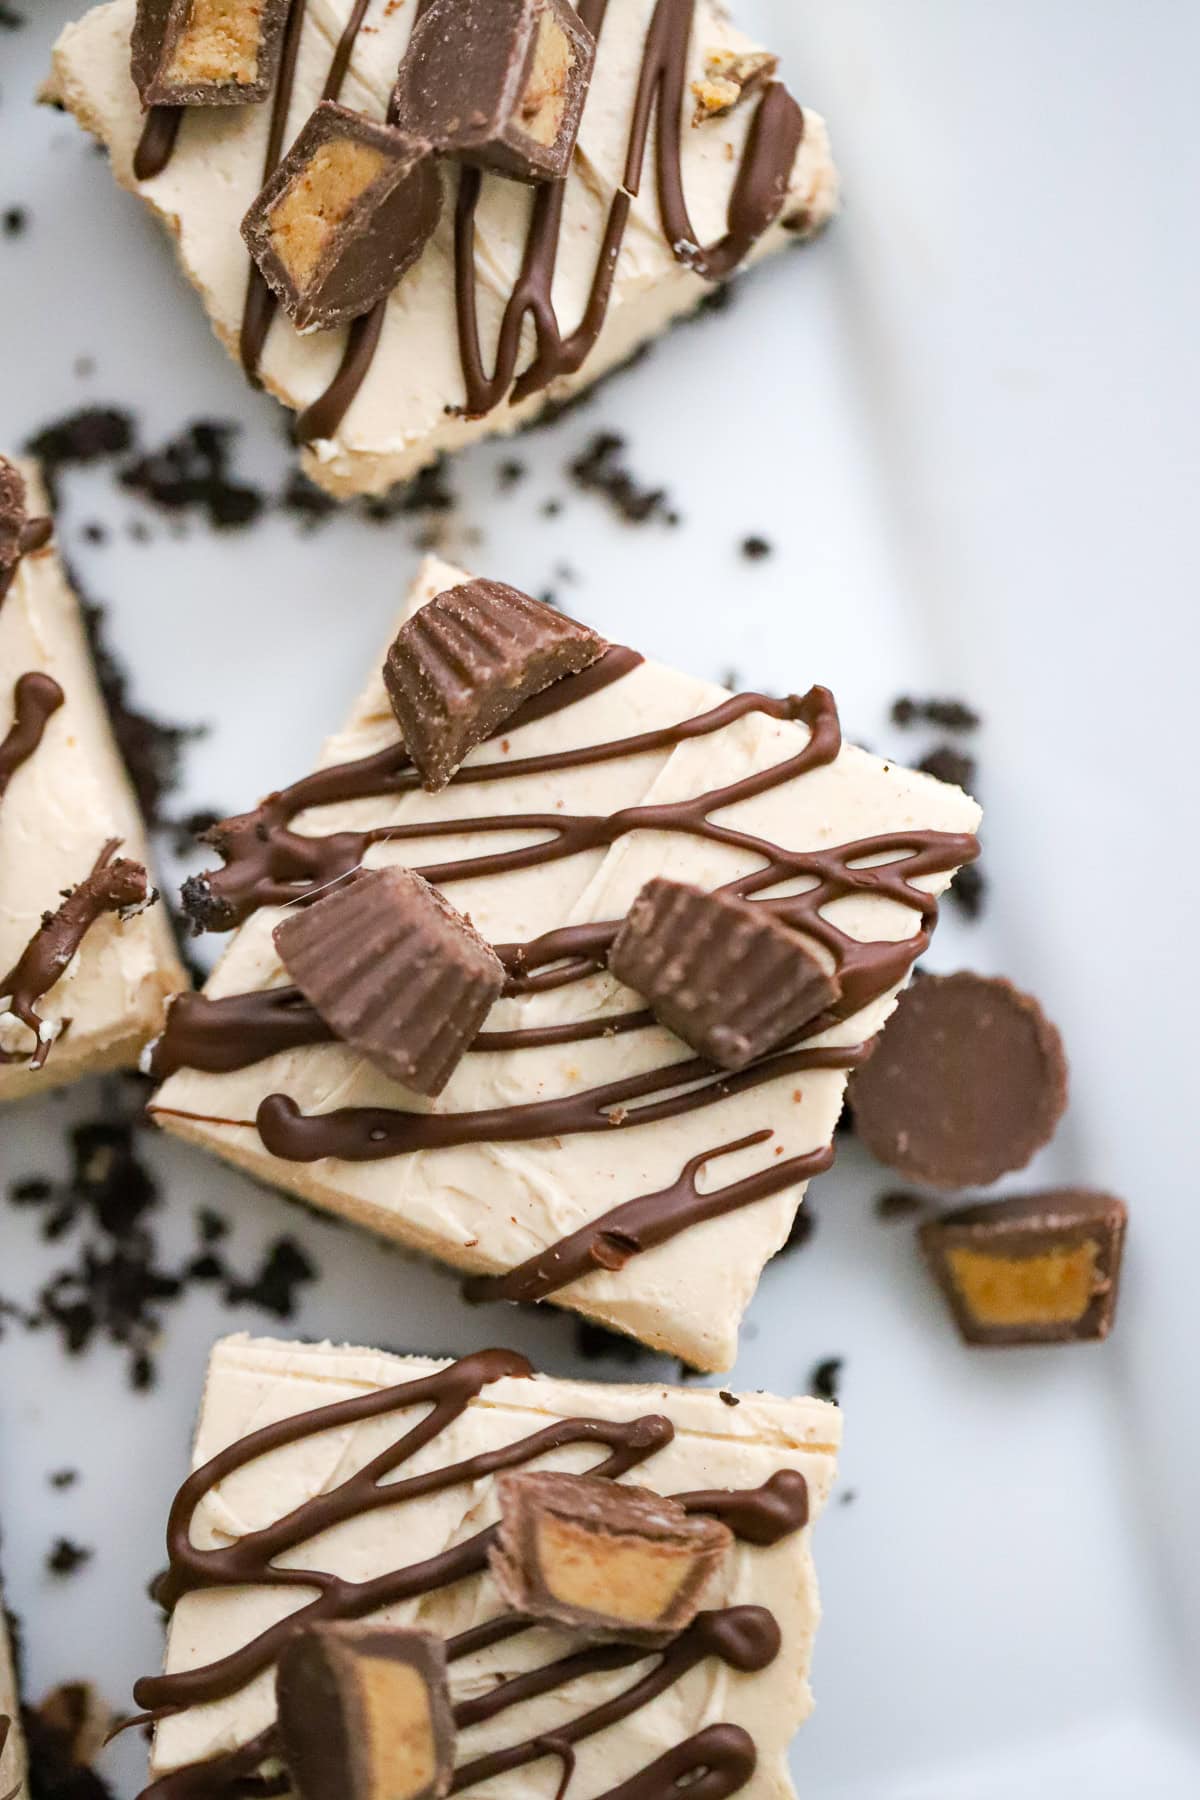
- Drizzle with melted chocolate and scatter chopped peanut butter cups on top. Go wild with it!!
- Cover with plastic wrap and refrigerate for at least 4 hours or overnight. Overnight is even better!
- Lift the cheesecake out using the parchment overhang and cut into 8 bars. For the cleanest slices, run the knife under hot water and wipe dry between cuts.
For a Thicker, Higher‑Protein Cheesecake
If you want a firmer, thicker cheesecake (or extra protein), you can add any of the following without changing the flavor:
- +2–4 tablespoons protein powder Thickens the filling and bumps protein per slice.
- +2–4 tablespoons Greek yogurt or blended cottage cheese Makes the filling creamier and more structured.
- +1–2 ounces extra cream cheese Creates a denser, bakery‑style texture.
Mix in additions gradually until the filling is as thick as you like.
For a Thinner or Lighter Crust
All recipes use a full crust for a 9×5 or 8×4 pan, but you can easily adjust:
- Halve the crust recipe for a thinner base
- Skip the crust entirely for a crust‑free, lower‑calorie cheesecake
- Press crust only on the bottom (not up the sides) for a lighter feel
To Make Individual Servings (6–8 Minis)
You can turn any cheesecake in this series into minis:
- Use a lined muffin tin or mini cheesecake pan
- Fill each cavity about ¾ full
- Chill time stays the same
- If baking versions: bake 10–14 minutes depending on your oven
- Slice-free, grab‑and‑go portions
Protein Macros for Peanut Butter Cup Cheesecake
We’re talking serious protein here!!
Per slice (8-slice batch):
- Greek Yogurt/Skyr Version: ~14 to 16g protein
- Cottage Cheese Version: ~18 to 20g protein
Total protein per pan:
- Greek Yogurt/Skyr Version: ~112 to 128g protein
- Cottage Cheese Version: ~144 to 160g protein
Tips for the Best Peanut Butter Cup Protein Cheesecake
- The number one tip: Make sure your cream cheese is FULLY softened before you start! This is the difference between silky smooth filling and lumpy filling. Don’t skip this step, I promise it matters!
- Peanut butter tip! Melt it slightly in the microwave for 15 to 20 seconds so it mixes in smooth. Cold peanut butter straight from the jar can leave clumps.
- Protein powder matters! Whey protein isolate blends the smoothest. Plant-based powders work too, but they can be grainier, so sift first and mix an extra minute.
- Want more peanut butter intensity? Increase the peanut butter to 1/3 cup. Trust me on this one. 🙂
- Avoid casein protein for this recipe. It thickens too much when chilled and can make the filling rubbery.
Plus, you may love these 4 Ingredient Mini Peanut Butter Cups and these Healthy Peanut Butter Cup Quinoa Crispy Treats! So many peanut butter cup recipes to love!!
Also, if you love peanut butter desserts, the 30 Peanut Butter and Candy Desserts Cookbook is packed with more sweet PB recipes!
How to Store Peanut Butter Cup Protein Cheesecake
Store in an airtight container in the fridge for up to 5 days. The flavor actually gets even better after the first night!
- Refrigerator: Up to 5 days in an airtight container.
- Freezer: Wrap individual slices in plastic wrap and freeze for up to 2 months. Pull one out whenever you need that PB-cup fix!
- Room temperature: Keep it to 30 minutes max because of the cream cheese and yogurt.
Peanut Butter Protein Cheesecake Variations
Once you’ve nailed the original, try these twists!
- Chocolate swirl: Reserve 2 tablespoons of filling, mix in 1 tablespoon cocoa powder and a drizzle of melted chocolate, then swirl it through the top for a marbled look!
- Buckeye style: Skip the peanut butter cups on top and dip each finished bar halfway in melted chocolate. The classic buckeye combo!!
- Cookie butter twist: Swap the peanut butter for cookie butter and use vanilla protein powder. So different and so good!
- Extra crunchy: Fold 1/4 cup chopped roasted peanuts into the filling along with the PB cups. Every bite gets that extra crunch!
Some more of our favorites include this No-Bake Peanut Butter Cheesecake and these Double Nutty Peanut Butter Protein Bars! Can’t stop, won’t stop with the peanut butter!
Peanut Butter Cup Protein Cheesecake FAQs
Can I use natural peanut butter for this cheesecake?
Yes! Natural peanut butter works great. Just make sure to stir it well first so the oil is mixed in evenly. The flavor is actually a little more “peanutty” with natural PB, which I love. Regular creamy peanut butter like Jif or Skippy also works if that’s what you have.
What if I don’t have peanut butter protein powder?
Vanilla protein powder is the best substitute. You’ll still get the peanut butter flavor from the 1/4 cup of actual PB in the filling. Chocolate protein powder also works for a chocolate-peanut butter combo, or you can use unflavored protein and add an extra tablespoon of peanut butter to boost the flavor.
How do I keep the peanut butter cups from sinking?
If you’re folding chopped PB cups into the filling, use mini cups and chop them into small pieces. The thicker cheesecake filling holds them in place pretty well. For the topping, press them gently into the surface so they stick as it chills.
Can I make this without protein powder?
You can leave it out, but the filling will be softer and less set. To compensate, reduce the yogurt or cottage cheese by 2 tablespoons and add an extra ounce of cream cheese to help it firm up. The protein content per slice will be lower.
So are you ready to make the most ridiculously creamy, peanut-buttery, candy-bar-delicious protein cheesecake ever?! This is the one, you guys!! If this made your day, don’t miss the other flavors in my High Protein No-Bake Cheesecake Series. Each flavor is small-batch, nob ake, and just as irresistible!
Share on Pinterest, Instagram and Facebook!
More Peanut Butter and Cheesecake Recipes!
- The Best Chocolate Desserts: Brownies, Cookies, No-Bake Treats & More
- Double Nutty Peanut Butter Protein Bars
- No-Bake Peanut Butter Cheesecake
- Viral Yogurt Cheesecake (No-Bake, High-Protein, Ultra-Creamy)
- Healthy Banana Chocolate Chip Baked Oatmeal
- 4 Ingredient Mini Peanut Butter Cups
- Chocolate Fudge High Protein Cheesecake
- Chocolate Pistachio High Protein Cheesecake
Peanut Butter Chocolate Chip High Protein Cheesecake
Peanut Butter Cup Protein Cheesecake
Equipment
- 8x4 or 9x5 loaf pan
- Parchment paper
- Electric mixer or hand mixer
- Mixing bowls
Ingredients
Chocolate Cookie Crust
- 1 cup chocolate cookie crumbs Oreo-style, finely crushed
- 2 tablespoons melted butter
- 1 tablespoon unsweetened cocoa powder optional
- 1 pinch salt
Peanut Butter Protein Filling
- 1 cup Greek yogurt or Skyr OR 1 cup blended cottage cheese for higher protein
- 8 oz light cream cheese softened
- ½ cup peanut butter protein powder (1-2 scoops) whey or plant-based
- ¼ cup creamy peanut butter slightly melted
- ¼ cup powdered sugar or sweetener adjust to taste
- 1 teaspoon vanilla extract
- 1 pinch salt
- 1/3-1/2 cup chopped mini peanut butter cups optional
Toppings
- melted chocolate for drizzling
- 1/3-1/2 cup chopped mini peanut butter cups
Instructions
- Line an 8x4 or 9x5 loaf pan with parchment paper, leaving overhang on the long sides.
- Combine 1 cup chocolate cookie crumbs, 2 to 3 tablespoons melted butter, 1 tablespoon cocoa powder (if using), and a pinch of salt. Press firmly and evenly into the bottom of the pan. Chill while you make the filling.
- Beat 8 oz softened cream cheese with an electric mixer until completely smooth, about 2 minutes.
- Add 1 cup Greek yogurt (or blended cottage cheese), 1 scoop peanut butter protein powder, 1/4 cup powdered sugar, 1 teaspoon vanilla, and a pinch of salt. Mix on medium until combined.
- Add 1/4 cup slightly melted peanut butter and mix until smooth, thick, and creamy.
- Fold in 1/3 to 1/2 cup chopped mini peanut butter cups if using.
- Spread the filling evenly over the chilled crust. Drizzle with melted chocolate and scatter chopped peanut butter cups on top.
- Cover with plastic wrap and refrigerate for at least 4 hours or overnight. Lift out using parchment overhang and cut into 8 bars.